Install Jigs on Table
|
| The next step was to transfer the fuselage dimensions from the plans to the table. I used my laser to make a centerline running the length of the table. It's the dark black line running left to right in this picture. All distances were measured from this centerline. |
| |
 |
|
| A little closer look. |
| |
 |
|
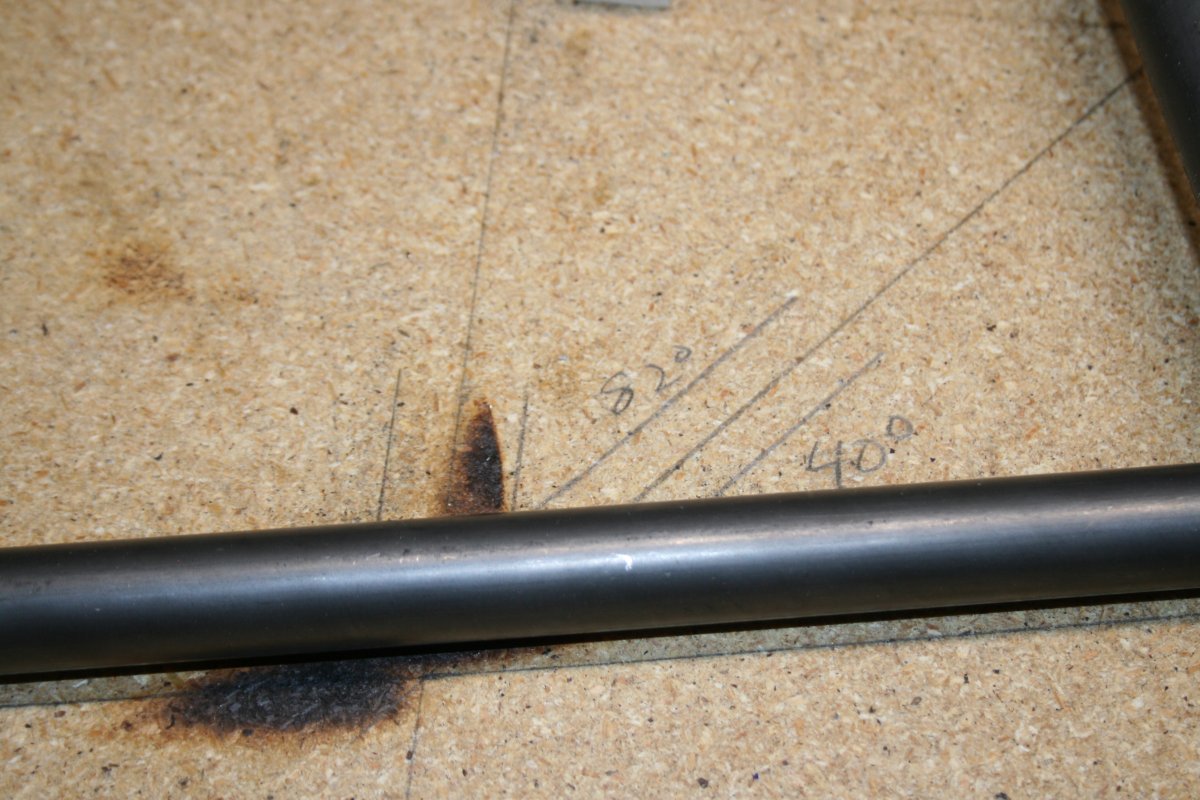
| For any intersection that was not ninety degrees, I measured the angle with an old kid's protractor I found in a drawer and wrote the angle on the table. |
| |
 |
|
| The plans show the centerline of the cross-members and the outer edge of the longerons. Knowing the diameter of the tube, it was easy to the tube lines. This made it much easier for me to understand what was going on. |
| |
 |
|
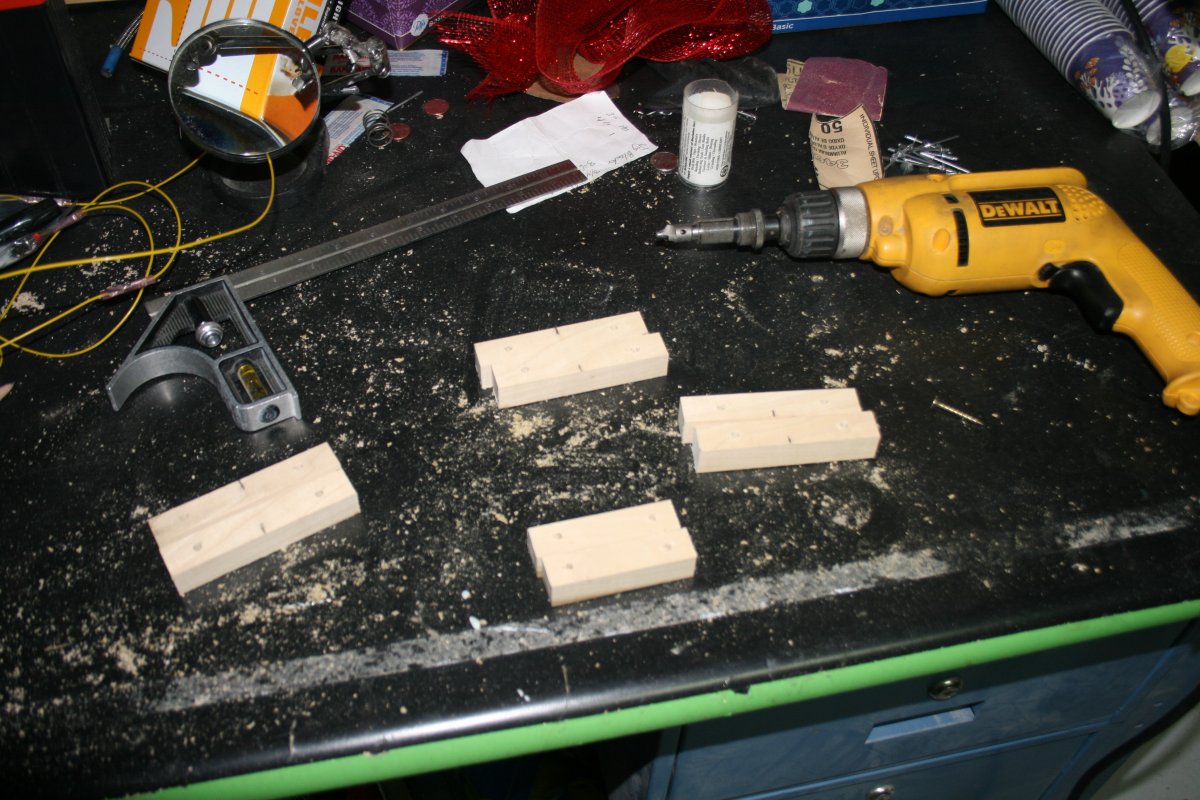
| The next step was to make the jig blocks out of hardwood. I bought some poplar strips at Home Depot. I quickly cut them up into 1" by 3" strips with the band saw. |
| |
 |
|
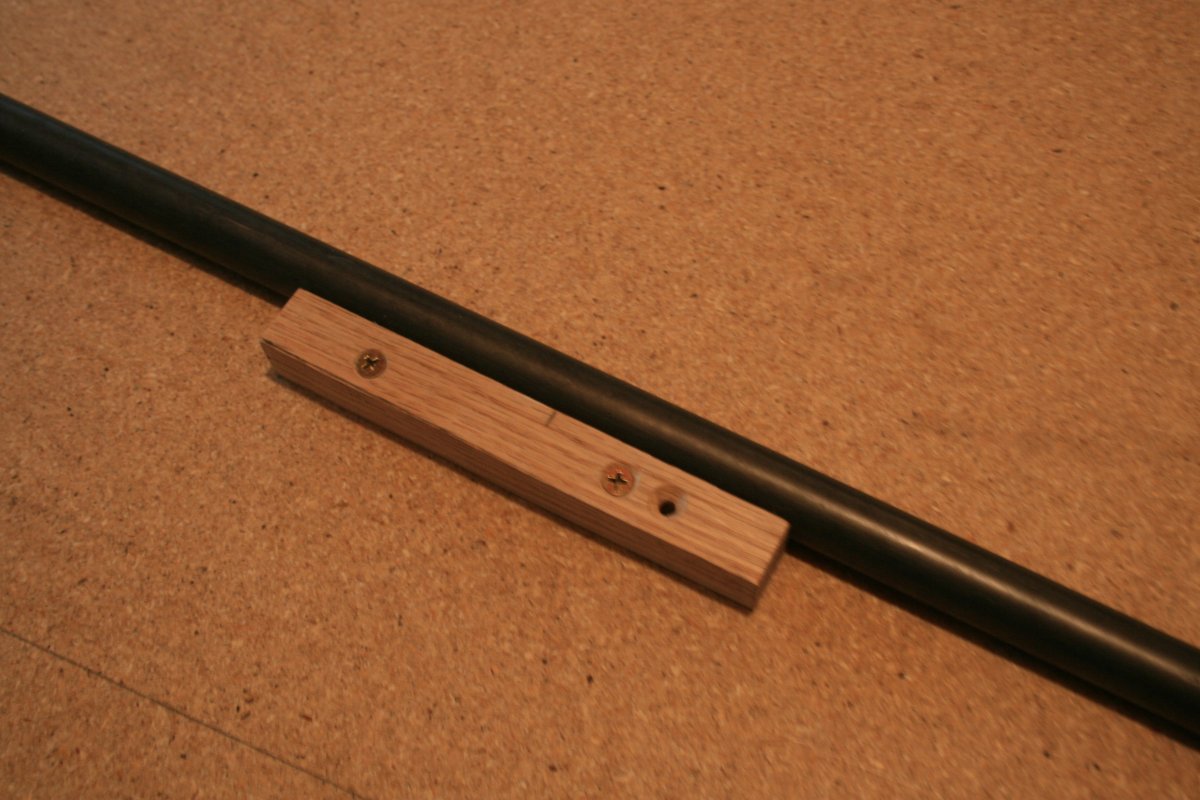
| I drilled the holes with a 7/64" drill bit which were oversized for the size 6 screws. I didn't want to screws to "bite" into the jig blocks, just the table itself. I countersunk the top of the jig block so the screws could really tighten down the jig block. Here's a close up of a block -- this one is made from some oak I had laying around. |
| |
 |
|
|
These would go on either side of the steel tube to fix it in the proper position. The electric screwdriver drove the screw into the particle board table without too much effort.
|
| |
 |
|
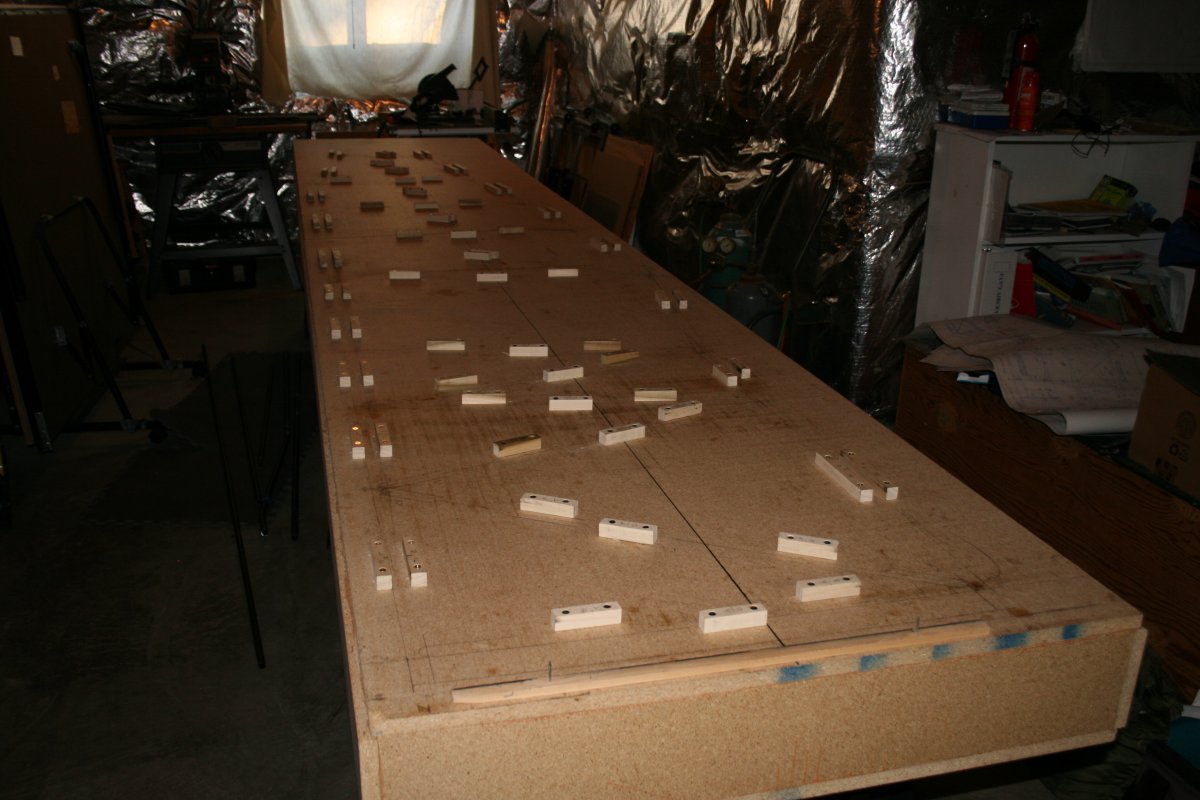
| Before. |
| |
 |
|
|
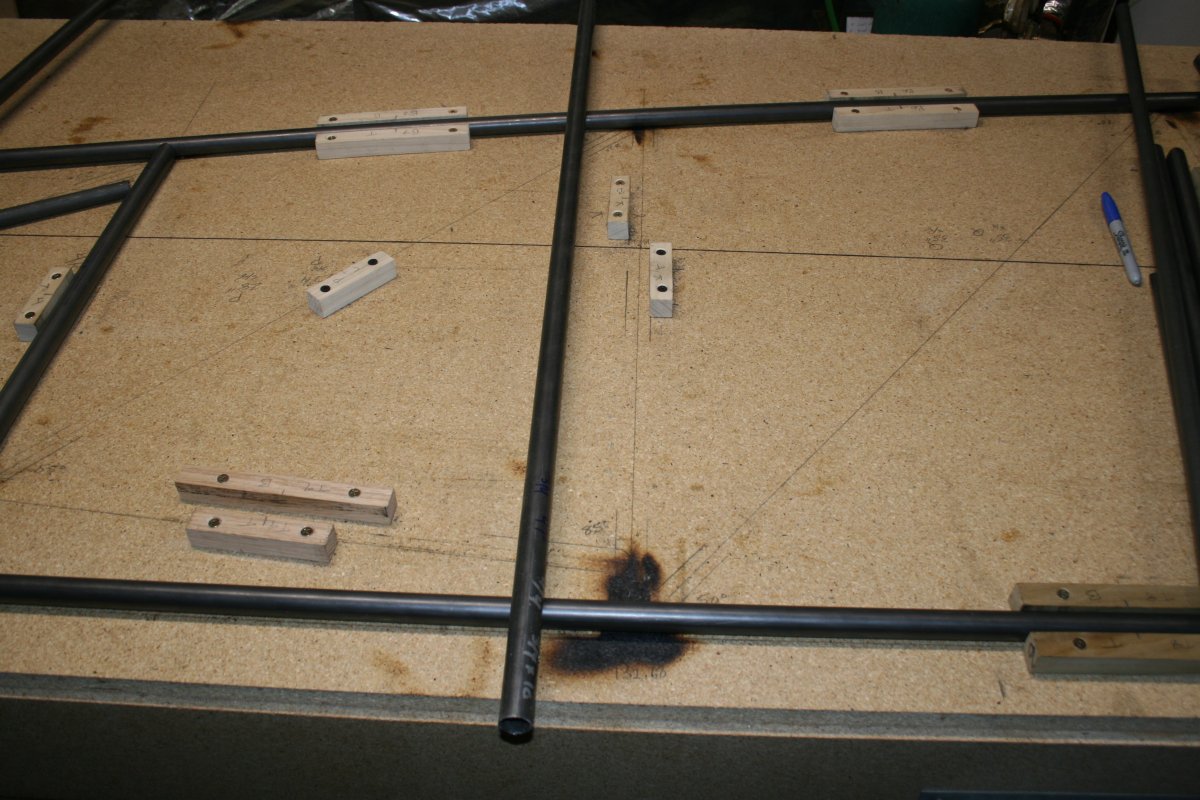
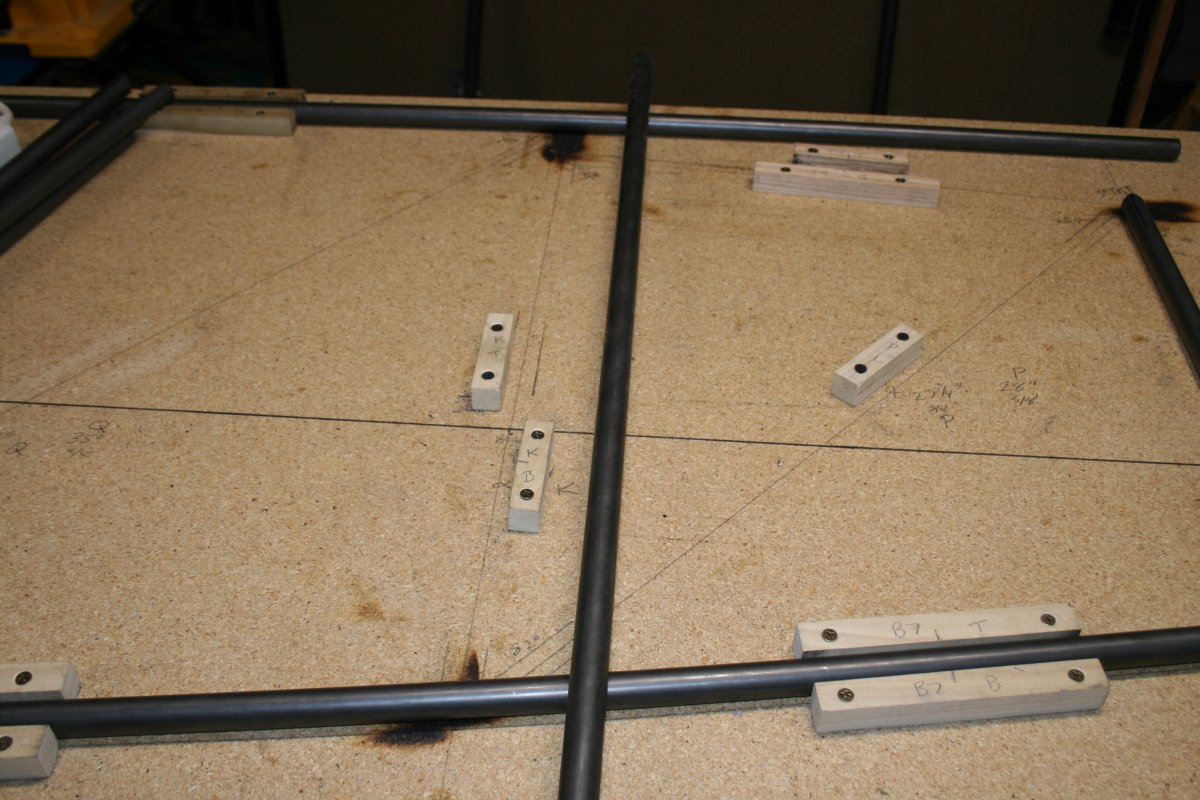
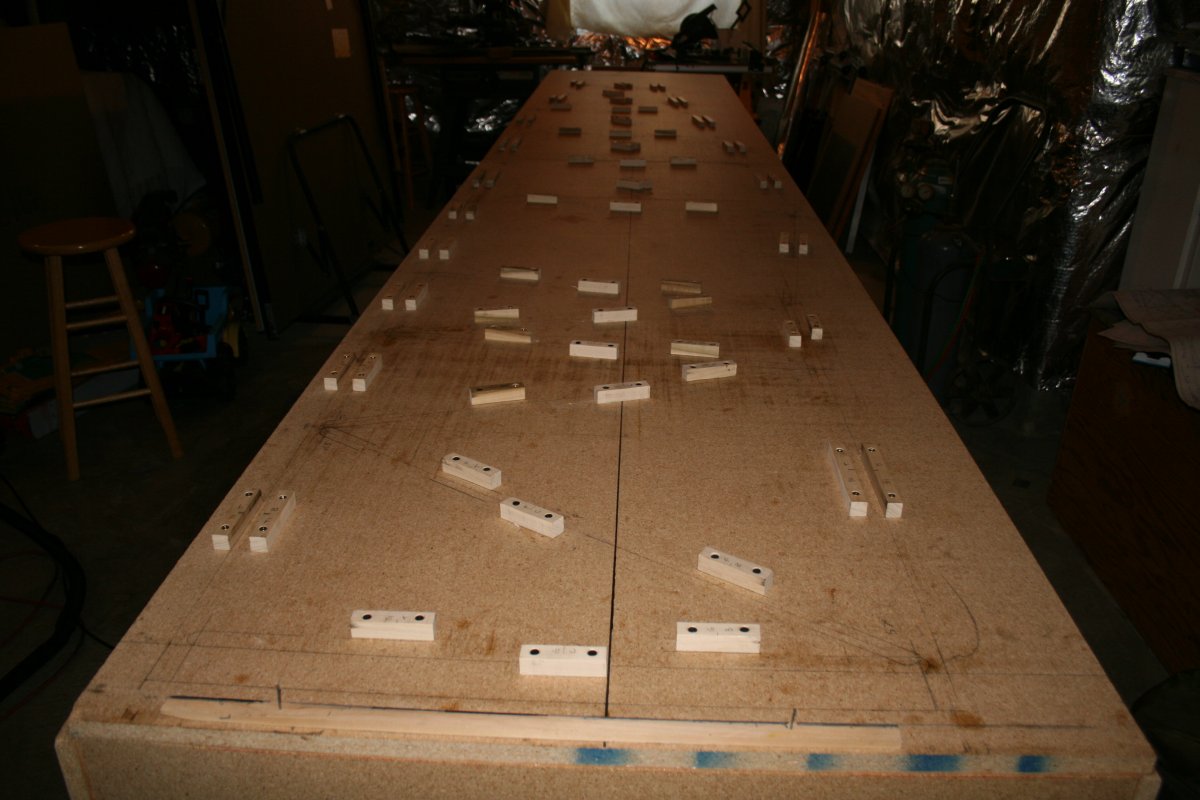
After. A good look at the entire welding table with all the jig blocks screwed down. I would find that I would have to remove/add the jig blocks frequently while fitting the wsteel tubes.
|
| |
 |
|
|
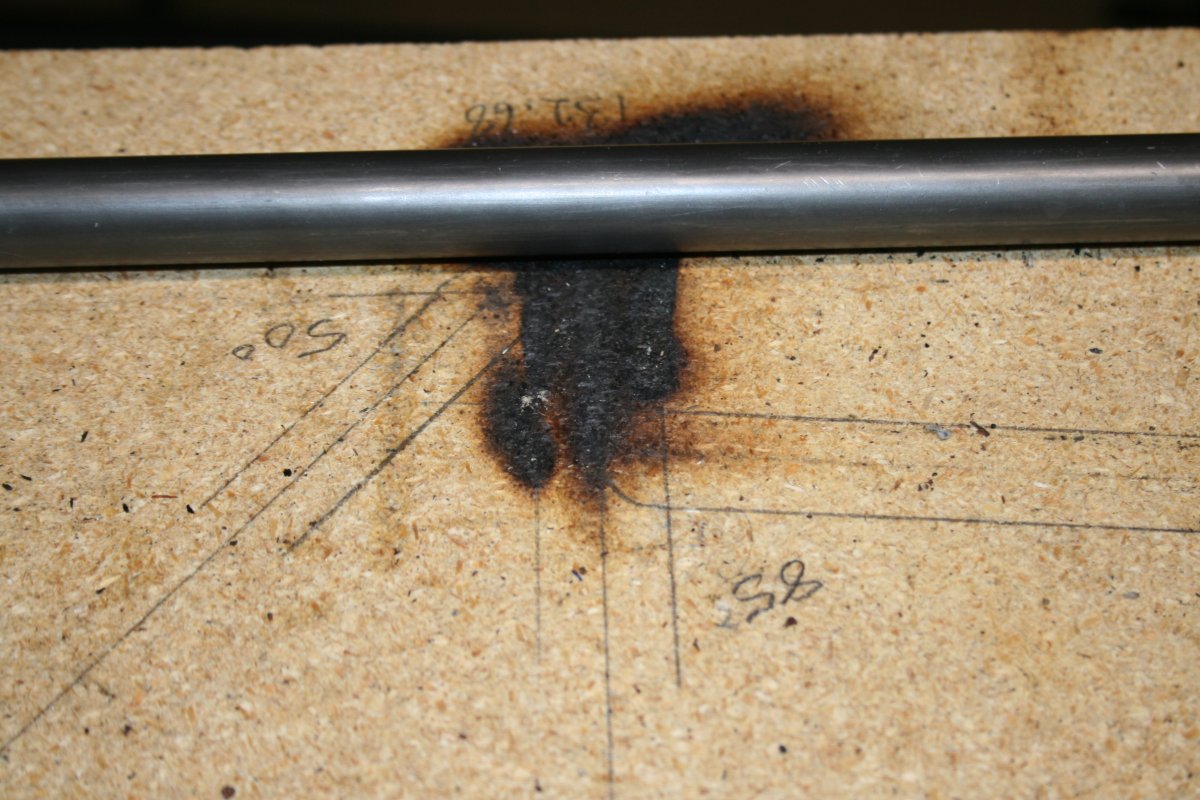
Looking straight down the line. All the plans measurements are off this line.
|
| |
 |
|
| |
|
|
|
|
|
|