Bending and Cutting Steel Tube
|
|
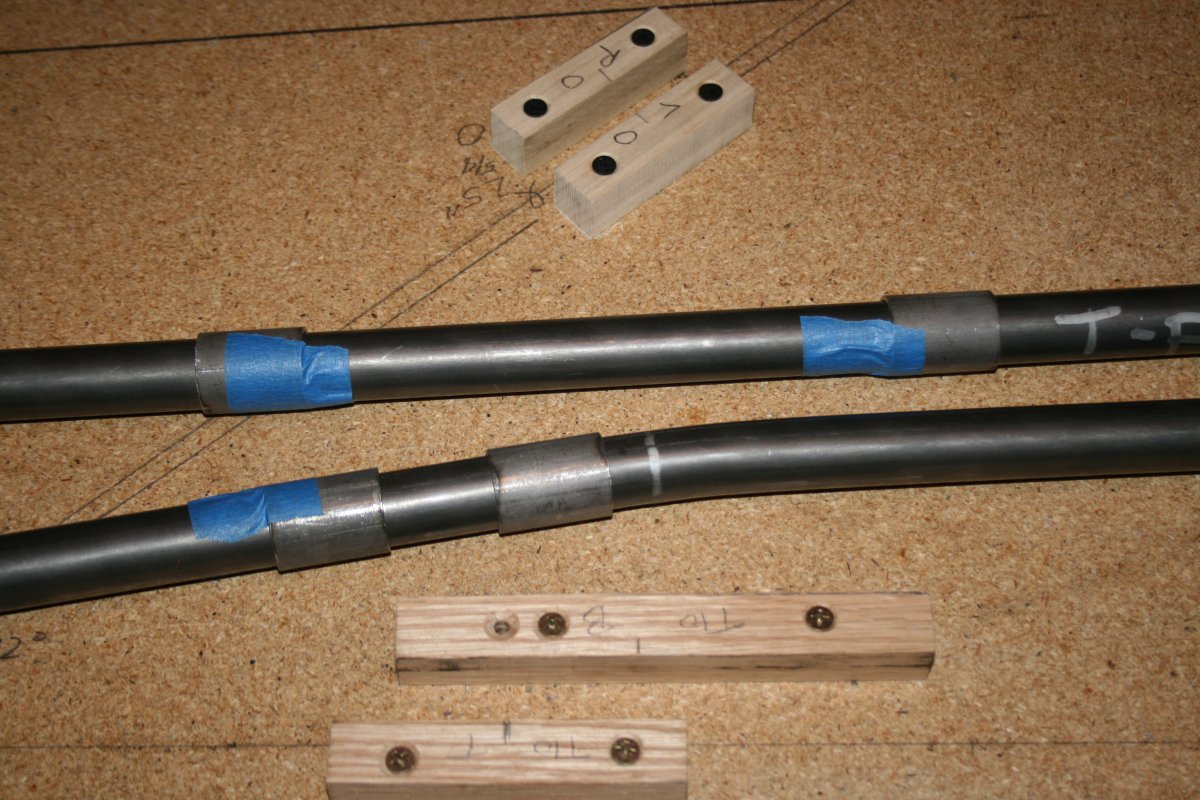
The next step was to put some tube on the table. I started with the longerons. The lower forward longeron has two bends in it. A steel sleeve goes between the two bends so you need to put it in place before you bend the longeron. The steel sleeve won't fit pass the bend.
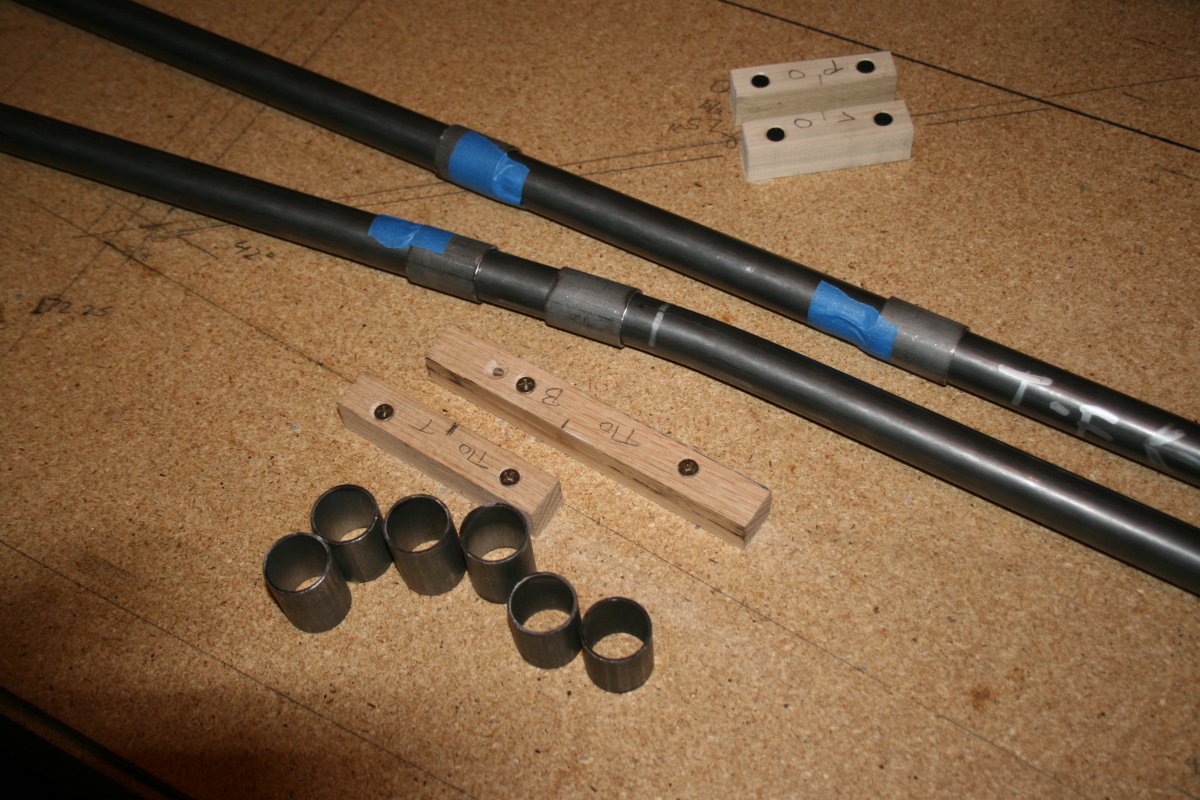
So first, I made the steel sleeves which are nothing more than 1 1/4" or 1" lengths of 1" diameter steel tube.
|
| |
 |
|
|
I went ahead and made all the steel sleeves that would be required on both fuse sides.
|
| |
 |
|
|
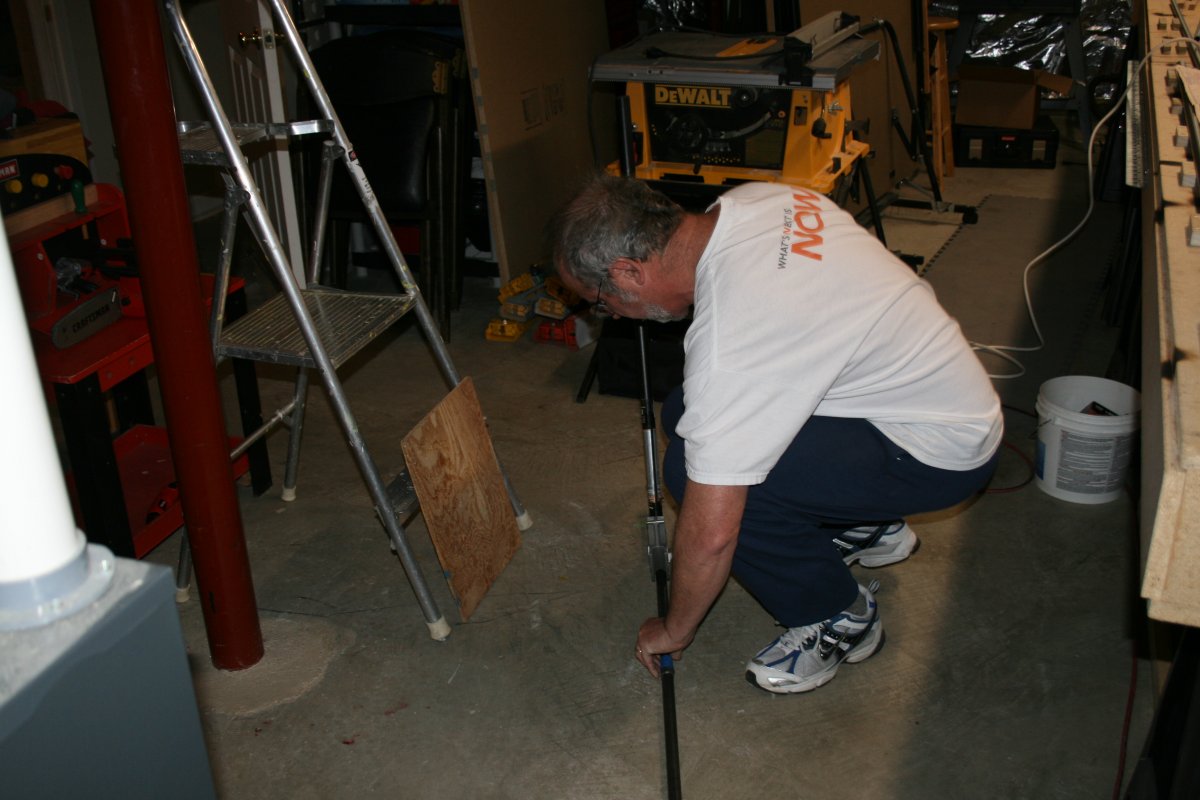
Then it was time to bend some steel tubing. I bought an inexpensive conduit bender and sand from Lowes and an instruction book off Amazon.com. I also bought a couple of pieces of mild steel conduit from Lowes to practice on. I filled the tube with sand, closed off at each end with duct tape, then practiced bending. One bend is ten degrees and the other is 15 degrees the opposite direction. I practiced on the mild steel conduit until I was pretty confident I could make the bends exactly where I wanted them.
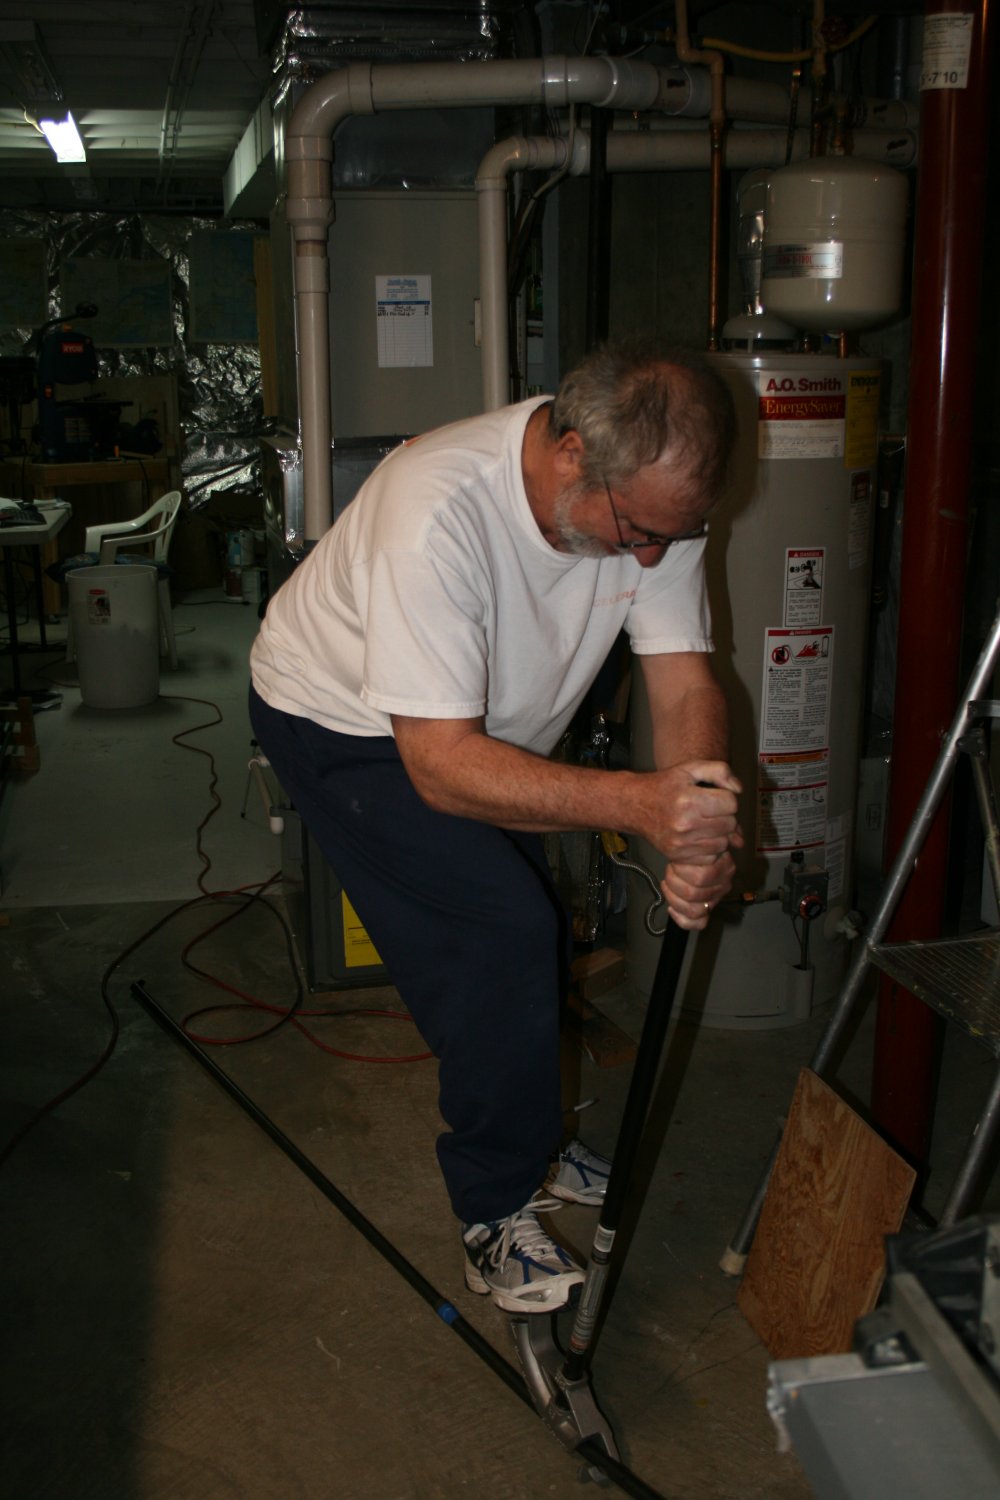
Here I am going for it with the real deal: 7/8" diameter 4130 steel tubing .049 thickness filled with sand. I think I used an eight foot long piece which I cut to the proper size after the bends.
|
| |
 |
|
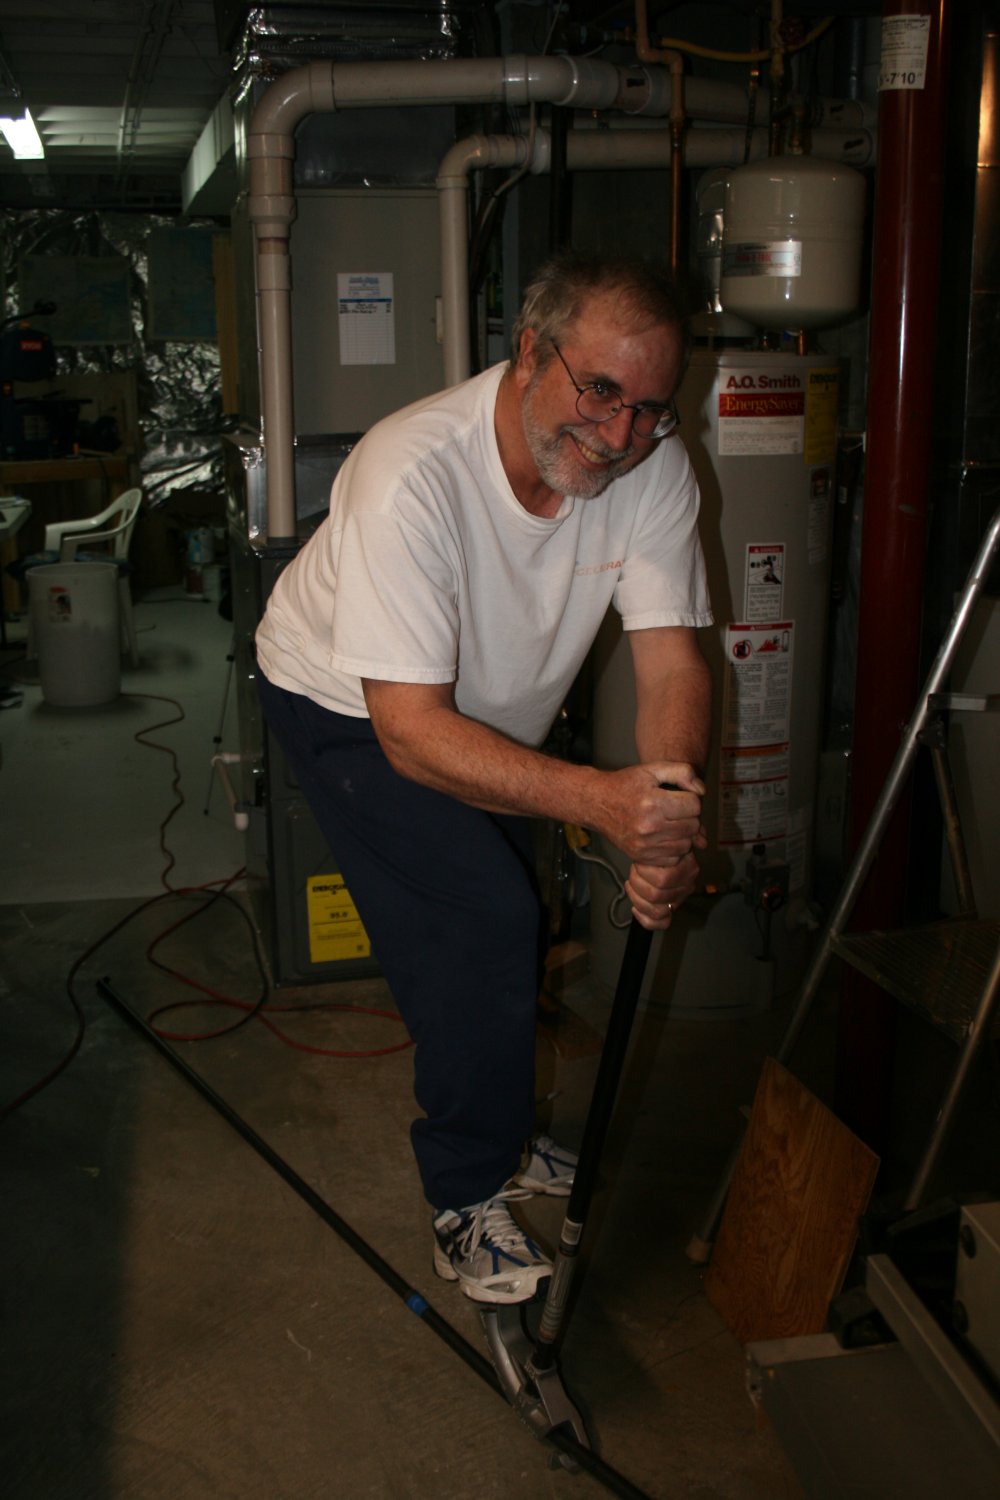
| I quickly found out that it was a lot tougher to bend the 4130 steel tubing than it was the conduit. A lot tougher. I had to put my entire body weight on top of the tool and pull hard. But you don't want to bend the longeron too much, so it was a lot of back and forth. Bend, check the longeron on the table, bend, check the longeron on the table. |
| |
 |
|
|
Come'on, man, put some effort into it!
|
| |
 |
|
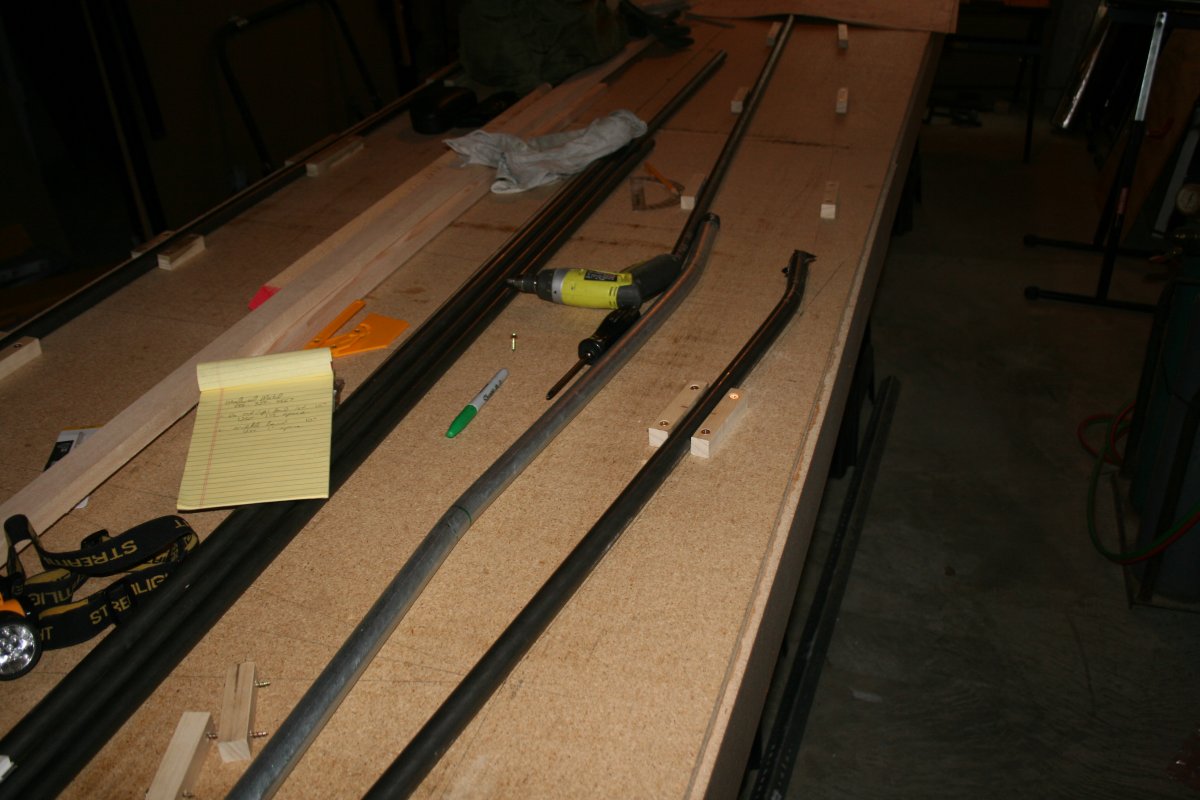
| The lower forward longeron after bending in place on the table. I was nervous about the bending but afterwards I was pleased with how it came out. |
| |
 |
|
| A close-up of the lower forward longeron. One of my practice mild steel conduit is laying along side of it. |
| |
 |
|
|
I cut the lower forward longeron to the correct length. The remaining longerons were easy to do since they had no bends. It was just a matter of cutting them to the correct length. I just laid them on the table, marked them using the drawing on the table as a guide, then cut.
The lower after longeron -- 3/4" thickness -- has a very gradual bend to it along its entire length. I wasn't sure how to handle that. But I discovered the tubing was flexible enough to just fit in the jig blocks. This was good since it meant I didn't have to bend it with the conduit bender.
|
| |
 |
|
|
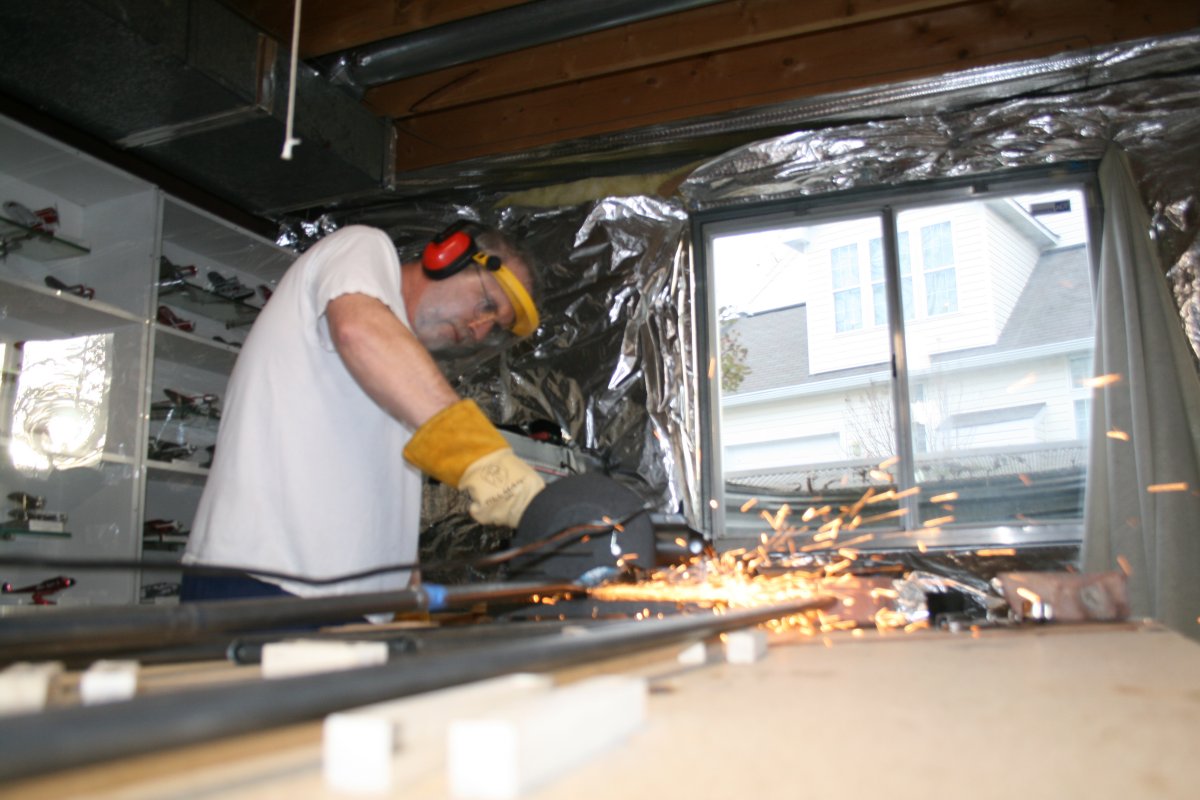
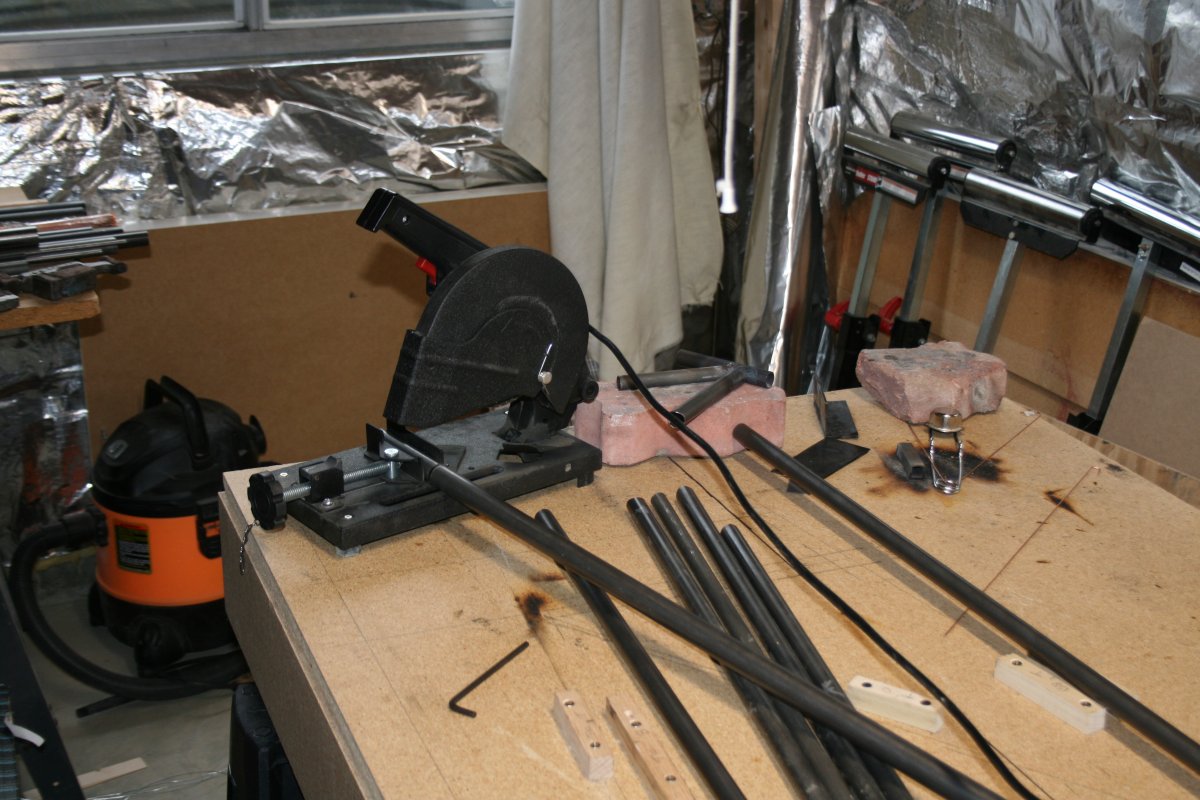
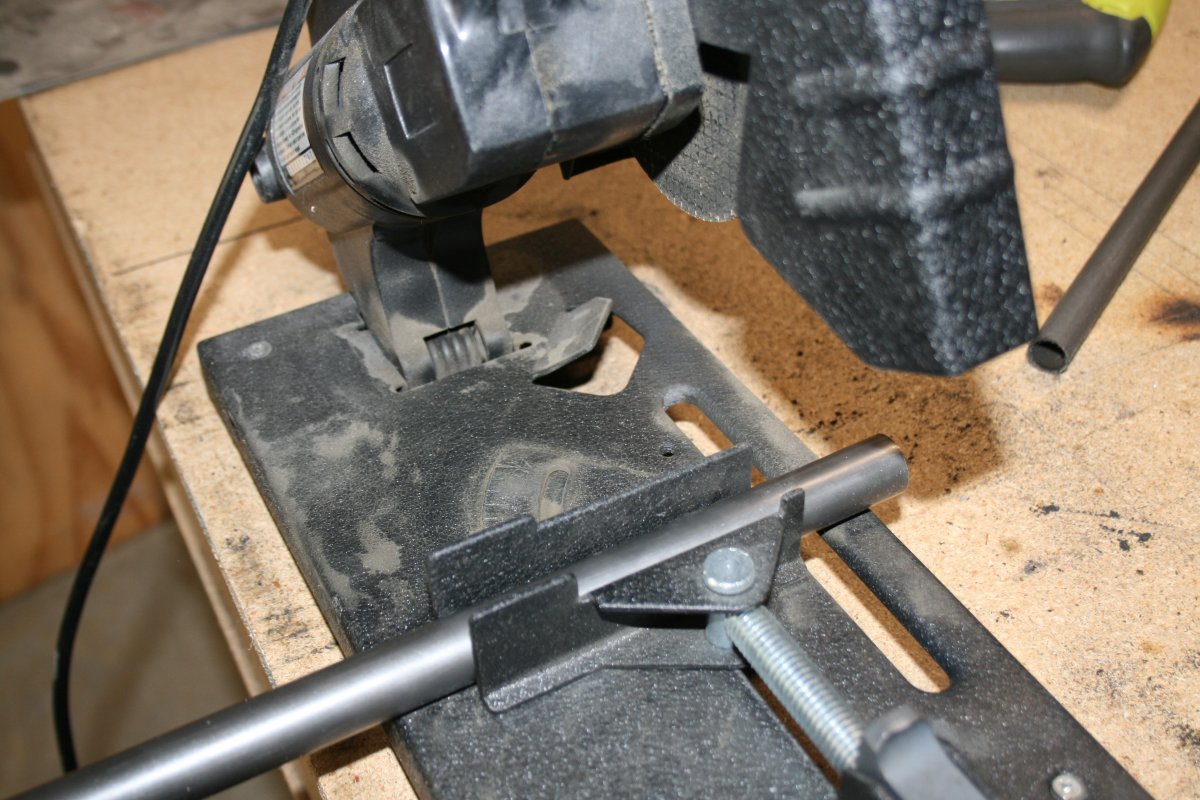
You may be wondering how I cut the steel tube. My brother-in-law Bruce gave me a chop saw with a 6" abrasive cutting wheel. It goes through thin-walled steel tube like a hot knife through butter.
|
| |
 |
|
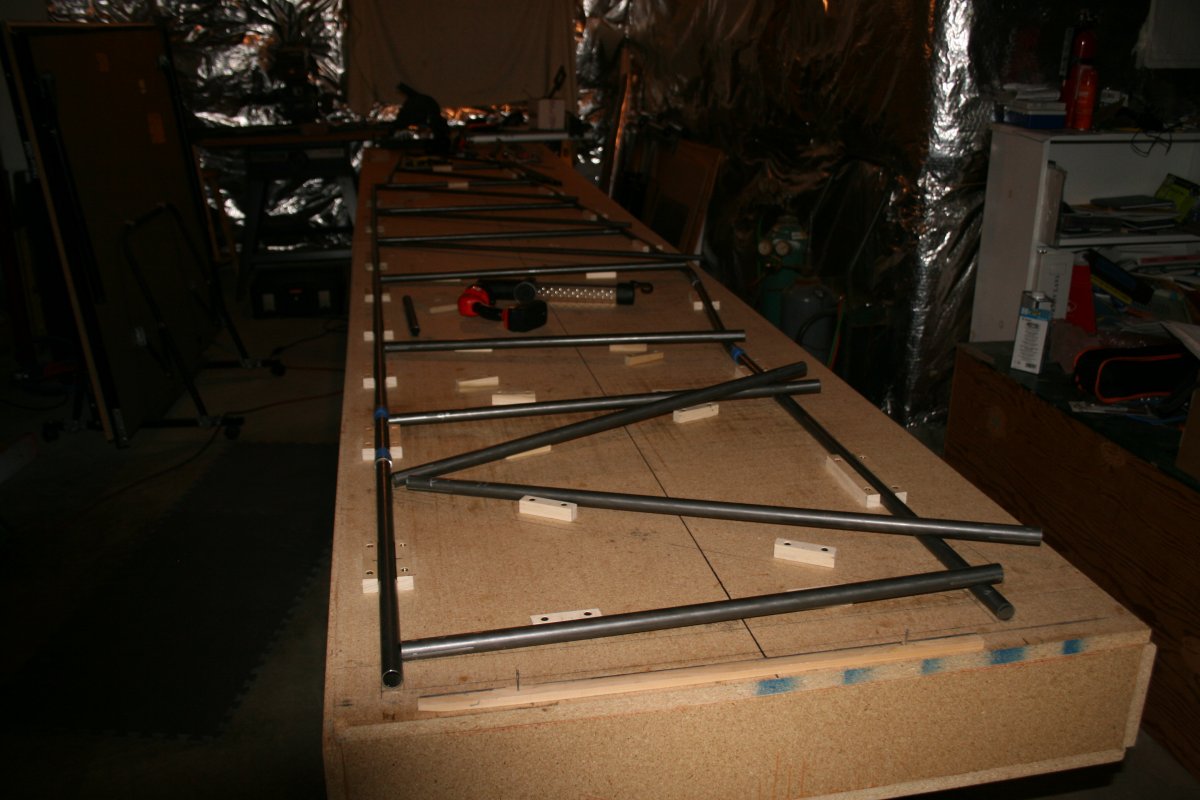
| With the longerons in place, the next item of business was to cut the cross-members. Using the table, I measured out the length of each cross-member with an inch or so extra. Then I cut them with the chop saw. |
| |
 |
|
|
Close=up of the chop saw.
|
| |
 |
|
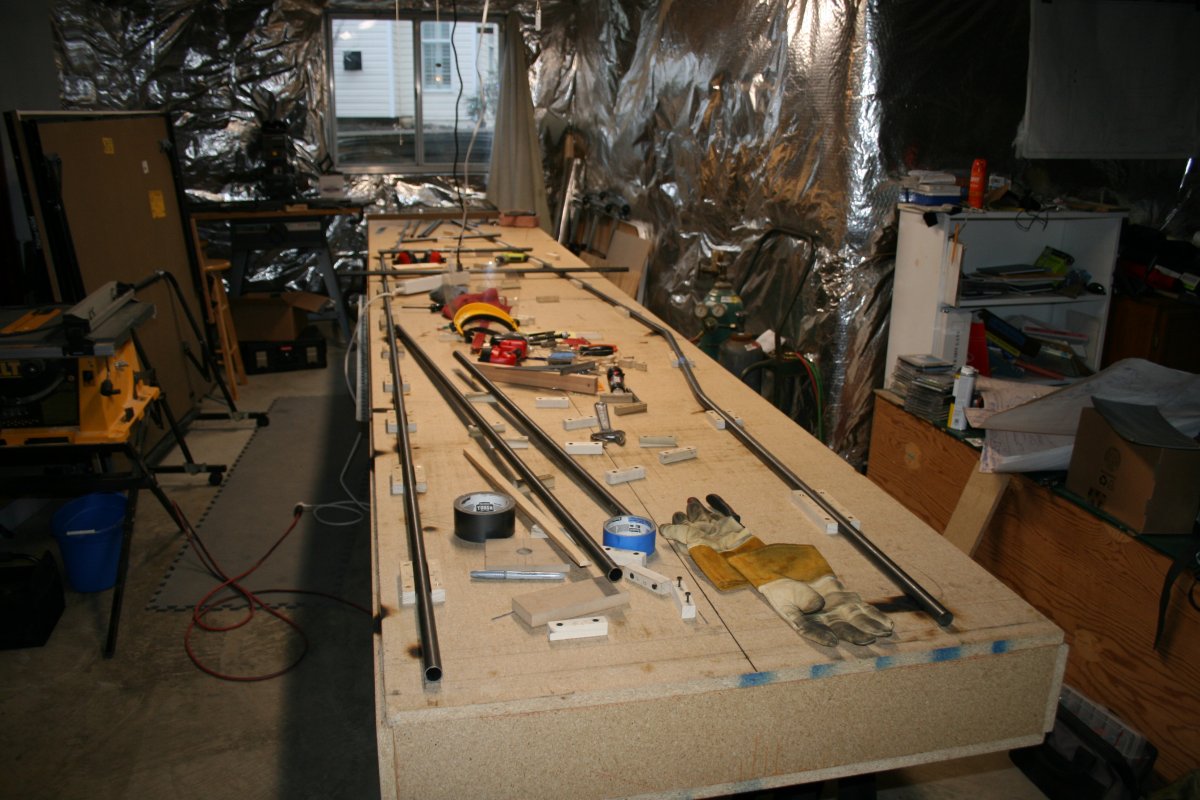
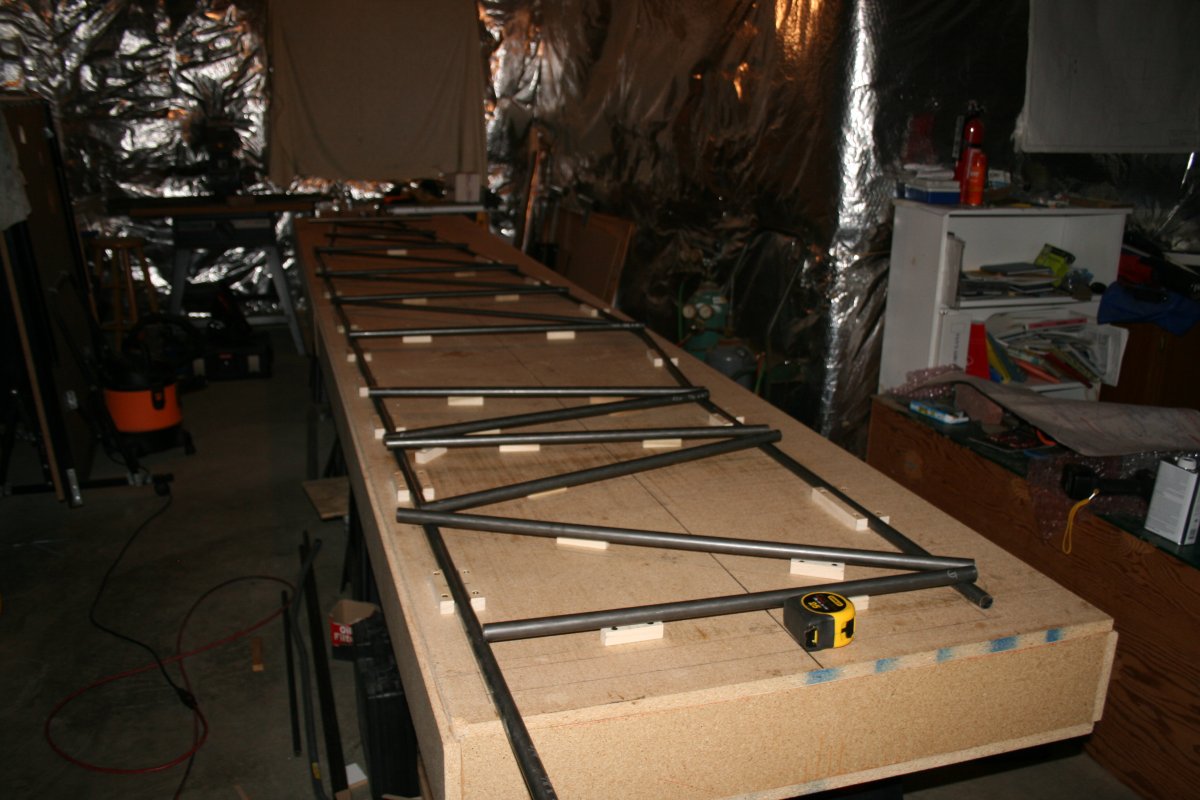
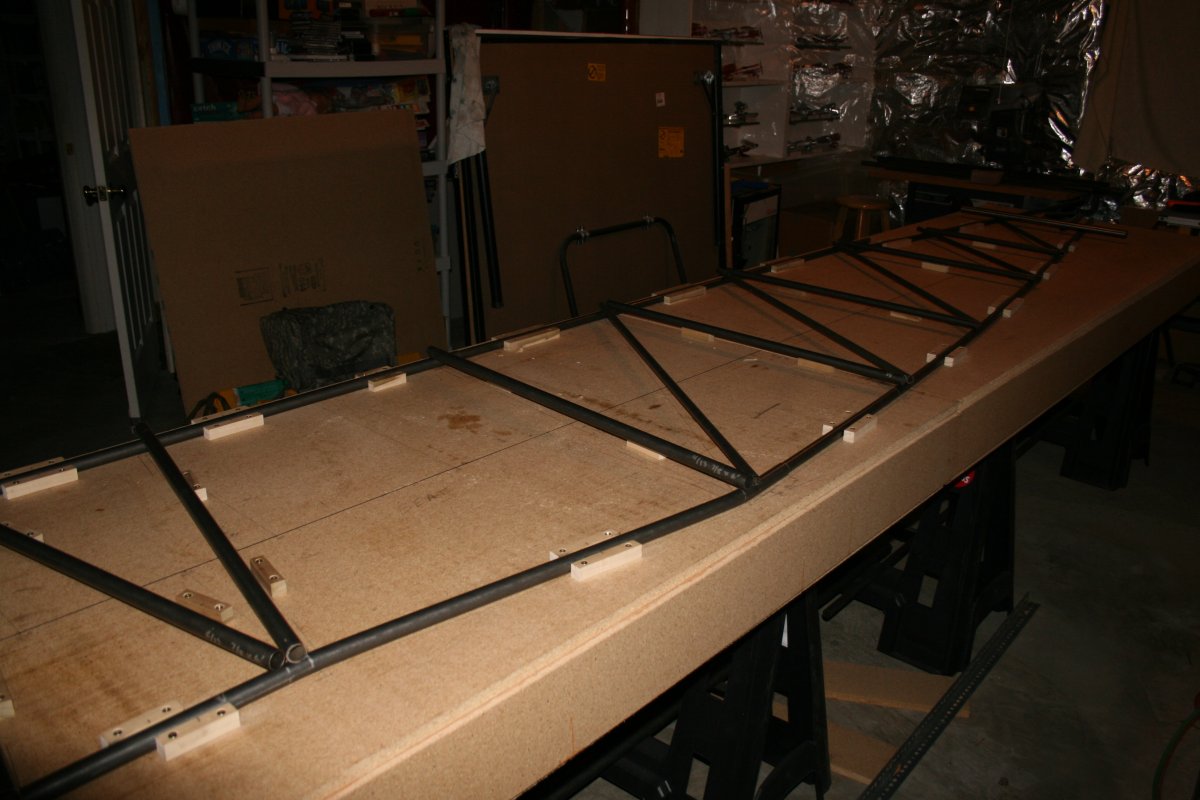
| About done cutting the cross-members. You can also get a good look at the aft longerons in place on the table in the jig blocks. |
| |
 |
|
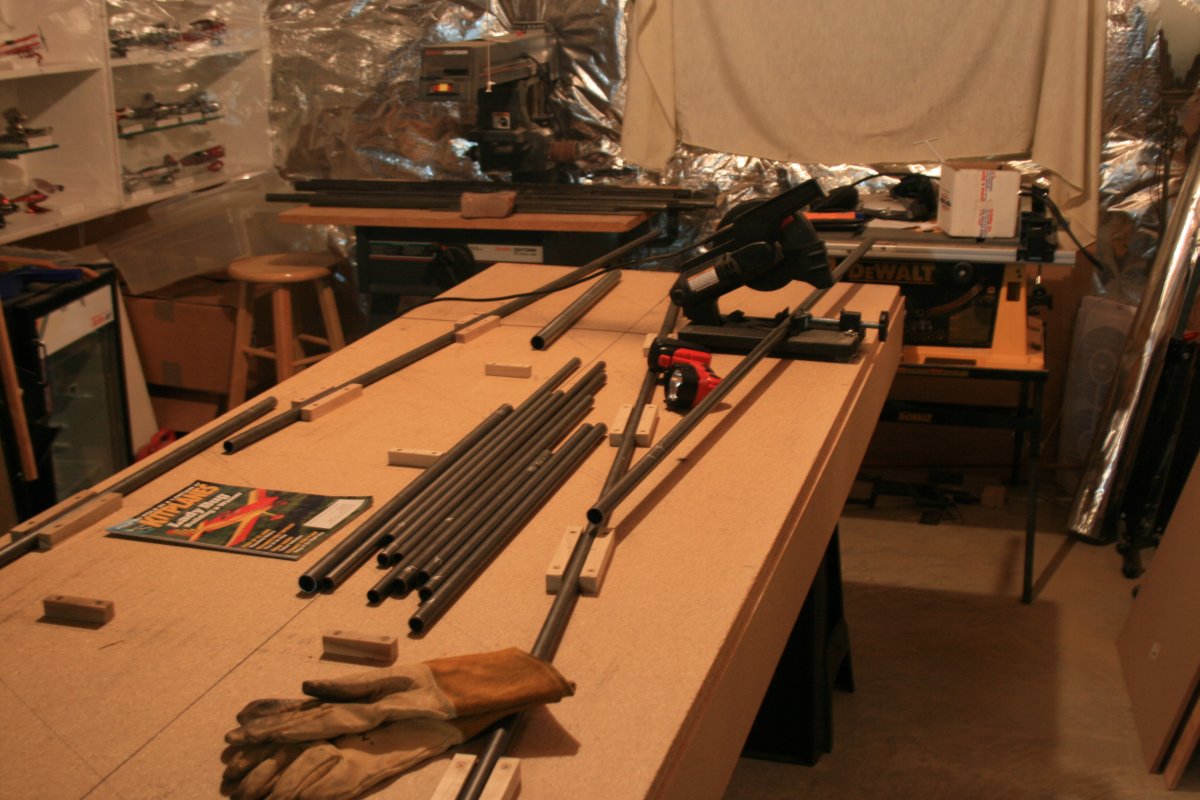
| OK, all cross-members and diagonals are rough-cut and laid out on the table. The forward cross-members are 7/8", the after cross-members are 3/4", and the diagonals are 5/8". |
| |
 |
|
| Another look. |
| |
 |
|
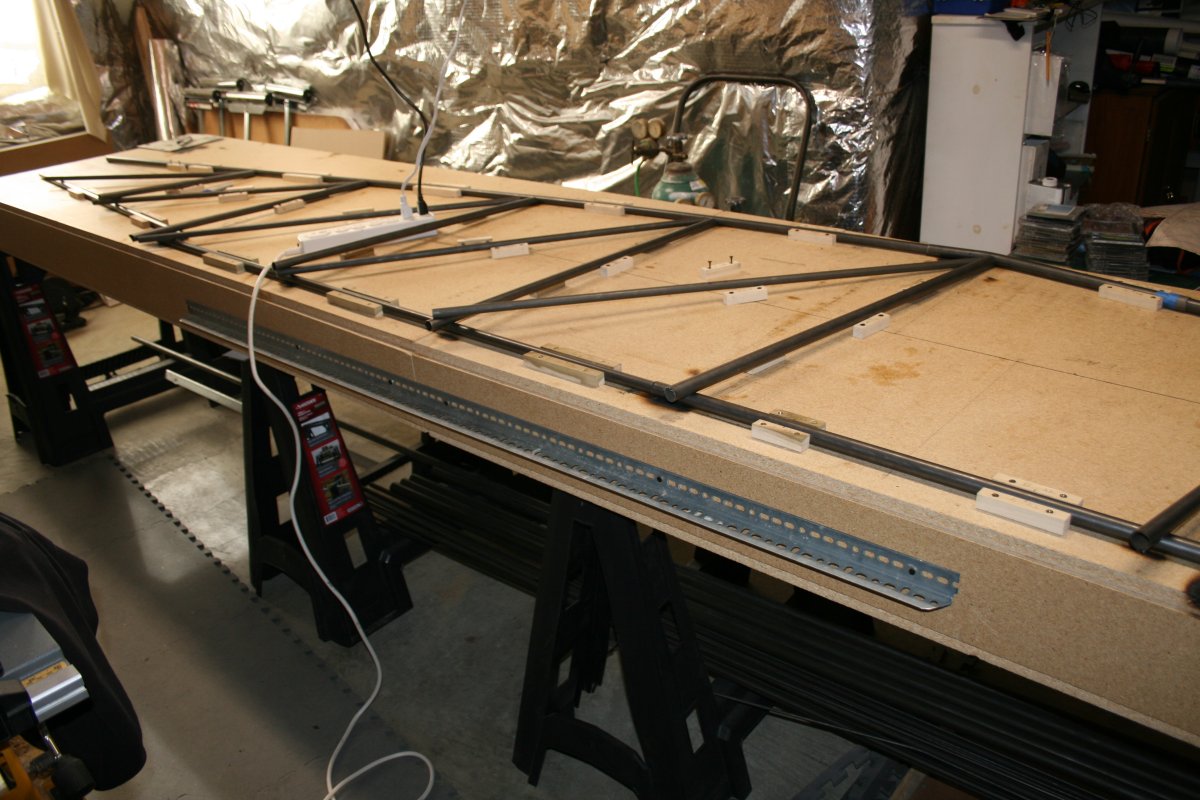
| Yet another look. The lighting is horrible in this wing of my basement. |
| |
 |
|
| So I put in some new lighting. Much better. I need to run a permanent power line to the lighting though. |
| |
 |
|
| |
| |
|
|
|
|
|
|