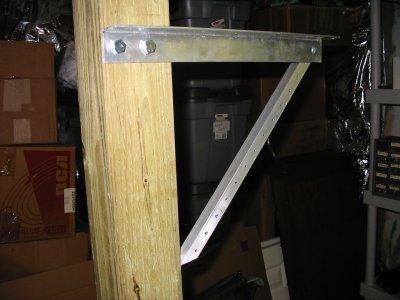
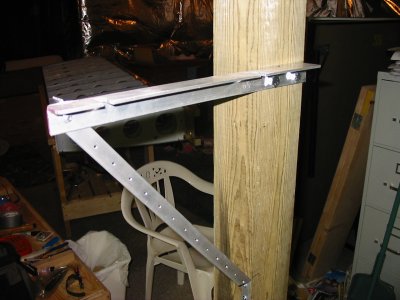
September 2, 2004 - Wing Jig


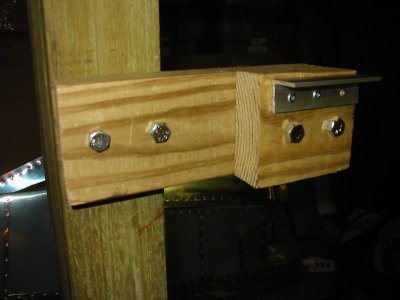
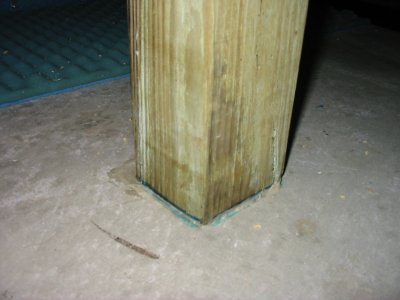
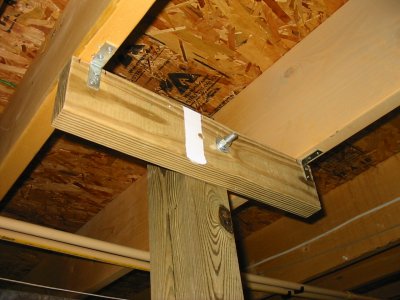
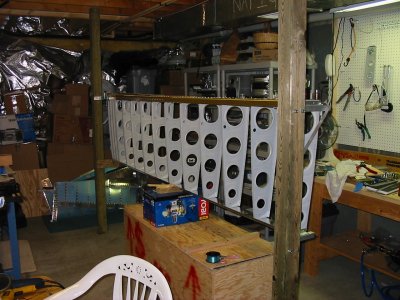
The next step is to build the wing jig. It consists of two 4x4s that support the wing between them. I mounted the 4x4s by bolting them to the overhead joists, and glueing them to the cement floor using "Liquid Nails". This is the right 4x4.

It took me a lot longer than I expected to put this thing together: over a week. But as you might imagine, it's important to build your wing straight and with no twist. I think I made four trips to the hardware store to get nuts, bolts and aluminum angle.

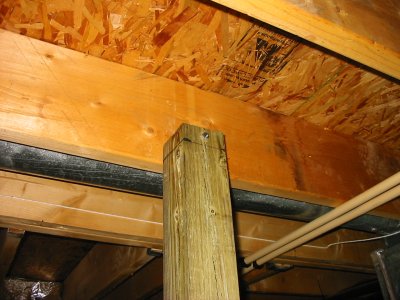
The support where the inboard main spar rests.
The support where the inboard rear spar rests.
The Liquid Nails really worked well. I really didn't want to drill holes in my basement floor, even though I know you can just fill them later.
The support for the outboard rear spar. The notches in the support are for the outboard skin. Unfortunately I did these before measuring the alignment with plumb bobs. They weren't right so later I had to take the wing off and trim out more aluminum. I used the die grinder so it isn't that big of deal.
The support for the outboard main spar.
To get the proper spacing between 4x4s, I bolted the left 4x4 to a 2x4 which in turn was screwed to the joists.
The wing jig (without wing).
With wing. It is necessary to jack up the rear spar a little. I used the fuel tank crate, a box and some wooden shims. I'll probably change it sometime down the line.
You run some fishing line the length of the spar. If it lines up with all the rivet holes, then you know the spar is straight on the wing jig. You can see the fishing line below.
This image shows why you need slots cut in the outboard support angles. See how the skin fits into the slot?
Previous
Home
Next