June 30, 2007 - Install Mapbox into Panel |
||||||
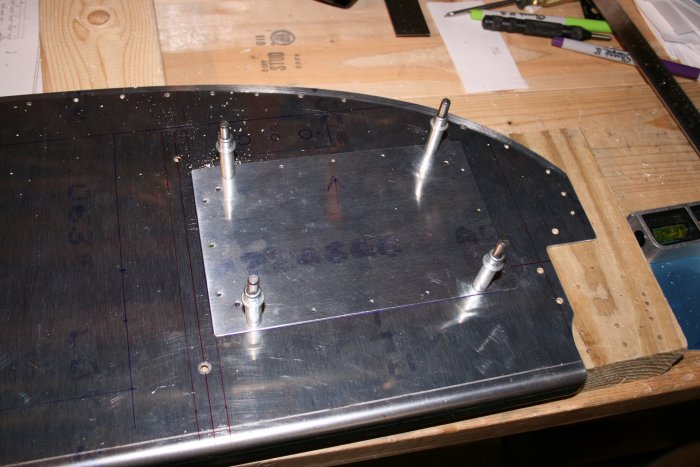
I've probably spent 15 hours planning the electrical system and panel. But I'm pretty much done with the planning. It's time to get on with it and start cutting. I decided to start with the Mapbox figuring it's the least critical of all the rectangle cuts and it would be good practice. Van's Mapbox kit comes with a drilling template so I positioned it where the drawings indicate and drilled all the #40 and #30 holes. The #40 holes are for the rivets to hold the mapbox to the panel. The four #30 holes indicate where the panel should be cut out. | ||||||
I couldn't resisit clecoing the mapbox to the panel.
|
||||||
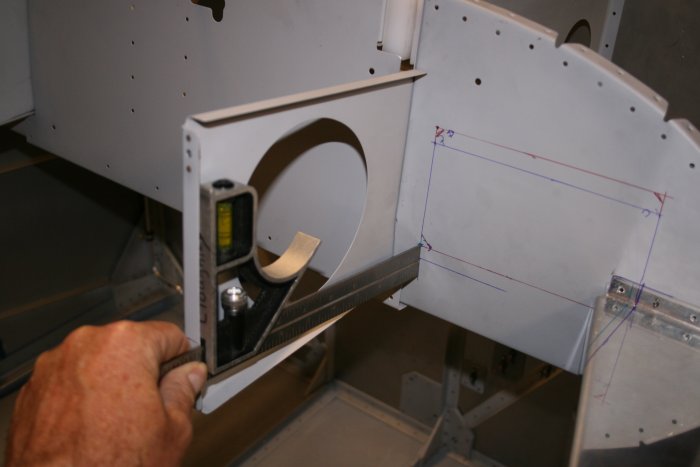
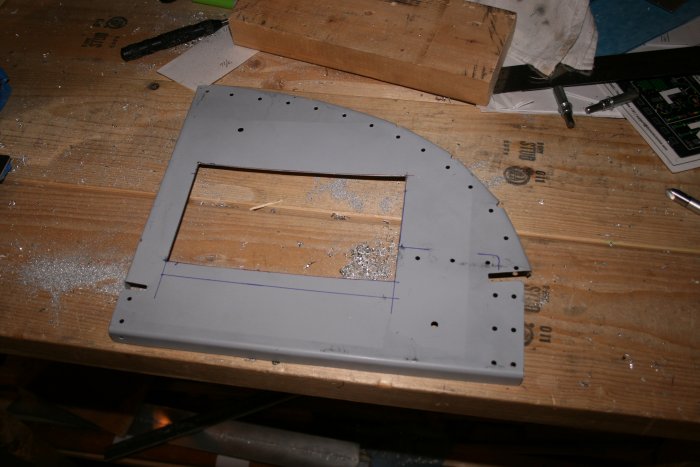
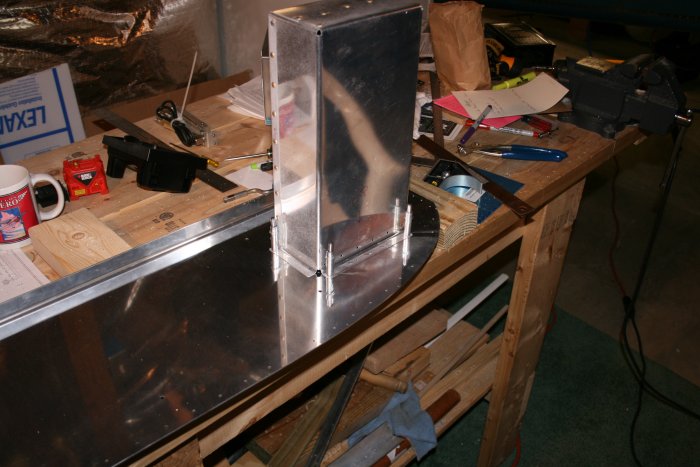
The mapbox is so long that you have to cut a hole for it in the Subpanel. But where? The drawings give you a horizontal dimension to use but not a vertical. I ended up using a square to mark where the mapbox passes through the subpanel. You also have to cut a piece off the forward canopy deck (F-721A). | ||||||
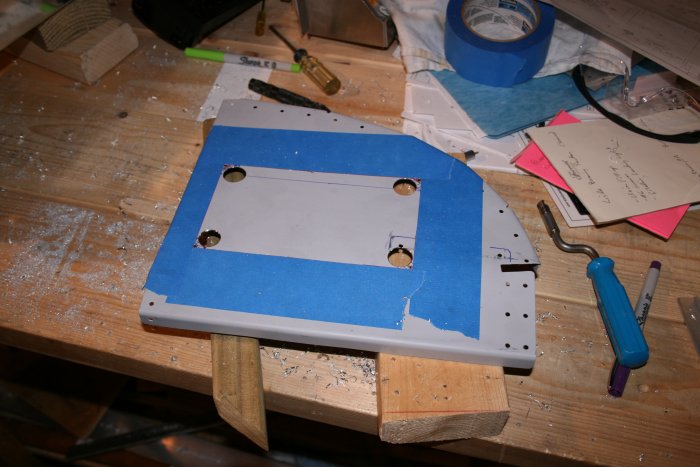
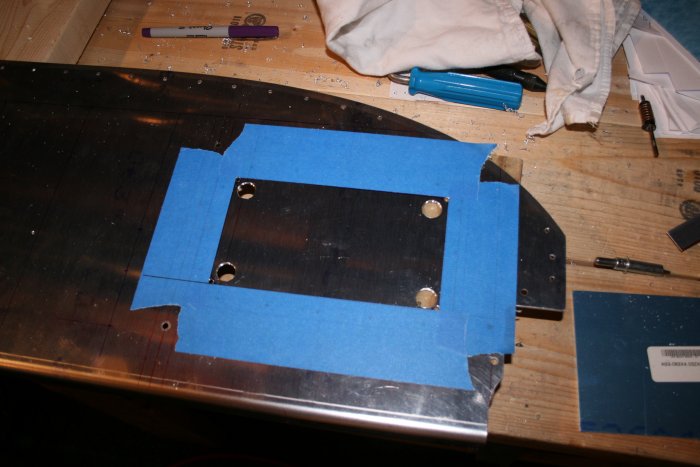
Time to cut the panel. I made four large holes with the Unitbit.
|
||||||
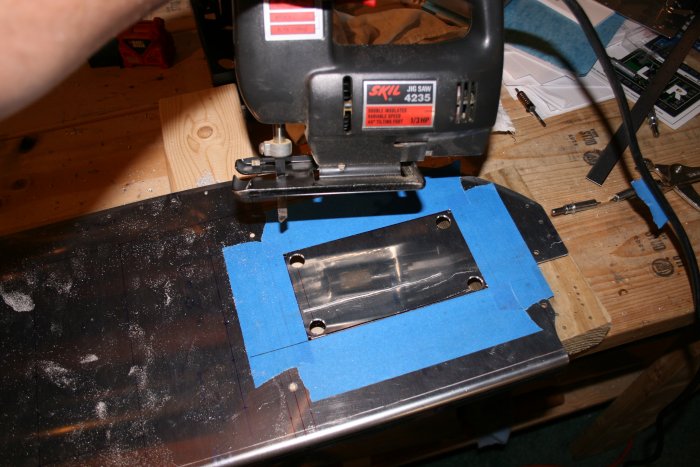
Then I used my Jig Saw with a metal cutting blade to cut the rectangle out. It worked pretty well. The tape served two purposes: to show me where the cutting line was and also to protect the panel from scratches by the jig saw. | ||||||
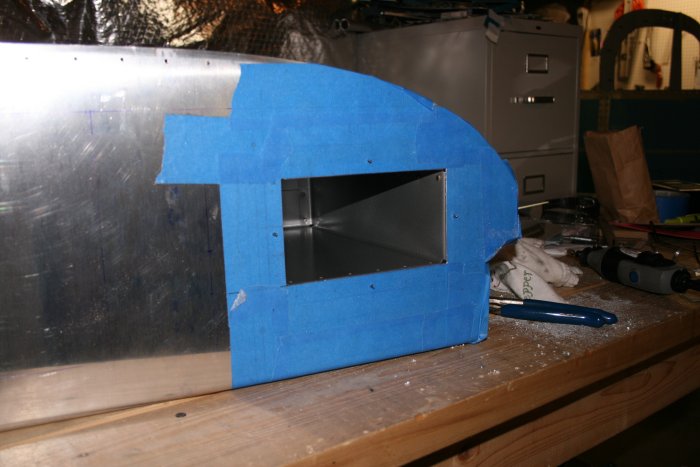
Once the rectangle was cut out with the Jigsaw, I had to use my dremel tool and file to true the edges. I still have more filing to do but here the panel is with the mapbox clecoed on. | ||||||
Then I did the same thing to the subpanel. It was easier to use the jigsaw on the Panel than the Subpanel because the subpanel is thiner and flimsier. | ||||||
All done.
|
||||||
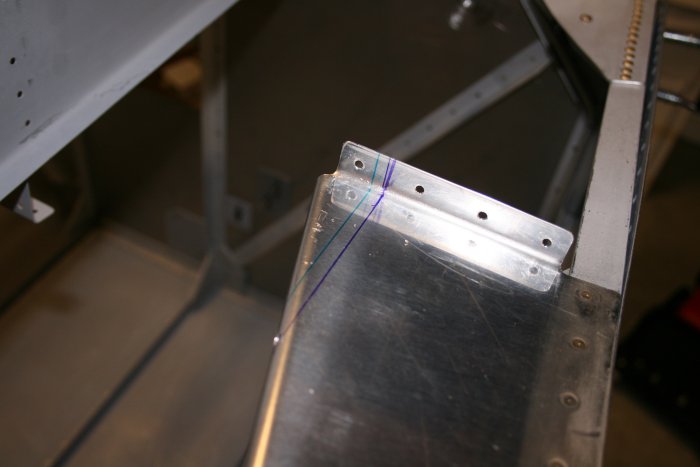
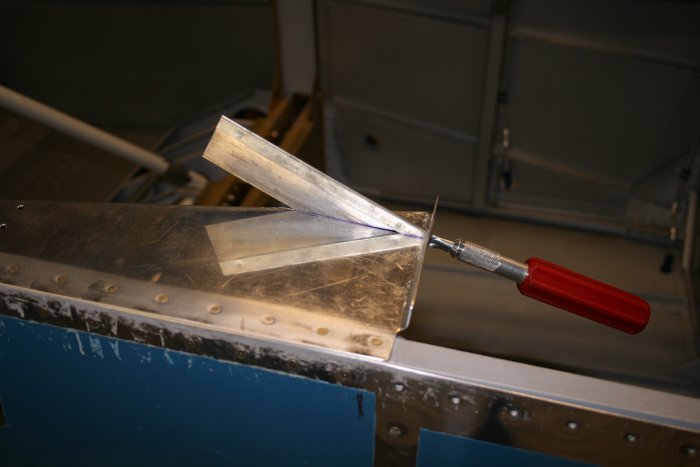
Next thing to do was trim the forward canopy deck -- along the purple line. | ||||||
I hate using the Dremel tool and cutting disk for rip cuts.
Thankfully, I was able to use my Exacto-saw which did a nice job without
the stress of the dremel tool.
|
||||||
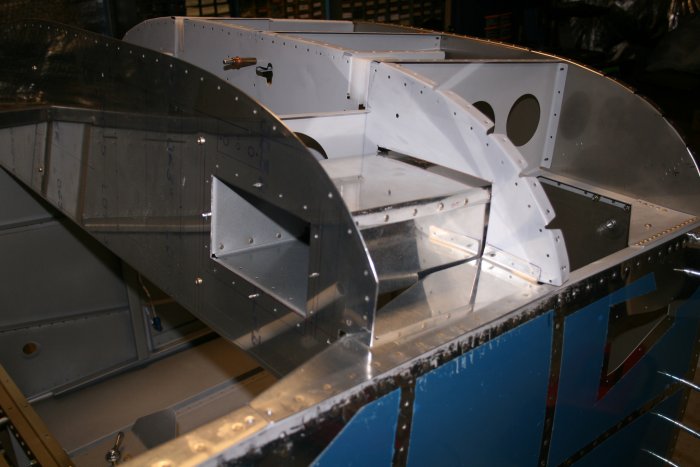
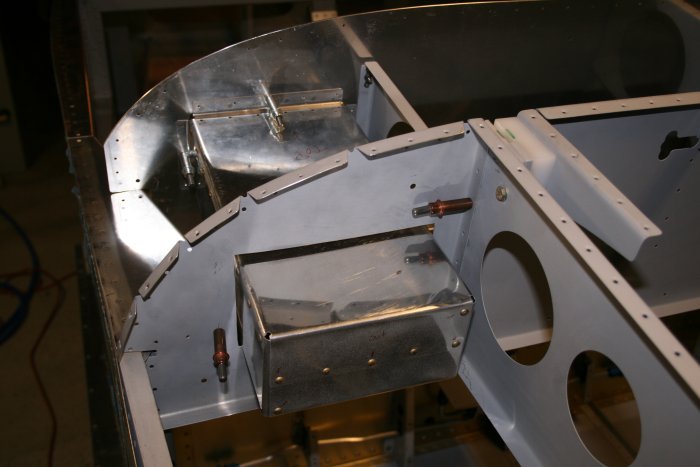
I put everything back together. My vertical measurement on the Subpanel was a little off. The mapbox is resting on the bottom edge with a little more space along the top edge than there should be. Not that big a deal, though. I'll be putting angle along the top and bottom edges of the subpanel anyways. The horizontal distances are perfect. | ||||||
Looking from aft. | ||||||
As always, I didn't get as much done as I'd have liked. But at least I'm finally started on the Panel. Just getting that initial start is always the hardest part. | ||||||