December 23, 2005 - Forward Fuselage
|
|
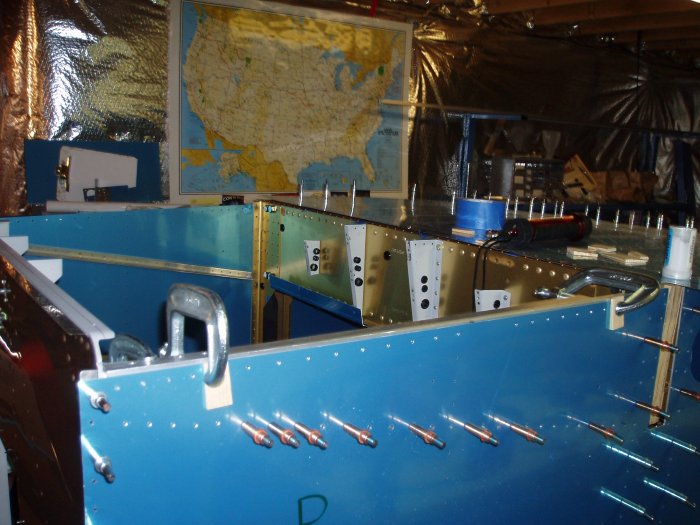
It's time to drill the lower longer bottom face to the engine mount steel
bracket. This is one of those "failure is not an option" areas.
I don't know what you would do if you made a mistake. That said,
there's really not much to it. First, I drilled the four holes in
the lower longeron to #12 according to the drawings. |
|
 |
|
|
Then I clamped the lower longeron to the steel bracket as best I could.
Finally, I drilled the bracket using the lower longeron as a template. |
|
 |
|
|
All done on this side (see the four 3/16" clecos in the upper right hand
corner).
|
|
 |
|
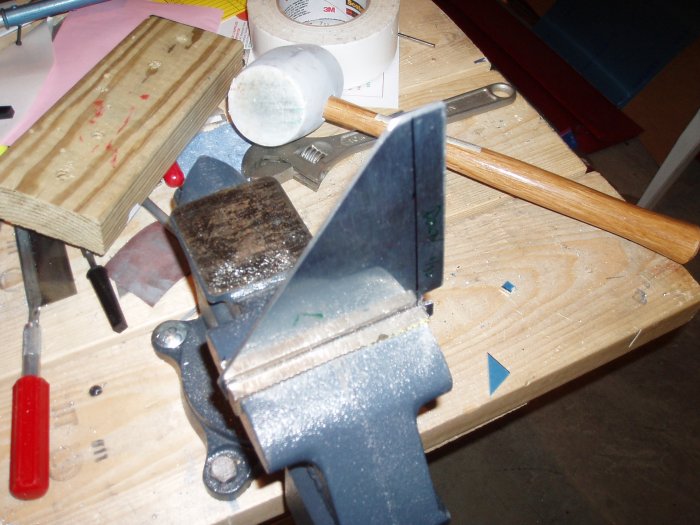
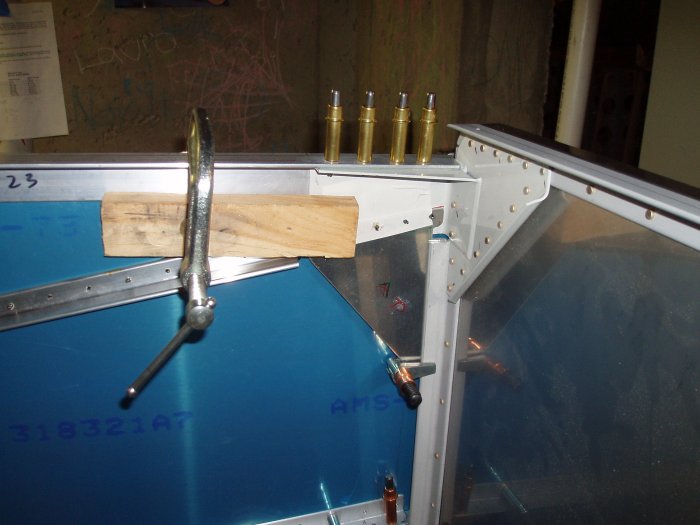
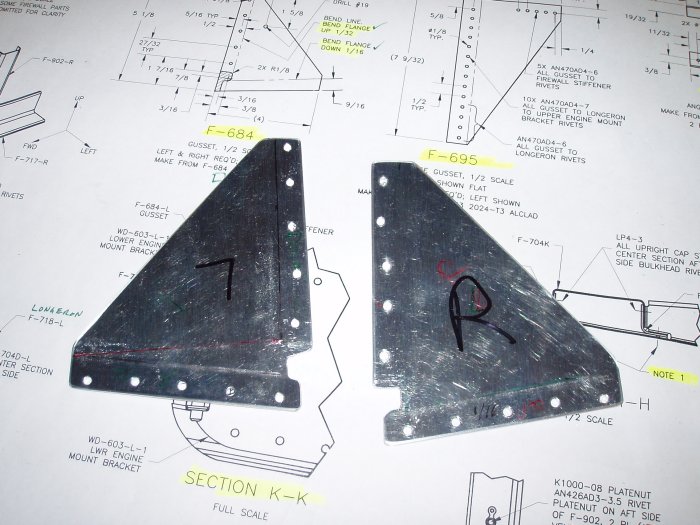
| The next step was to fashion, bend
and drill the F-684 gussets. To bend them, I put the gusset in the
vise as shown, set a piece of 2x4 flush against the gusset, and hit it with
the rubber hammer a couple of times. The aluminum is fairly thick, and
it requires some force to bend it. Two bends are required, in
different directions. The hardest part of the whole process is making
sure the bends are in the right direction! These days, before I drill
holes or bend metal, I do a lot of trial fitting -- seeing where and how the
component fits into the fuselage. It's a pain to crawl in and out of
the forward fuselage over and over but must be done. |
|
 |
|
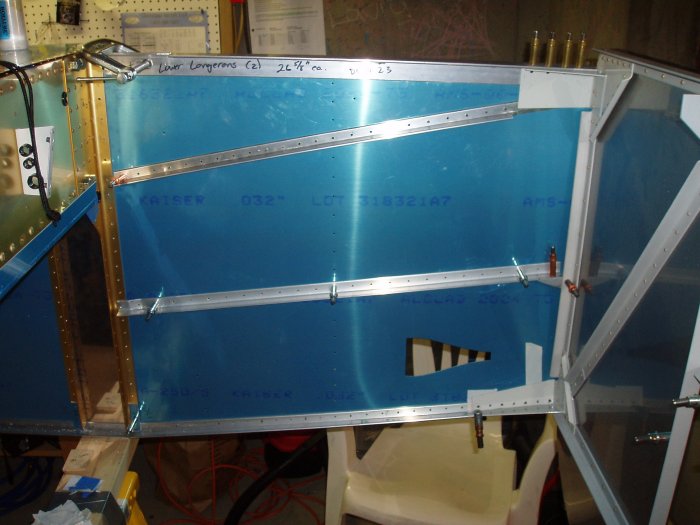
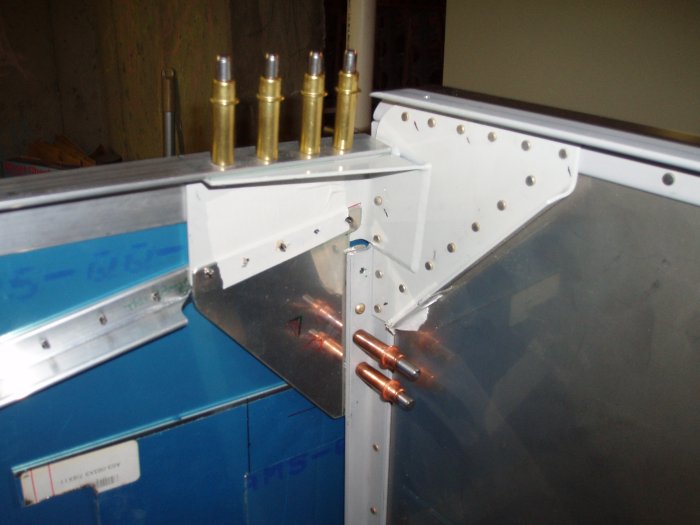
| The gusset fitted into the forward
fuselage. I have match-drilled the horizontal edge of the gusset,
using the skin as a template. It's hard to see but I used duct tape
and a clamp to fix the gusset in place before drilling. |
|
 |
|
|
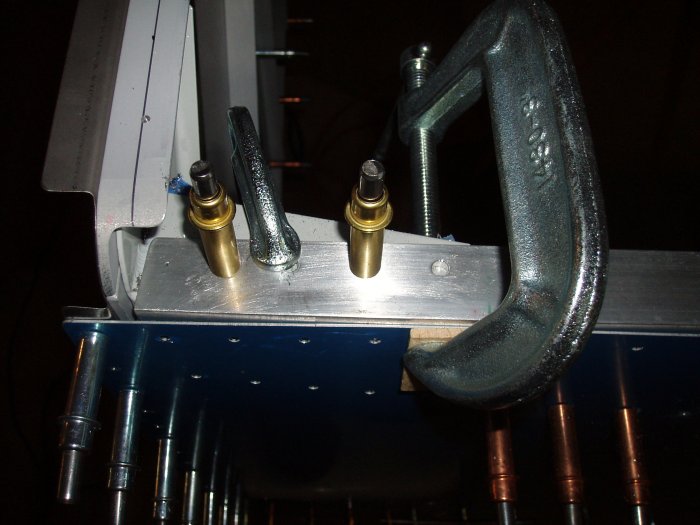
The view from the outside. Two holes are still left to drill. |
|
 |
|
|
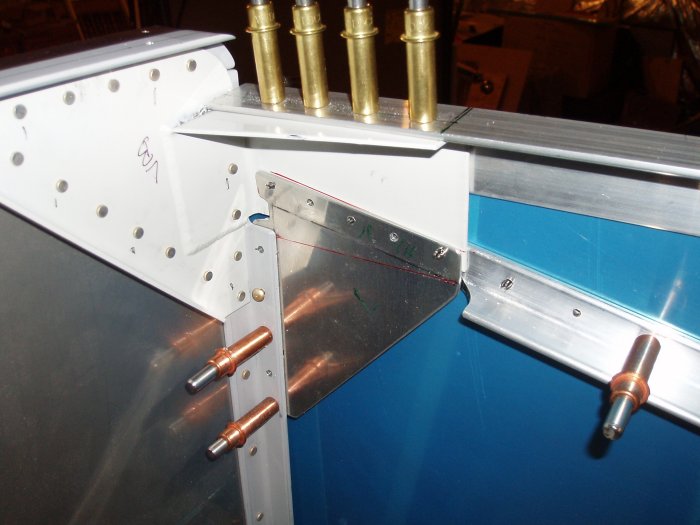
Now I'm drilling the vertical side. There are no starter holes to
use as a template. I used the drawings to mark the hole locations
with a Sharplie. Also, you DO NOT want to drill through to the
outside skin. It's hard to see in this image, but I have a scrap
sheet of aluminum duct taped to the skin behind the gusset so my 12"
drill bit won't go through the outside skin.
|
|
 |
|
|
All done. Everything came out nice, tight and flush. |
|
 |
|
|
The left side.
|
|
 |
|
| The two gussetts after drilling. |
|
 |
|
| |
|
|
|
|
|
|
|