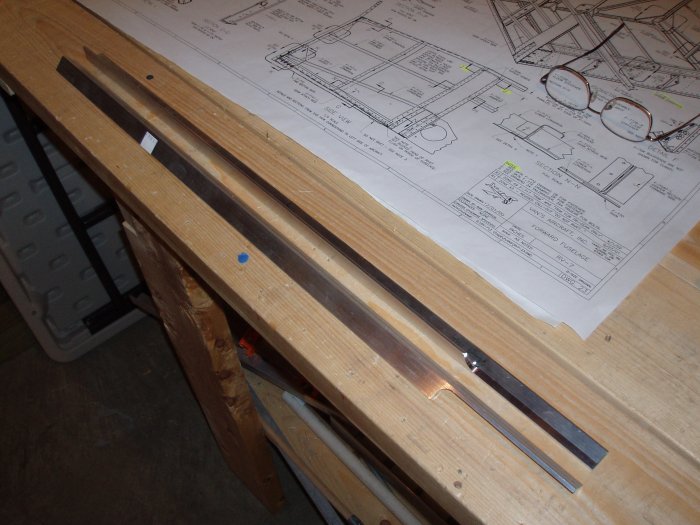
December 17, 2005 - Fwd Fuse - Aux Longeron

With the firewall, forward side skins and forward bottom skins all clecoed in place, it was time to reinforce the forward fuselage area with all the longerons and stiffeners to make it nice and strong.  After all, it's going to have a 160+ pound, 180 horsepower engine hanging up there. 

This is a picture of the auxiliary longerons that come in the kit. The forward ends -- in the lower right of the image -- are pre-cut which is nice.   

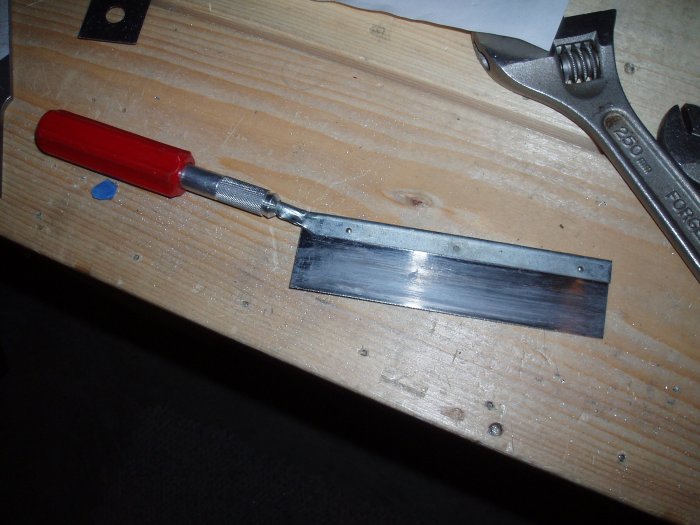
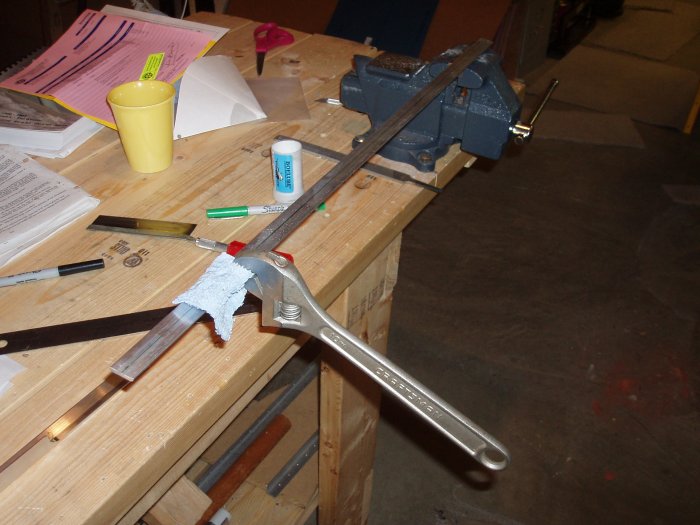
As loyal readers of this page know, I don't have a bandsaw and have been using a hacksaw to cut my aluminum angle.  The way I've been doing it has consumed more time than it should  -- future builders, get a bandsaw from the get-go. 
 
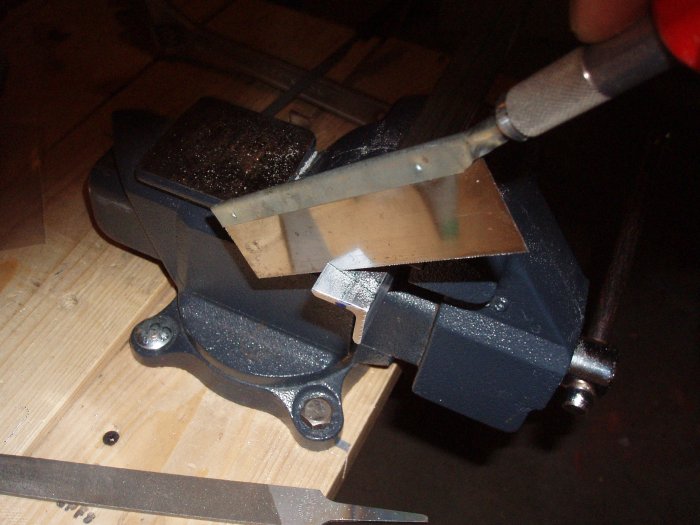
I think I bought the below modeler's saw many years ago at Oshkosh for use building plastic model airplanes but never really used it.  On an impulse, I decided to try it on the aux longeron.  It worked great!  I couldn't believe how fast it cut through the aluminum, and the line was absolutely straight, and the cut was thin and smooth.  Afterworks, I didn't even need to file it.  I just ran some emery cloth over it.  I highly recommend this tool. 
The aft ends of the aux longerons require trimming so they butt up against the F-704 bulkhead at an angle. 
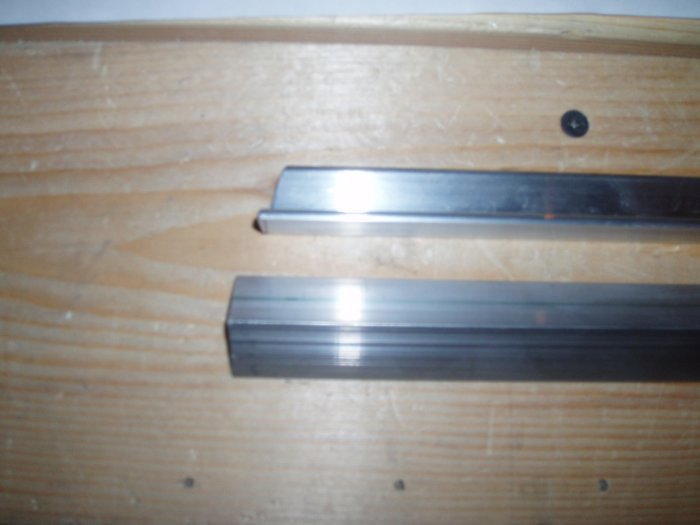
One aux longeron is trimmed and one is not.
After the aux longeron is trimmed, it requires a little twisting.  After surviving twisting of the main longerons, twisting these relatively short angles is a piece of cake.  The desired result is to have the aux longeron forward end be parallel with the firewall bracket, and the aft end be parallel with the F-704 bulkhead. 
Then it's time to drill the aux longeron.  It's the standard draw a line down the center of the longeron with a Sharpie, use duct tape to position it on the inside of the skin so you can see the Sharpie line through the center of the holes, then drill through the skin.  Works great.
The right aux longeron successfully drilled.  All the holes are right where they need to be on the longeron.  The longeron is parallel with the firewall bracket on the upper right of the image. 

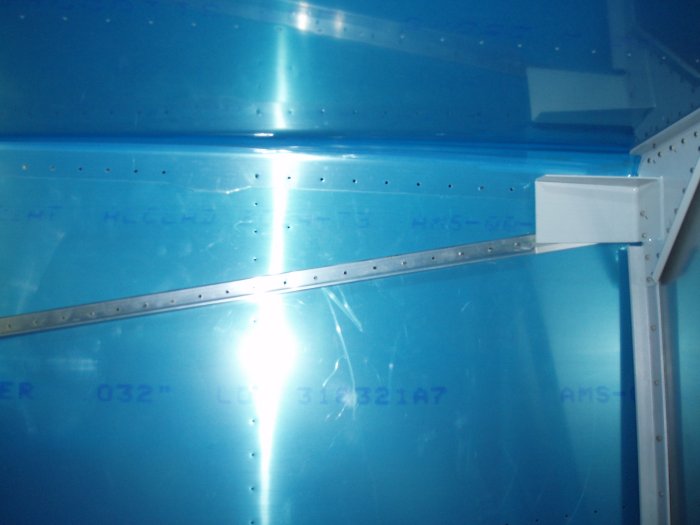
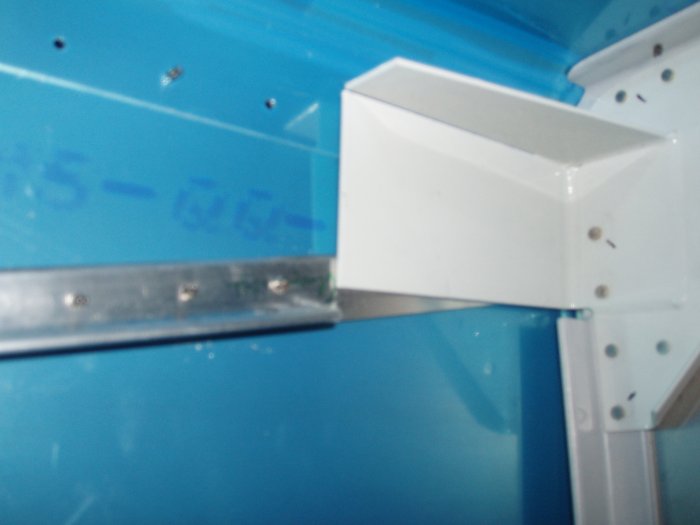
Notice the holes that go through the steel bracket are NOT drilled.  The instructions could be a little better in this regard.  They tell you to drill the aux longeron; then a couple of paragraphs down, they tell you not to drill the longeron where the steel bracket is.  This gets drilled later when you have the gusset in there. 

Sorry for the fuzzyness.  I wanted to get a close-up showing that the longeron is parallel and tight to the steel bracket. 
Previous
Home
Next