January 22, 2005 - Right Flap
|
|
Once all the match-drilling of the flap was done, I took it apart for the
standard prep work: deburring, dimpling, countersinking and priming.
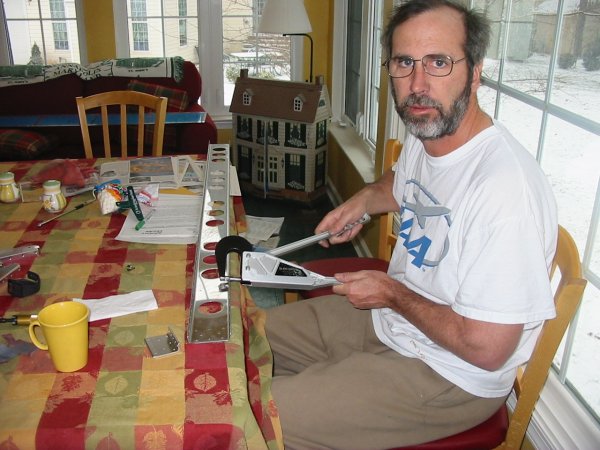
I'm dimpling the spar here. Notice the snow outside and the EAA
T-shirt. .
|
|
 |
|
|
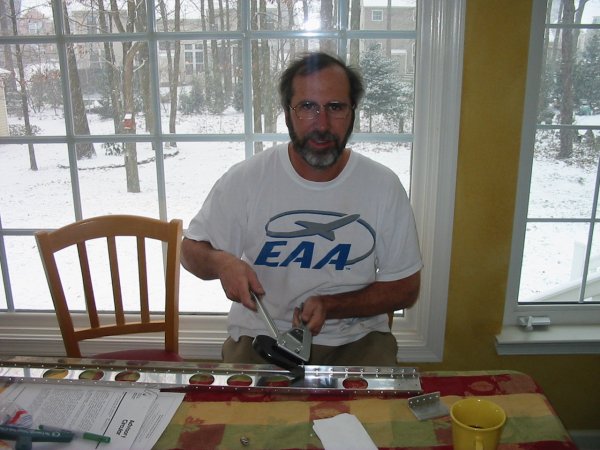
Another rare dimpling action shot.
|
|
 |
|
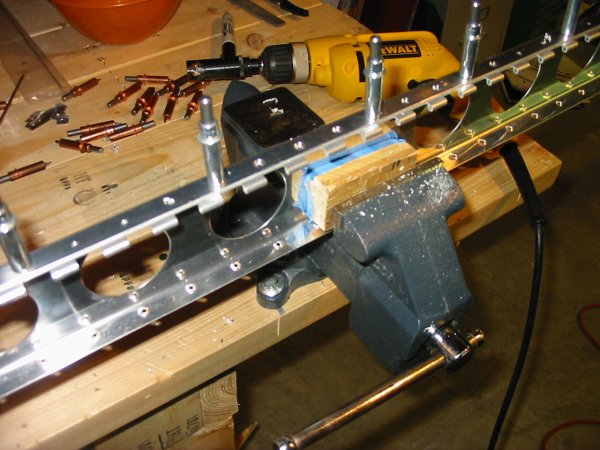
Because of the Hinge, the bottom's a little different. You
dimple the skin, countersink the spar and do nothing except deburr the
Hinge. When countersinking the spar, I had the Hinge clecoed
underneath to act as a guide for the countersink bit.
|
|
 |
|
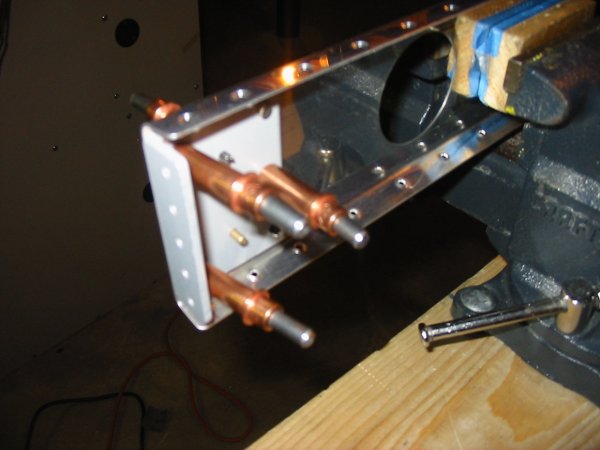
| The next step was to rivet the
reinforcer to the spar. First I had to prime the reinforcers.
This was a problem since it was less than 20 degrees outside. I waited
until the afternoon when it was as warm as it was going to get, sprayed one
side of the reinforcers with the Mar-Hyde, then brought them inside as soon
as they were dry enough to touch. After they had warmed back up, I
took them outside again, and sprayed the other side. I was pleasantly
surprised when the priming seemed to have come out fine -- no adverse
effects from the cold.
In the picture, I'm in the process of riveting the reinforcer to the
spar. |
|
 |
|
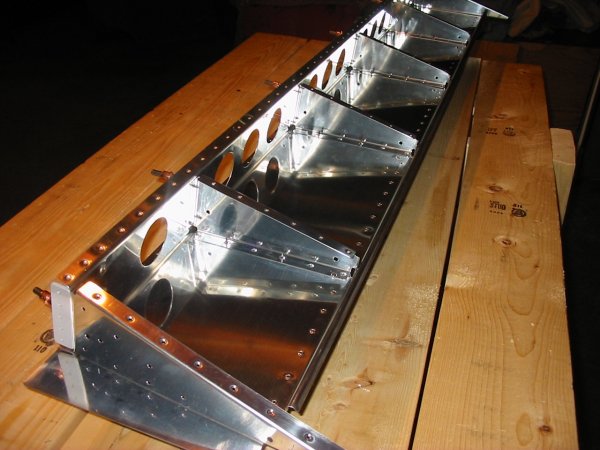
| You can't really see here, but I
have riveted the rib ends to the "virtual" rear spar. I was able to do
it using the hand-squeezer. |
|
 |
|
|
|
|
|
|
|
|