January 21, 2005 - Right Flap
|
|
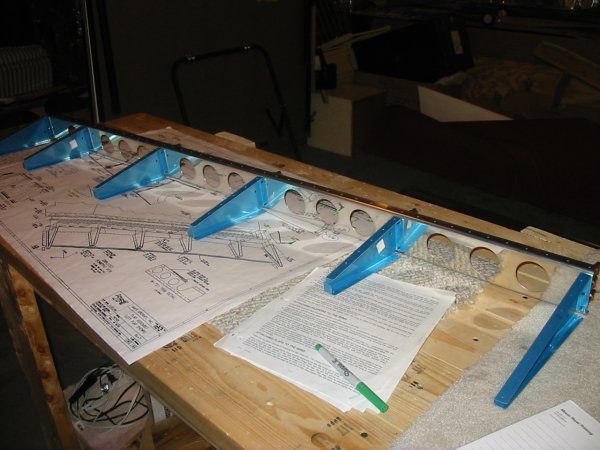
Let's start the right flap. I've already de-vinyled and
edge-smoothed the spar and skins. First step is to cleco and
match-drill the ribs to the spar, as shown here. |
|
 |
|
|
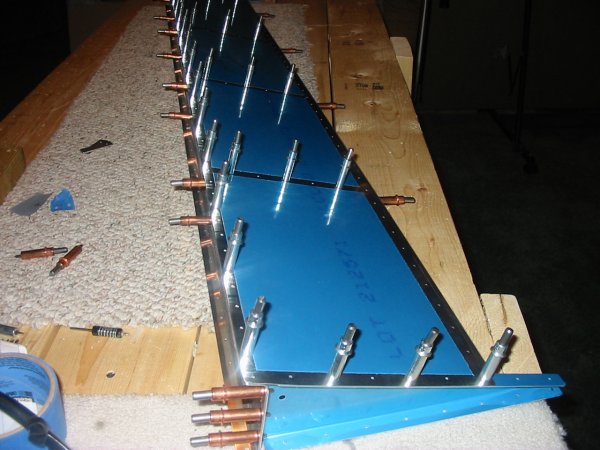
Then cleco and match-drill the bottom skin to the ribs.
|
|
 |
|
|
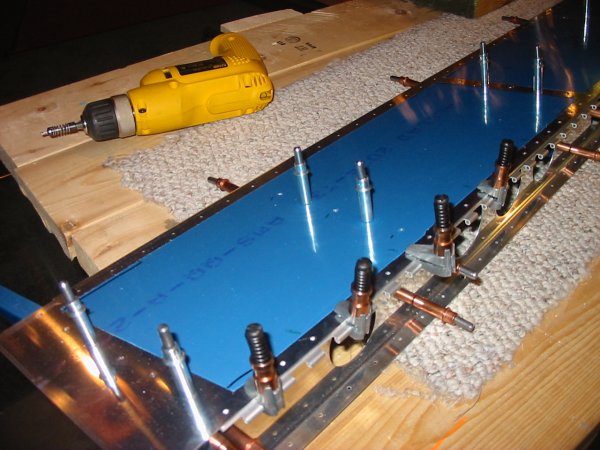
Then match drill the Hinge to the bottom skin and bottom spar flange.
I marked the hinge so I have 3/16" between the hole in the hinge and its
edge. This was to facilitate aligning the flap trailing edge with
the aileron trailing edge down the road. |
|
 |
|
|
I don't have any pictures, but next I fashioned shims that go between
the top skin and the end ribs. I also fashioned little shims that
go between the rib ends and the "virtual" rear spar. These shims
may be little, but the little rib-end ones are kind of a pain to make.
Next, I clecoed and match-drilled the top skin to the flap structure.
|
|
 |
|
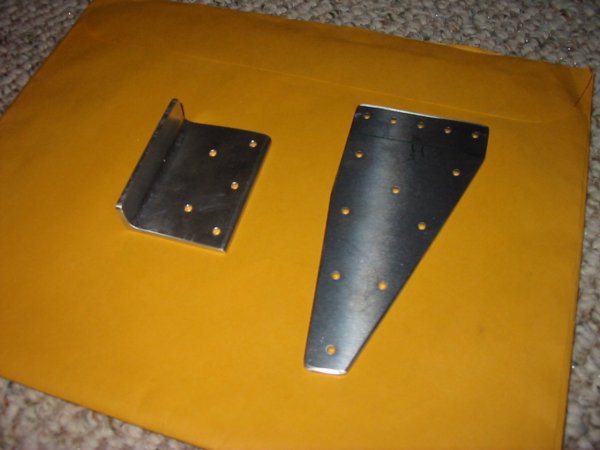
| Now it's time to fashion the famous
FL-706A flap spar reinforcer. No pre-made component from Van's here.
You get to do it yourself from the supplied aluminum angle material. A
lot of sawing with the hack-saw. (Editor's note: this is
when you wish you had a band saw, isn't it?) Then measuring and
drilling. |
|
 |
|
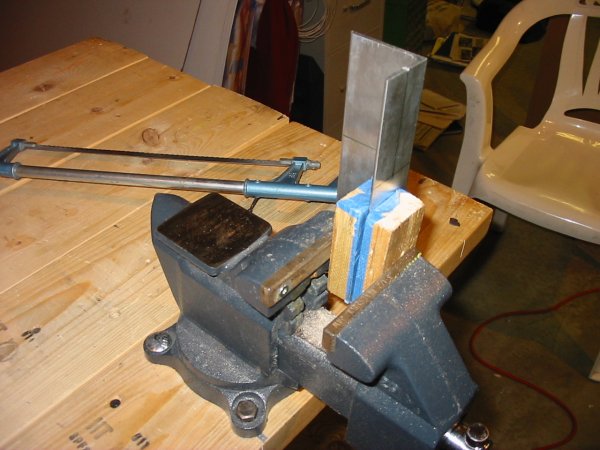
| The completed FL-706A flap spar
reinforcer on the left. Van's supplies the FL-706B on the right.
All you have to do is bend it a little bit. Which is easier said than
done, since it is 1/4" thick. I put it in the vise, then pushed hard,
while Lynnette pushed back on the workbench. |
|
 |
|
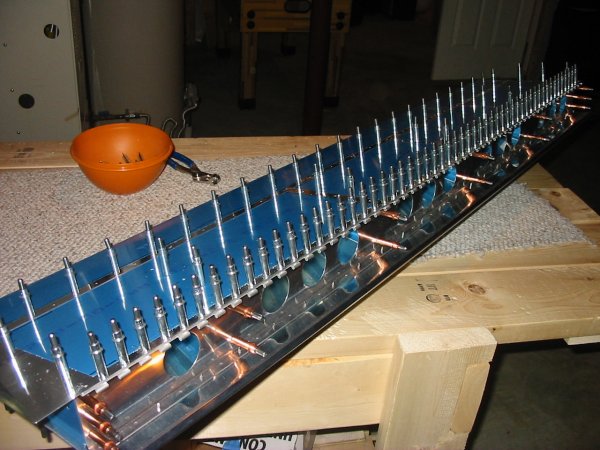
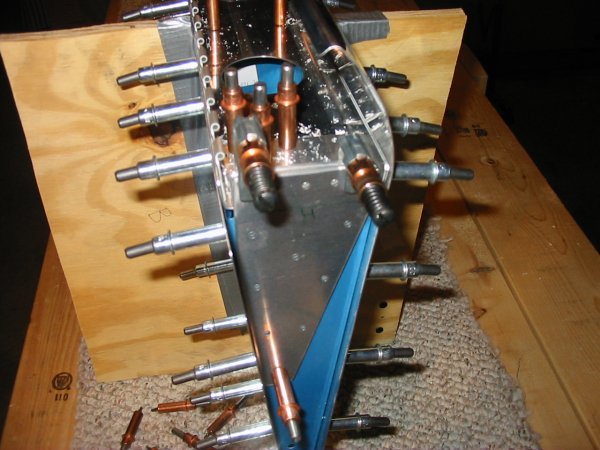
| Cleco the reinforcers to the spar
and end rib, and more match-drilling. |
|
 |
|
|
|
|
|
|
|
|