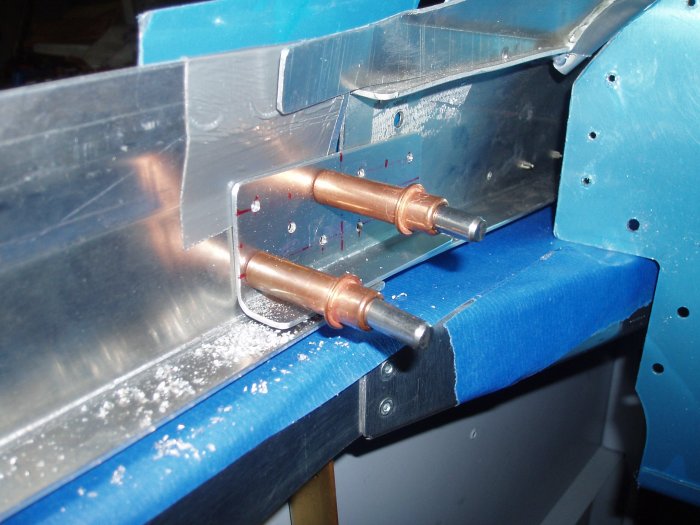
November 25, 2006 - Canopy Frame |
||||||
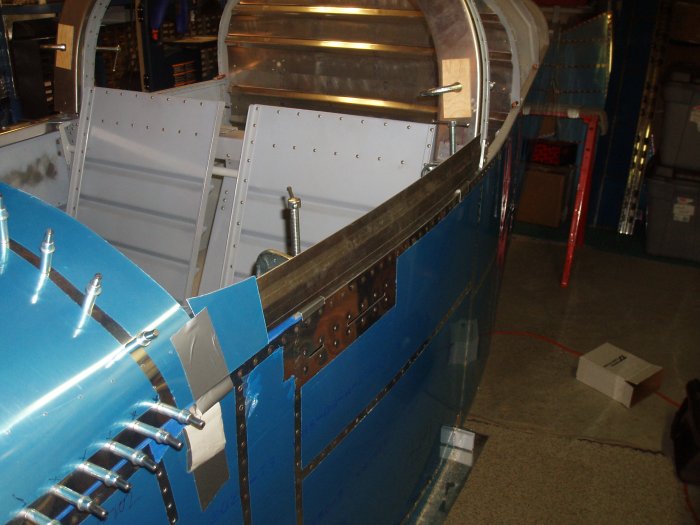
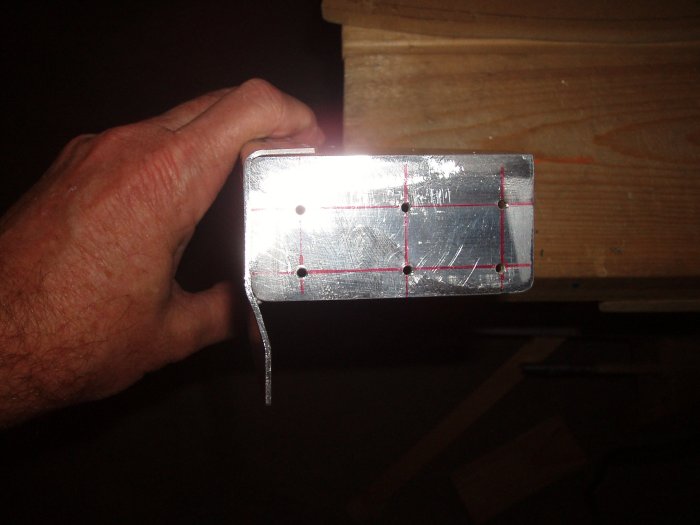
Another beautiful day but I'm still sick so no flying the Citabria. I made a few more adjustments to the side weldments, then I drilled the back ends. | ||||||
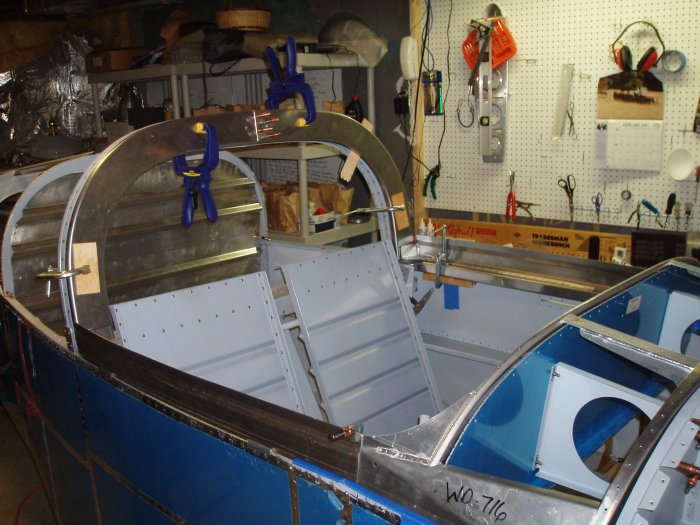
I clamped everything down tight in preparation for match-drilling.
|
||||||
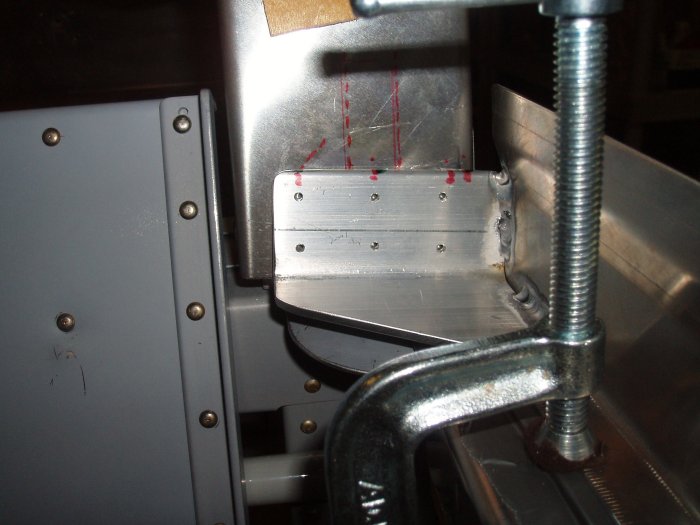
I started with the left side. Both the aft channel and side weldment is clamped down. | ||||||
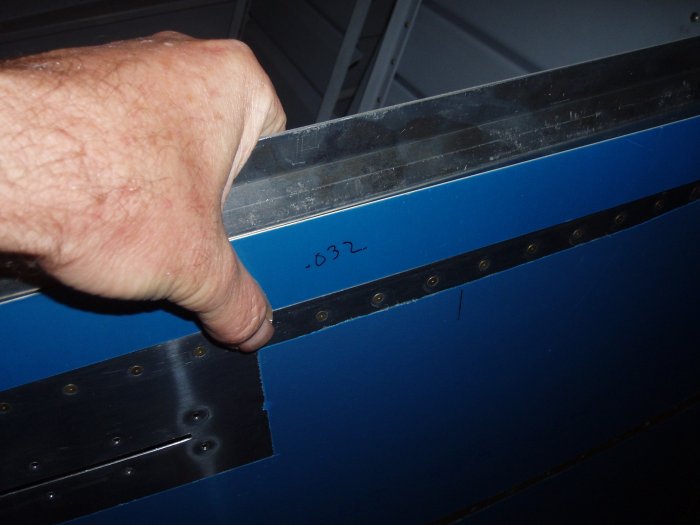
The canopy skirt skin is supposed to be level with the canopy side skin.
I used a piece of .032 aluminum to make sure the side weldment was in
proper position.
|
||||||
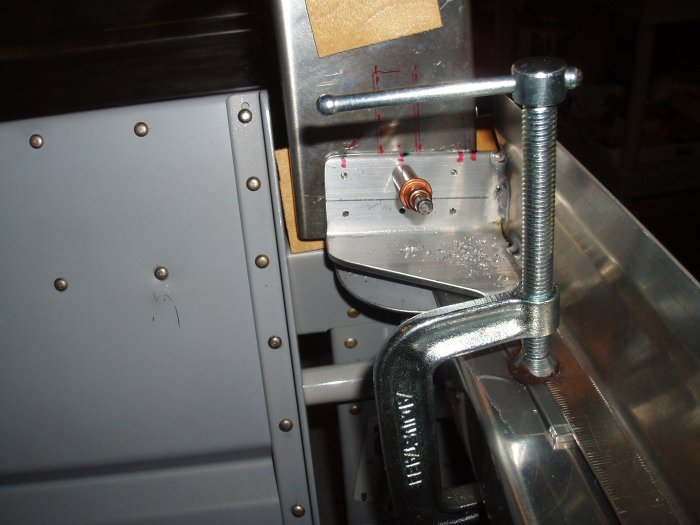
It's time to match-drill the aft channel, using the back end of the side weldment as a template. Looks like the holes are in their proper position. | ||||||
Here we go. I used the 12-inch #30 drill bit to do the job. | ||||||
Done! | ||||||
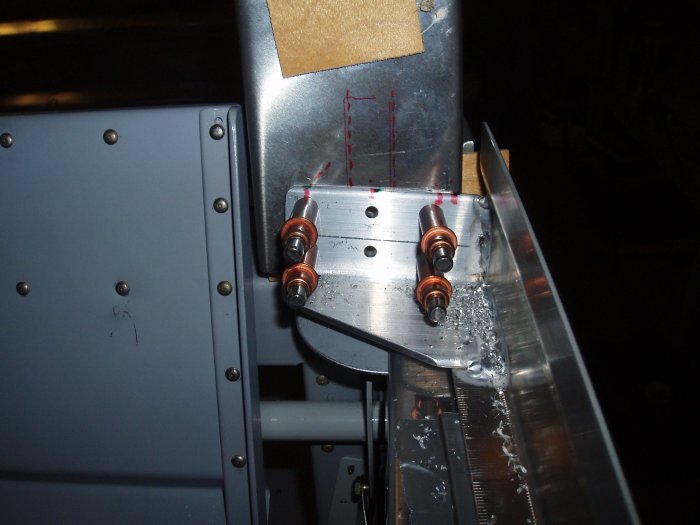
Then I drilled the two middle holes to #12 since they will take AN3
bolts.
|
||||||
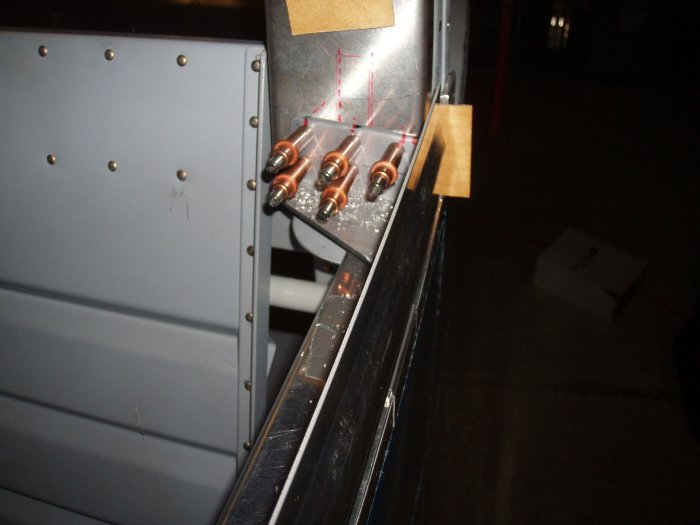
Still on the left side, I moved forward and match-drilled the side weldment and forward canopy frame, using the splice-plate as a template. The drawings call for a wedge-shaped spacer under the forward half of the splice-plate, but I may have to put a smaller one under the aft end as well. | ||||||
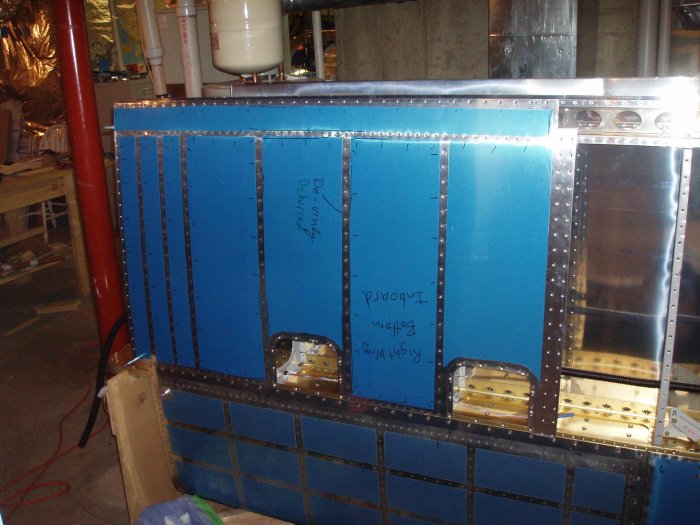
Bruce came over in the afternoon and we finished riveting the right wing
inner bottom skin. It's probably the toughest riveting I've done
on the project ever. I bucked and I had to do practically every
one of them by feel. The rear spar holes were especially tough
because it was simply hard to reach them. The main spar holes were
challenging because of interference with the nut plates. It was
slow going at first, but we got better at it as we refined out
technique.
|
||||||