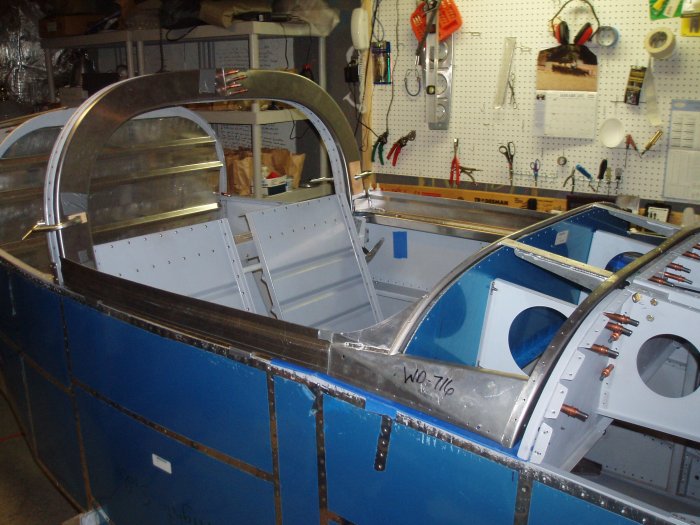
November 24, 2006 - Canopy Frame

I had the day off from work, and it was a beautiful day outside, but can you believe I came down with a cold Thursday night?  I didn't feel very well, and didn't think going flying in the Citabria was a good idea.  No problemo, I'll just work on the RV all day!

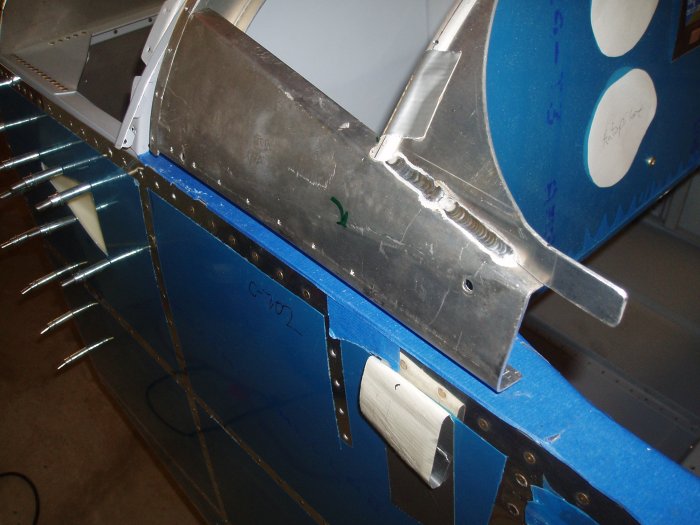
The next step was to get all the canopy frame components -- the forward section, the side weldments, and the aft channels -- aligned and in their proper position.  This is a lot easier said than done.  I have read that the canopy is more art than science and I'm not understanding what they mean.  The instructions can't say "do this, and then do that" and you come out with this perfectly aligned canopy frame and canopy.  The instructions give you some general guidance but it's up to you to get it done.  There is a lot of fit it, make adjustments, fit it, make adjustments, and so on. 

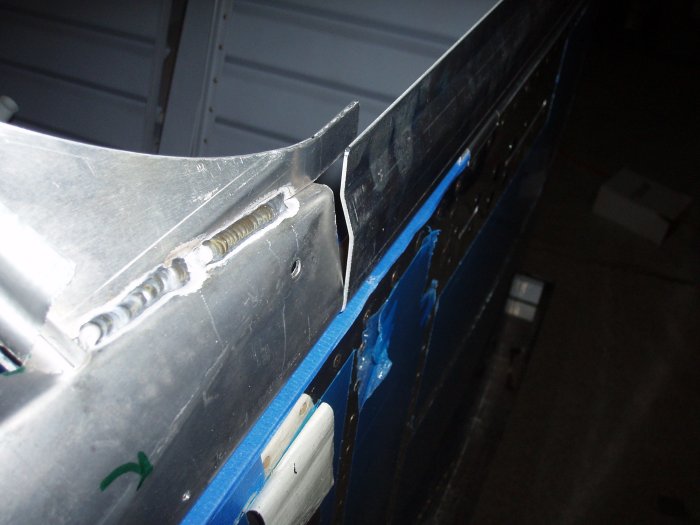
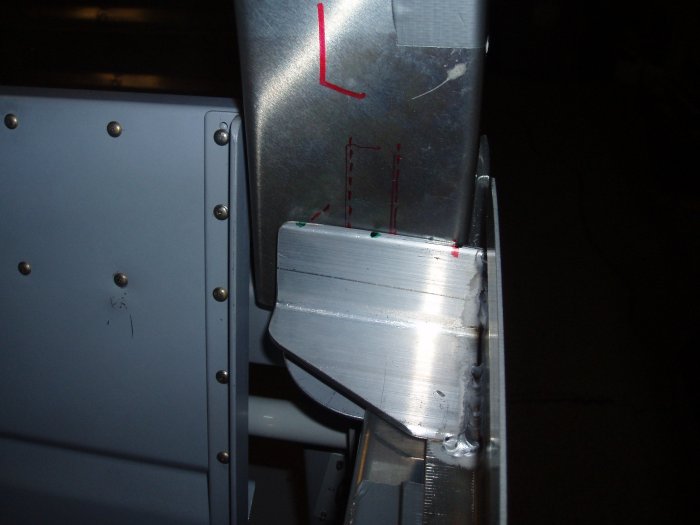
The instructions said to drill the back end of the side weldments according to the drawings.  I've been doing this project long enough to know when to pause and say "Whoa, pardner!  Let's look at this a bit before we start drilling anything."  The back end of the side weldment eventually gets riveted and bolted to the aft channel.  This canopy latch lug gets bolted to the back side of the aft channel and goes through that square hole you see in the picture.  So the latch lug has to be positioned just right on the aft channel.  The middle holes in the back end of the side weldment have to be right spot. 

I put green marks on the side weldment where the drawings call for the holes.  Temporarily placing the side weldments on the fuse show that the holes would not right for the aft channels.  Gotta be real careful here.
Same with the left side.
Putting the side weldments in place made me realize that the side ribs on the forward canopy frame were too far inboard.  I tried bending the aft tube up but that made the side ribs sit too far up.  I cut a piece of 1x2" wood in a long triangular shape and put it and the forward canopy frame in the vise as shown.  Then I bent the rib a little.
 
To my amazement, it worked perfectly!  The rib was aligned along the fuselage and had the proper height above.  I had the same good results on the right side as well. 
I turned my attention to the side weldments next.  The side weldment's bottom curve matched the fuselage curvature nicely.  But the top did not as you can see here where it meets the forward canopy frame. 

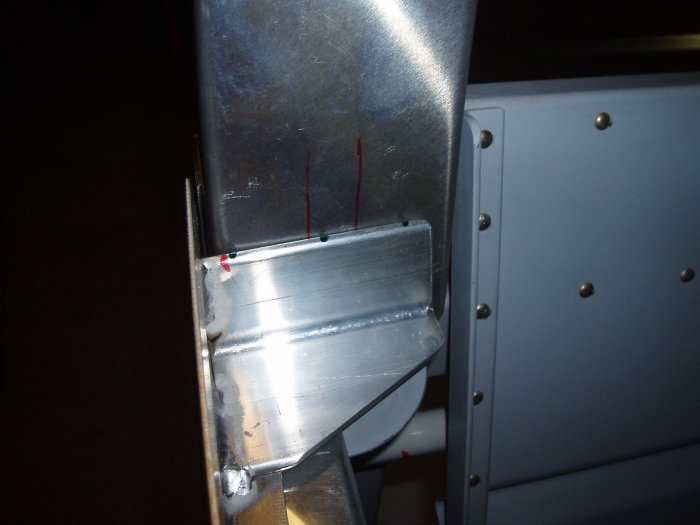
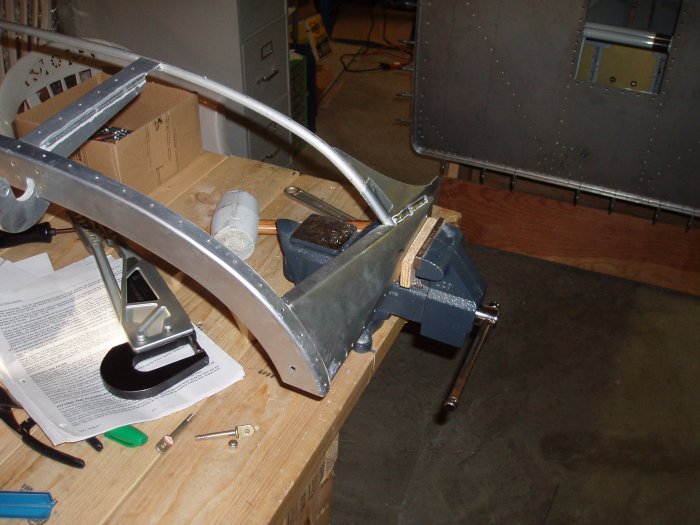
I spent the next three hours or so making adjustments to the side weldment.  It got old after awhile.  I tried a bunch of things but the most successful was putting the side weldment in the vise and twisting it's forward end with a vise grip.  

Everything is aligned about as well as it ever will be.
I figured I better check the canopy frame alignment with the canopy skin clecoed on so I did that.  On each side, the canopy frame bulges out a little and isn't level with the forward skin.  I'm probably going to have to put some spacers under the forward skin so that the two skins are even.  
Previous
Home
Next