February 7, 2008 - Prime & Cleco Baffles
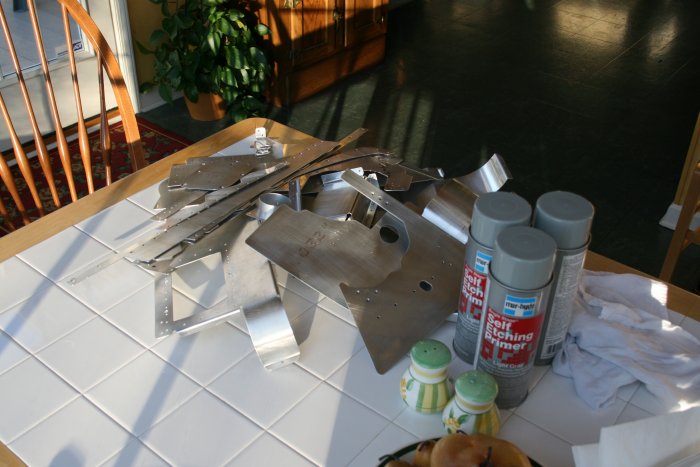
I got off work a little early, and decided to take advantage of the unusually balmy February weather -- 50 degrees -- to do some priming. I prepped and washed all my baffle parts, as well as the cowl support strips and empennage lower fairings. I was amazed at how many pieces I had.
I had just ordered three new cans of MarHyde self-etching primer.
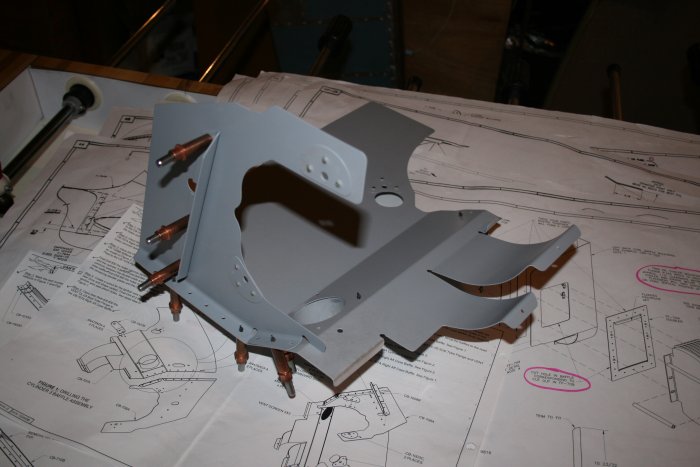
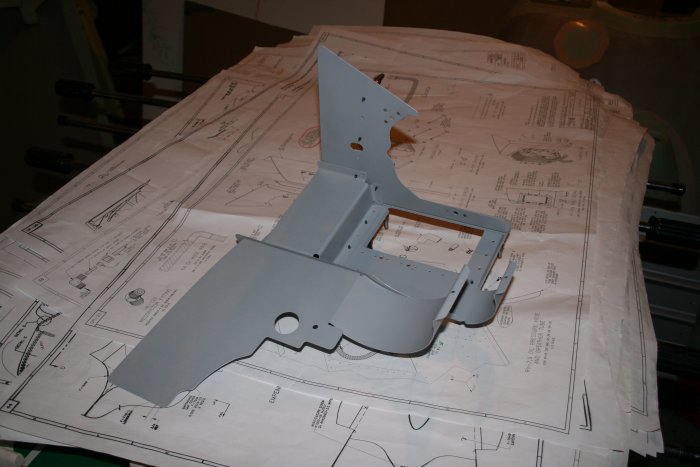
Then I clecoed everything together. This is the #4 baffle section.
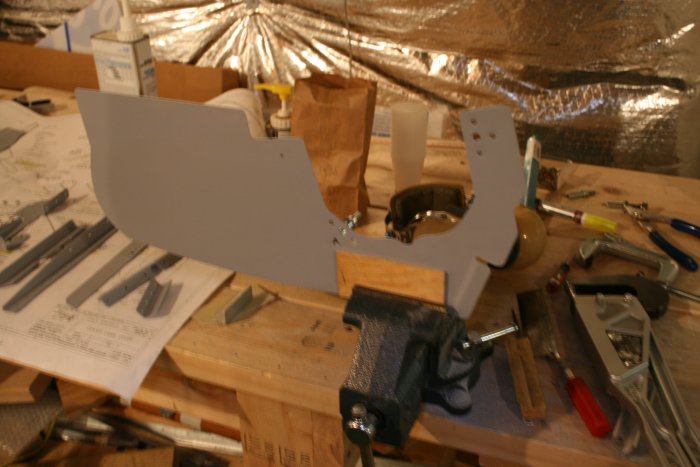
I considered riveting the section together, but decided to wait until after I trial-fit it to the engine. I'd hate to have to drill out all the rivets on it. I'd really hate to have to buy new stock and edge-smooth it all again!
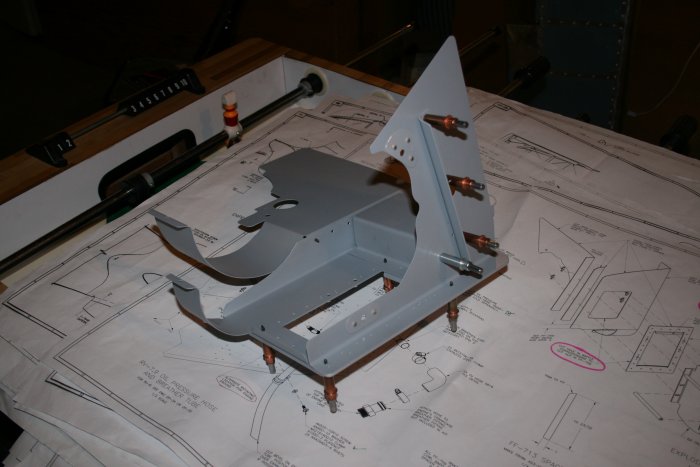
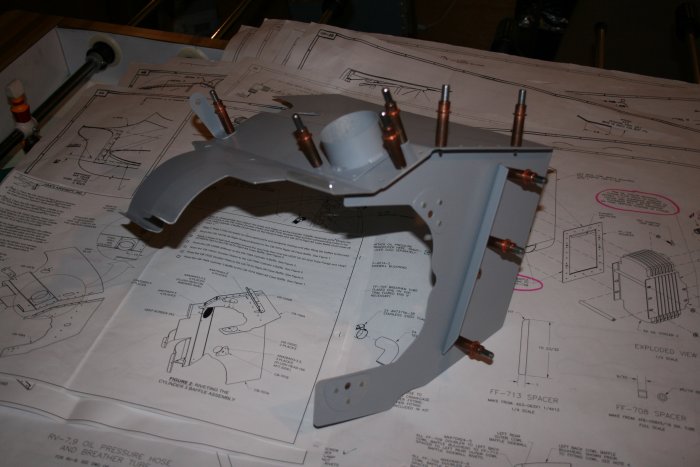
From another angle.
Builders who had the older baffle kits said they were a real challenge, primarily because of the poor or non-existent drawings and instructions. It was tough to figure out what went where.
Knock on wood, but so far the baffles have been a piece of cake. A lot of edge-smoothing, to be sure, but that's it. The drawings/instructions and pre-drilled stock so far have been outstanding. I'm sure there will be a lot of back and forth when I fit the baffles to the top cowl.