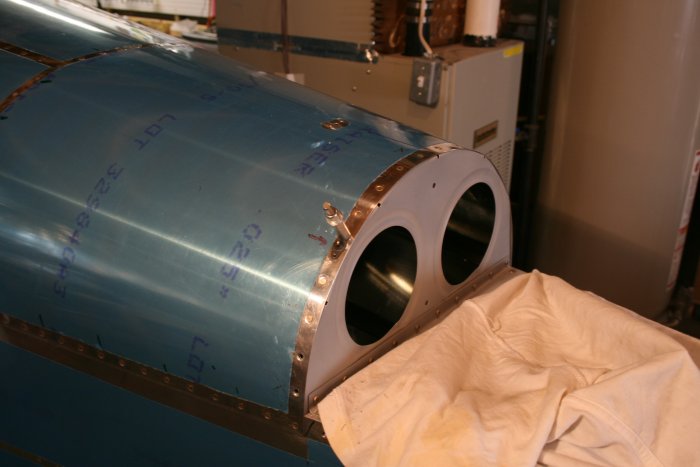
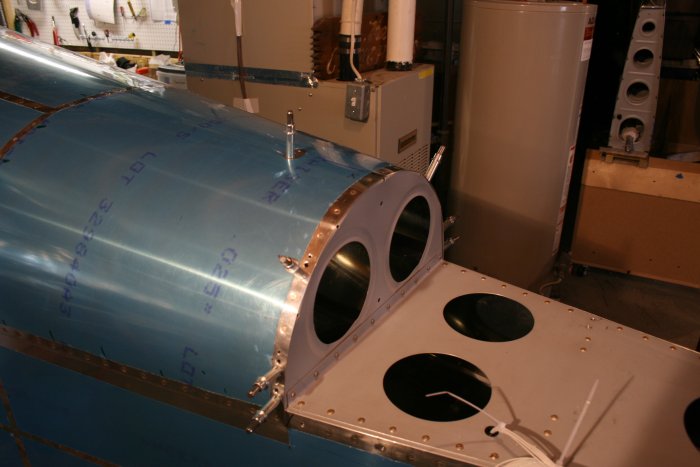
February 3, 2008 - Empennage Fairings |
||||||
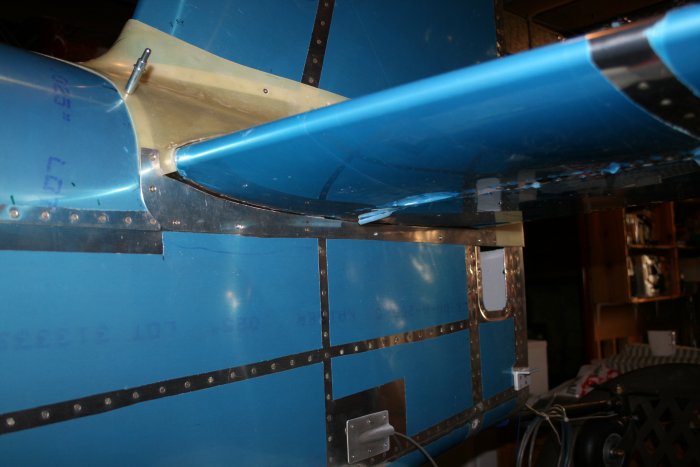
Back to the empennage fairings. With the HS and VS removed, I had previously match-drilled the lower fairings to the fuse, then did all the prep work to the lower fairings. Now I put the HS and VS back on, clecoed on the upper fairing and screwed down the lower fairings. | ||||||
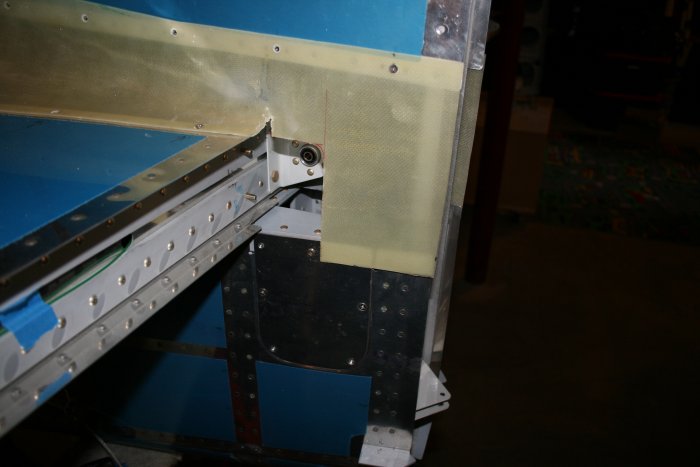
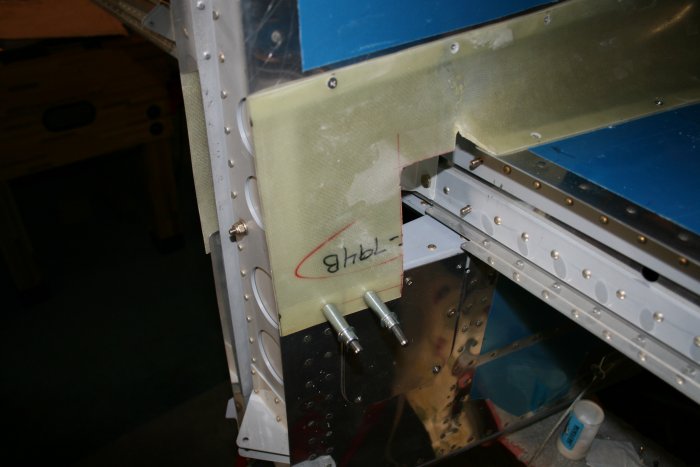
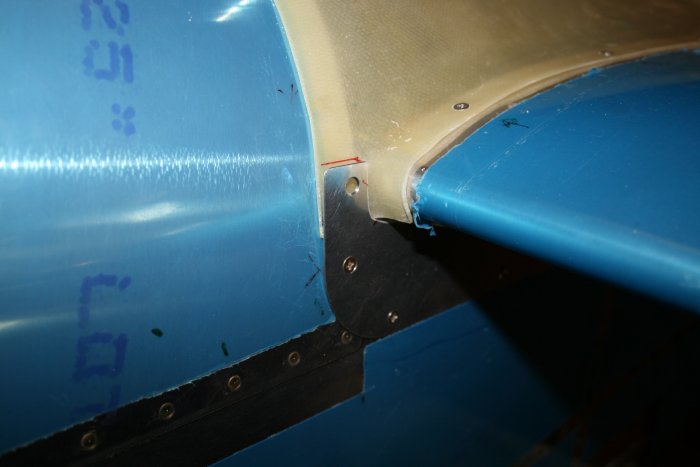
I was trying to figure what to do
about the forward corners of the upper fairing. I also marked
the lower fairings for cutting so there would be enough room between the
HS and fairing for the rubber channel. I also marked where the
rear upper fairing needed
trimming.
|
||||||
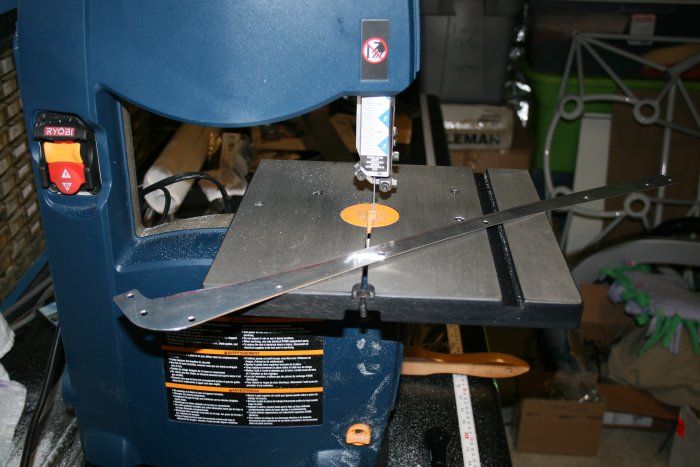
Trimming the upper edge of the lower fairings. Not a bad job thanks to the hand saw. | ||||||
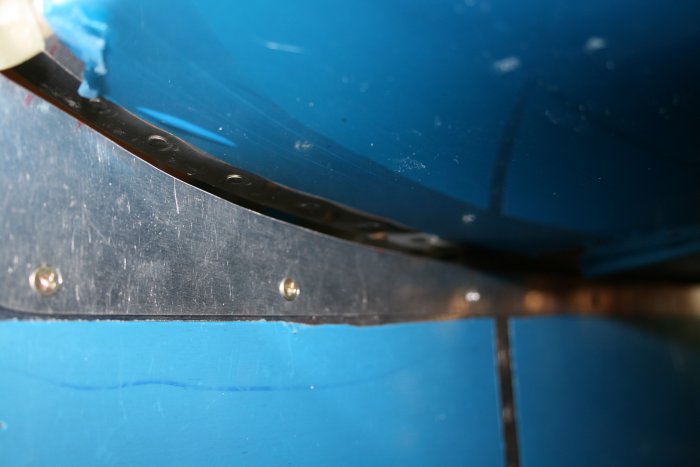
I have a nice uniform gap between the
lower fairing and HS. When glued on, the rubber channel should
nestle nicely against the
HS.
|
||||||
Ready to trim the rear section of the upper fairing, using the Dremel tool with heavy duty cutting wheel. | ||||||
All done on the left side. | ||||||
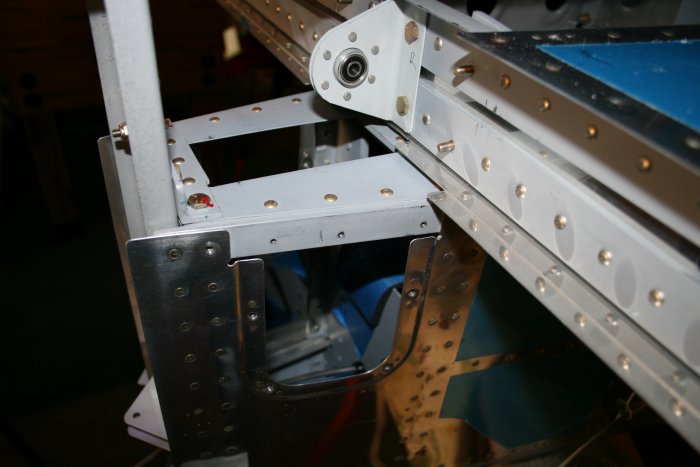
The next step was to drill the rearmost two holes through the fairing, cover and longeron using the #36 bit. | ||||||
'Then I tapped the two longeron holes
for #6 screw. Also drilled the fairing and cover holes to #27, then
countersunk the fairing.
|
||||||
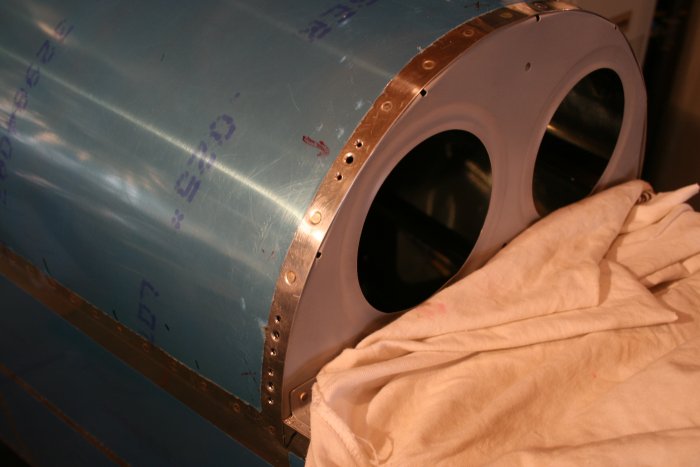
Time to install the nutplates on the F-709 rib. | ||||||
First I drilled all the nutplate
holes.
|
||||||
Ready for riveting. Lynnette came down and shot the rivet gun while I bucked. | ||||||