August 25, 2007 - Firewall Forward
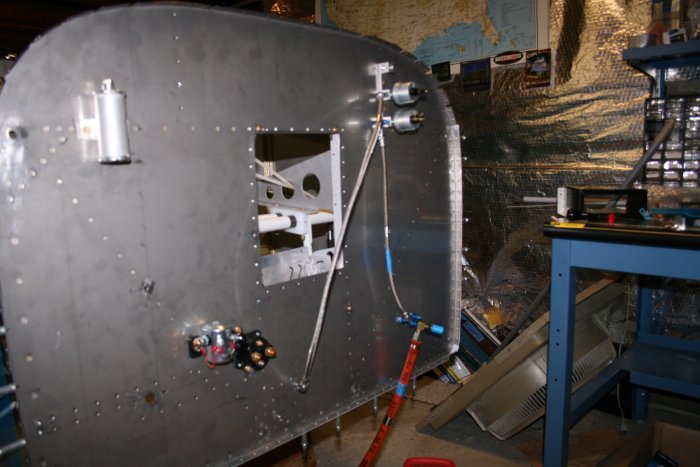
I temporarily bolted on the
transducer manifold. I attached the fuel pressure line to the
manifold bottom section. Then I screwed in the fuel pressure sensor
to the manifold (the bottom cylinder). It sounds complex to the
novice like myself, but it's really pretty simple. The transducer
manifold is just an aluminum router. Flow comes in one port, the
second port is plugged, and the third port goes to the sensor.
Sensor sends the information electrically via a wire to the Dynon
computer.
Next I did the same thing with the
oil pressure line. Attached it to the manifold center section, then
screwed in the oil pressure sensor to the
manifold.
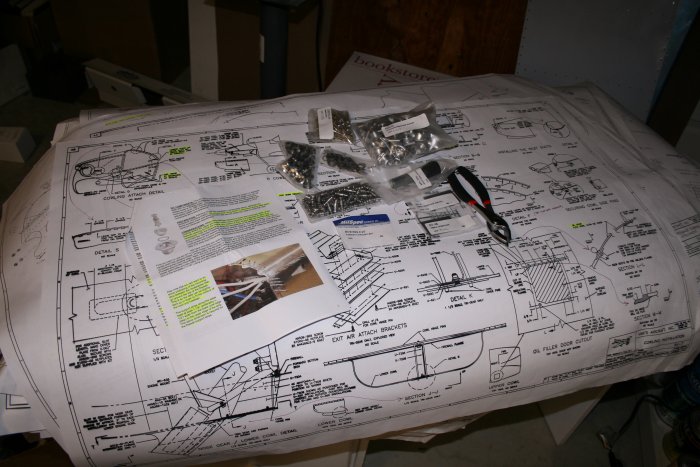
I thought I better take a look how
I'm going to attach the cowl to the firewall. I had bought a MilSpec
fastener set through a Vans Air Force group buy a few months
ago. Stainless steel, phillips head. I know I will need to
make an aluminum support strip that rivets to the firewall and holds the
receptacles. I measured the lengths of the firewall bottom, sides
and top so I can order the support strip material. Material should
be .064 thick 2024 T-3 aluminum, 1 1/2" wide. I'm supposed to rivet
the receptacles to the support strip first, then the strip to the
firewall. So it's something I can do now; well before I start
messing with the
cowl.