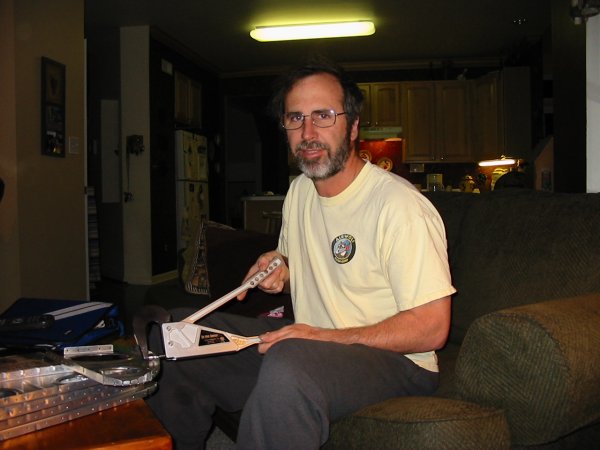
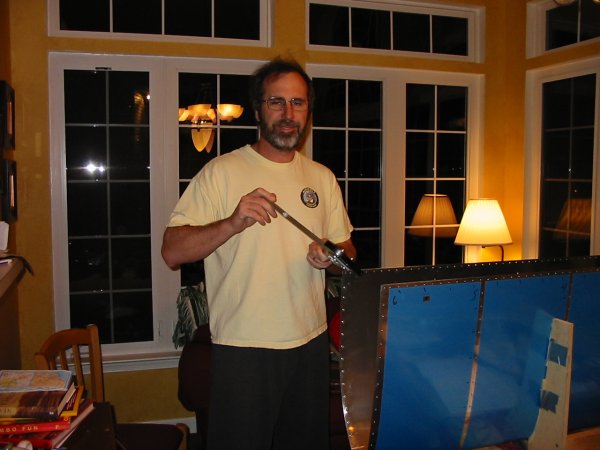
February 24, 2005 - Right Flap
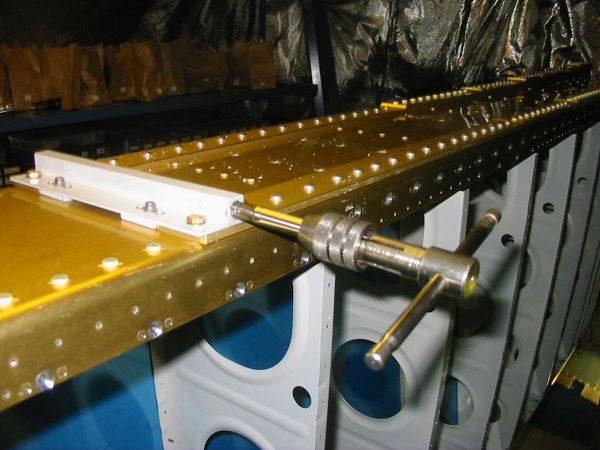
The tie-down loop screwed right in, no problem.
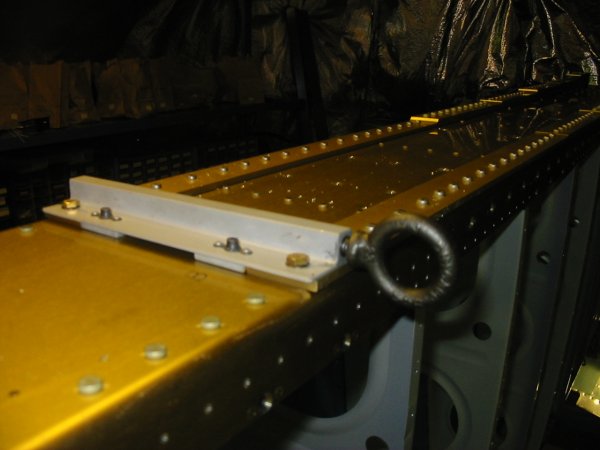
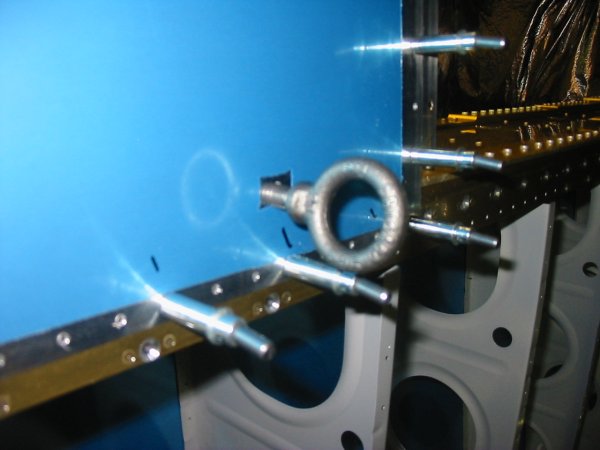
Next, I had to drill a hole in the leading edge skin where the tiedown
loop goes through. On the left wing, I mistakenly made the hole
bigger than it needed to be. The instructions said to draw lines
so you know where the center of the hole should be. I did that on
the left wing with poor results.
This time, I noticed the leading edge skin had a predrilled hole which
looked to be directly centered over the tiedown bracket hole. I
figured it is probably accurate since every other hole in this RV-7 kit
is absolutely perfect. So I just drilled the starter hole out to
1/8, then used the Unibit to enlarge the hole to about 3/16. It
came out perfectly.
I heard somewhere recently that people learn mostly through their
mistakes. That is so true. At least in my case it is.
