March 13, 2005 - Right Wing
|
|
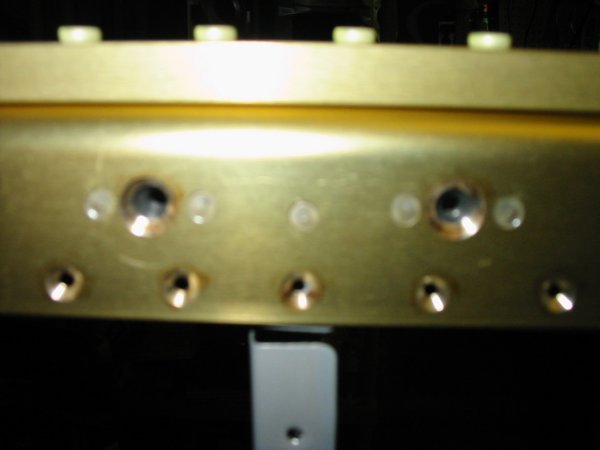
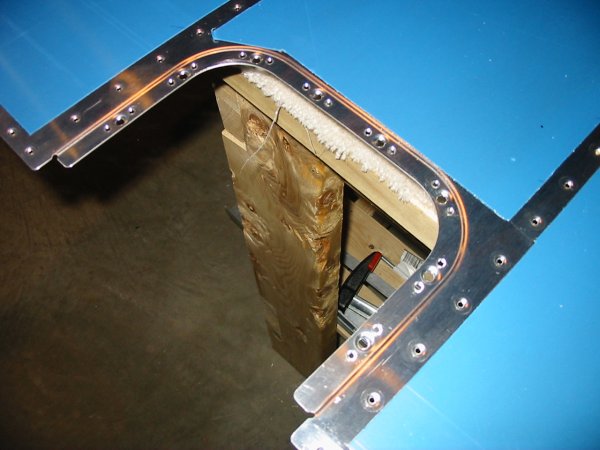
I apologize for the blurry image, but I wanted to show the rivet at the
top of the rib. The instructions don't say much about these.
They are unusual in that they do not take a dimpled skin. The hole
is still countersunk, but only big enough to accept the flush rivet, not a
dimple like the bottom row of holes. The other key is to rivet these
holes prior to screwing down the fuel tank. |
|
 |
|
|
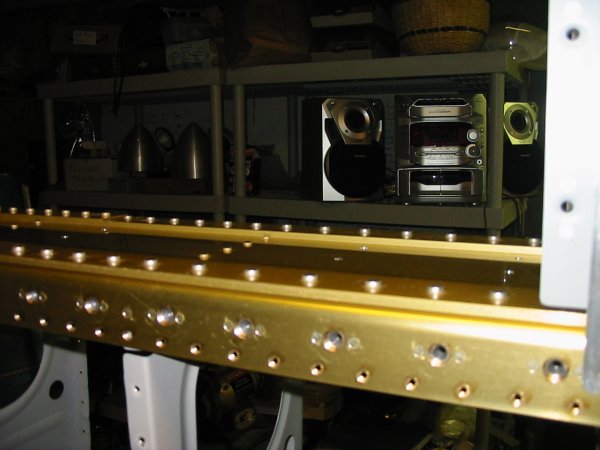
Another look.
|
|
 |
|
|
Next, I attached the fuel tank and put a screw in every other hole,
according to the instructions. I also put in about half of the
AN3-4A bolts that go through the spar web and into the fuel tank Z-bracket
nutplates. Except for the inmost Z-bracket, where the bolts go
through the Z-bracket into the nutplates on the spar web. |
|
 |
|
|
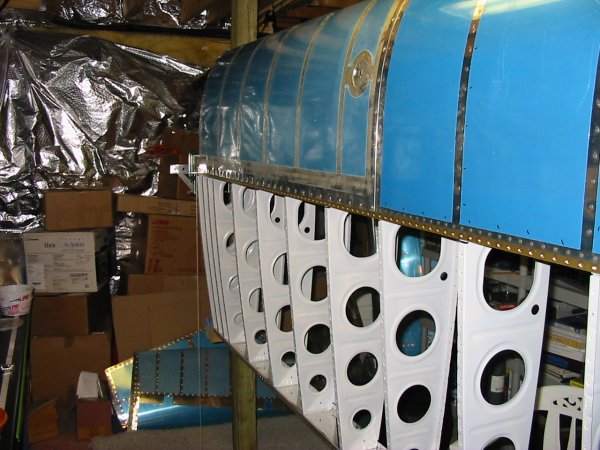
A look at the top of the fuel tank.
|
|
 |
|
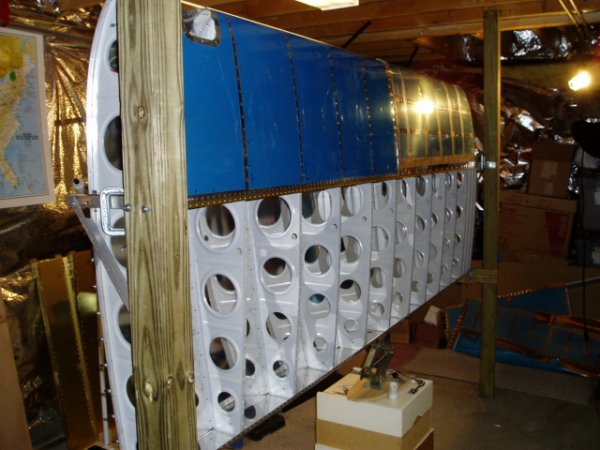
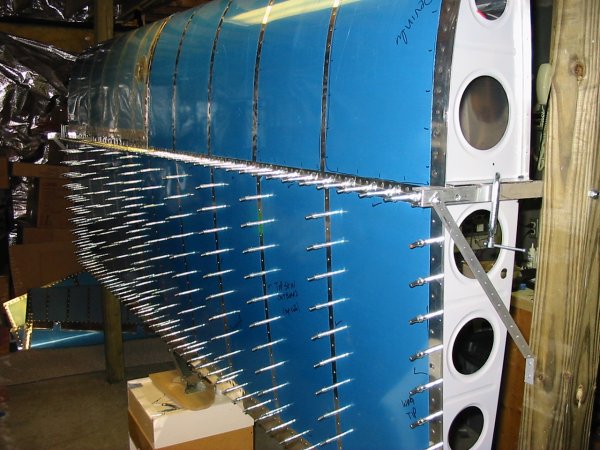
| Next step was to hang the top
skins. I "scarfed" the top right corner of the inboard top skin before
clecoing the skin to the wing. Make sure you remember to include the
doubler plate that goes underneath the inboard side of the skin. |
|
 |
|
| Then the ouboard top skin gets
clecoed to the wing. |
|
 |
|
|
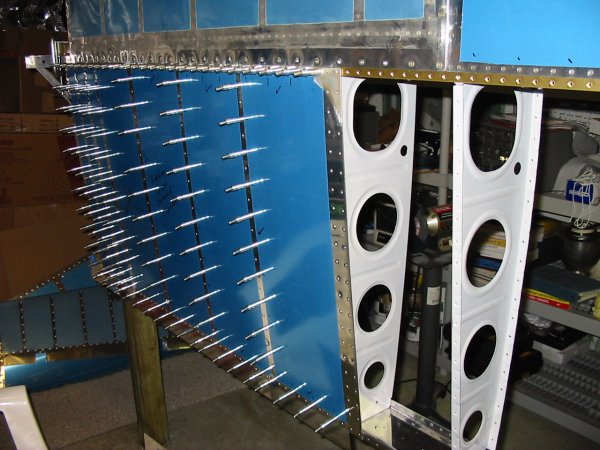
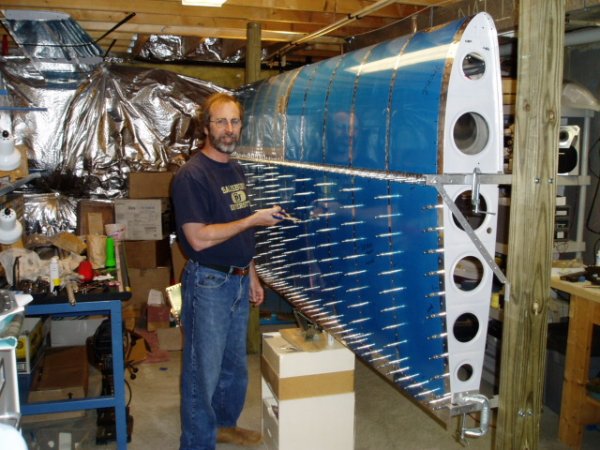
I used up almost all my clecos on this job. Now is when you wonder
if maybe you should have bought a pneumatic cleco wrench! |
|
 |
|
|
I started prepping the airleron and flap brackets. On the flap
bracket, you have to trim one side. The material comes with little
marks indicating exactly where the cut should be.
|
|
 |
|
|
The bottom skins have sections where the removable inspection covers go.
I started putting in the nutplates on the bottom skins. I learned
the hard way on the left elevator that it's much better to install the
nutplates before the skin is riveted to the structure, rather than after.
I want to get the bottom skins ready for riveting, but I'm not going to
actually rivet the bottom skins to the wings until I'm close to final
assembly. That won't be for at least a year. |
|
 |
|
|
|
|
|
|
|
|