November 19, 2006 - Riveting the Bottom Skin

Bruce was coming over in the evening to help rivet the bottom skins.  I had to finish some things up to get ready for that.  The first thing was to determine the fuel tanks were leak free once and for all.  I didn't feel confident about my earlier attempts.

First I took the tanks off the wing.  Then I set up the manometer.  I used red food coloring in the water this time.  Looks like I'm giving the tank a blood transfusion, doesn't it?

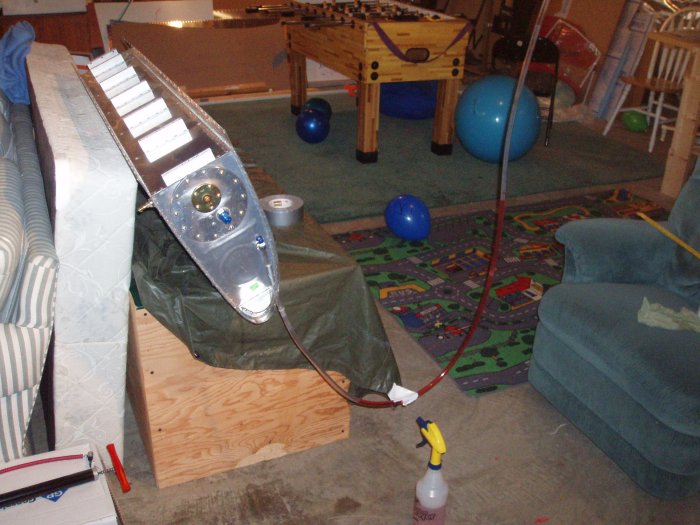
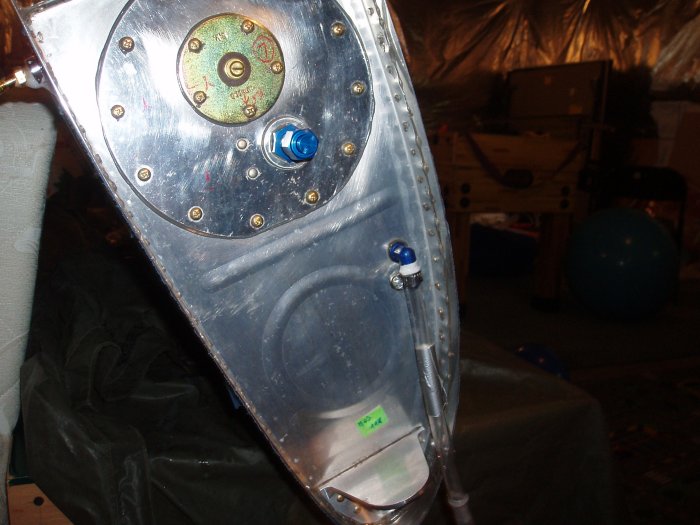
The 3/8 inner diameter clear plastic tube attaches to the fuel vent port.  The fuel feed port is closed using a fitting that came with the test kit.
The test kit also came with a air valve that screws into the fuel drain port.  I pumped air into the tanks, then sprayed soapy water along every rivet and seam.  No leaks.  I had a little leak where the plastic tube attached to the vent outlet but that won't be a problem when the real fitting is attached. 

For fuel tank leak testing, I'd recommend Van's test kit and the manometer technique. 

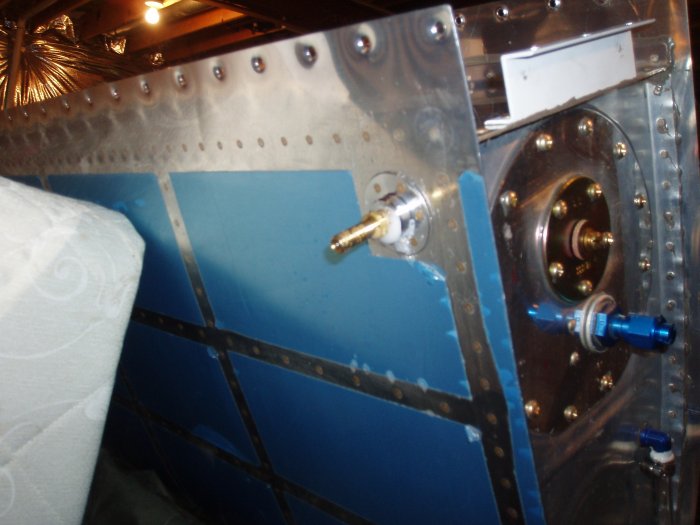
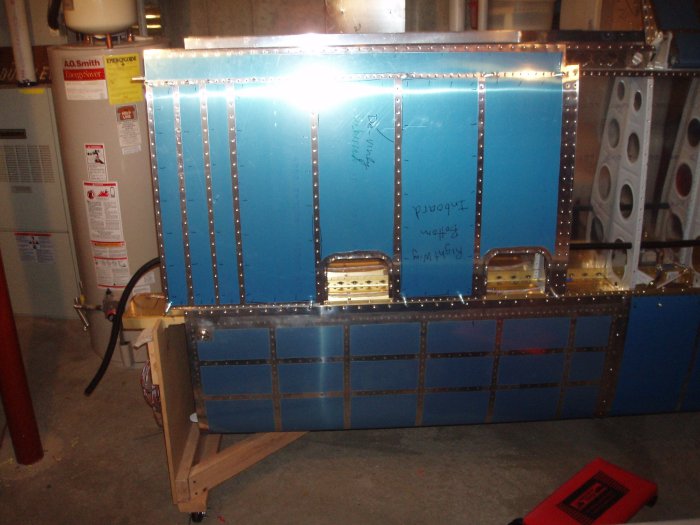
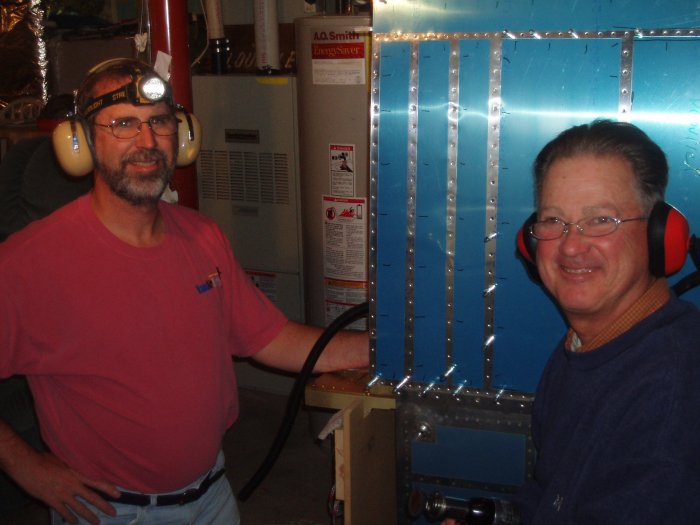
I put the tanks back on and clecoed on the right wing inboard bottom skin.  I read the instructions carefully on the riveting sequence for the bottom skins.  I also reviewed Dan C's page. 
Bruce came over and we got to work.  We started with the inboard most rivets and worked from the rear spar to the front spar.  I pretty much followed the instructions to the letter.  I bucked.  I had to do it on my knees, and most of the time had to do it by "feel", as opposed to being able to see the bucking bar visually. 
The Riveters.
Checking out the shop heads.  Most of the time I had to use a mirror. 
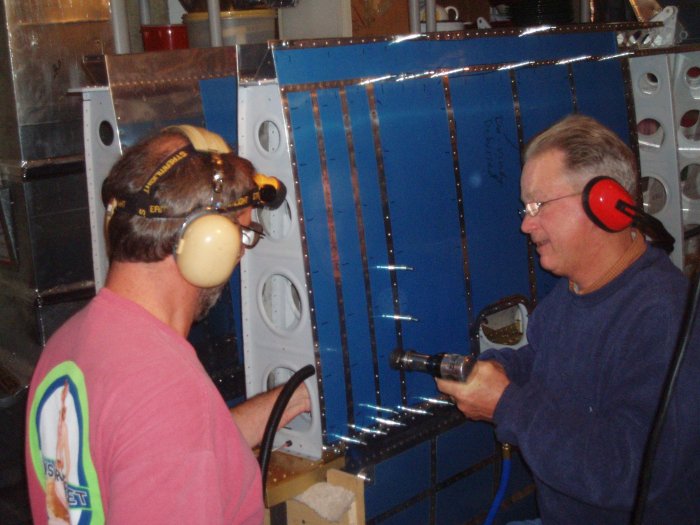
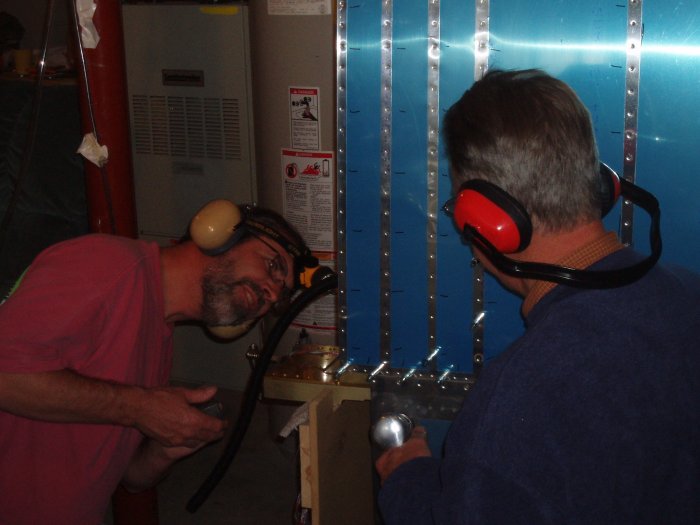
On some rivets I had to be the contortionist. 
Bruce's wife Ellen came down and couldn't stop laughing at us.
See what I mean?
It was pretty slow going at first, so we only got  the first two and a half ribs done.   Oh well, it's a start.
 
Previous
Home
Next