February 1, 2015 - Maple Plugs for Bolt Holes
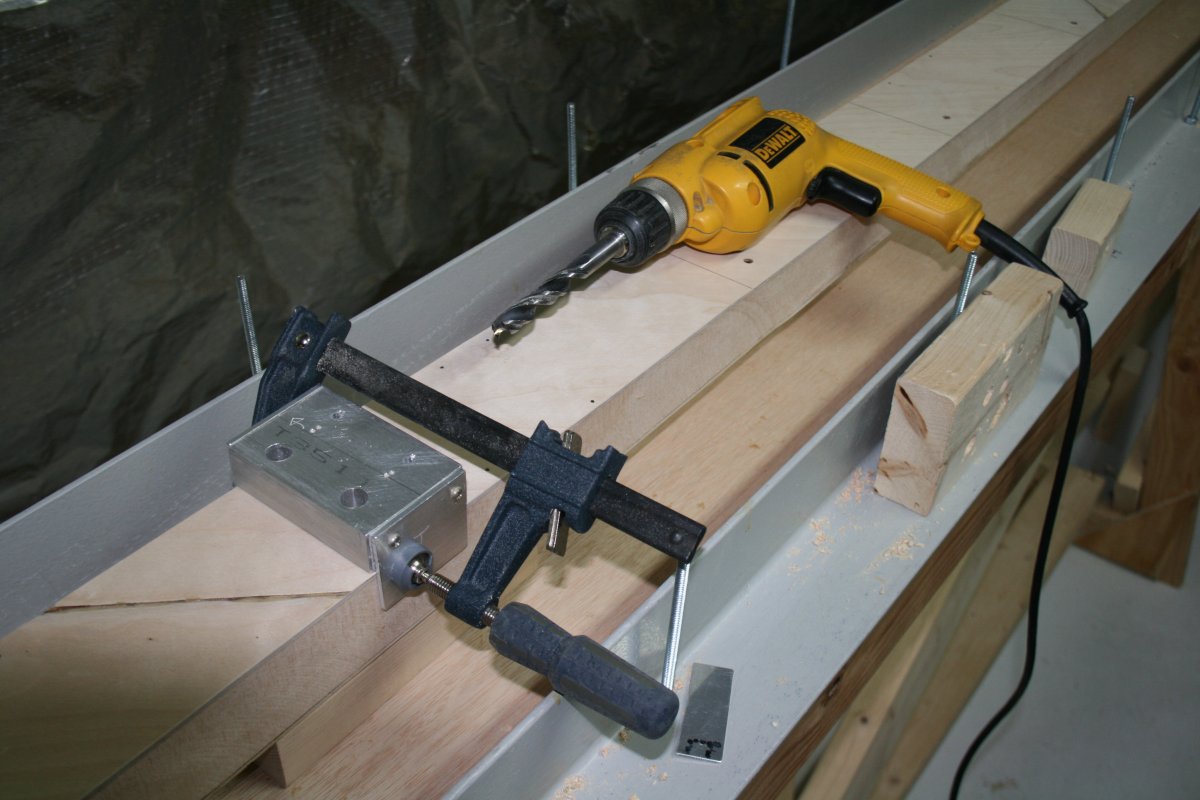
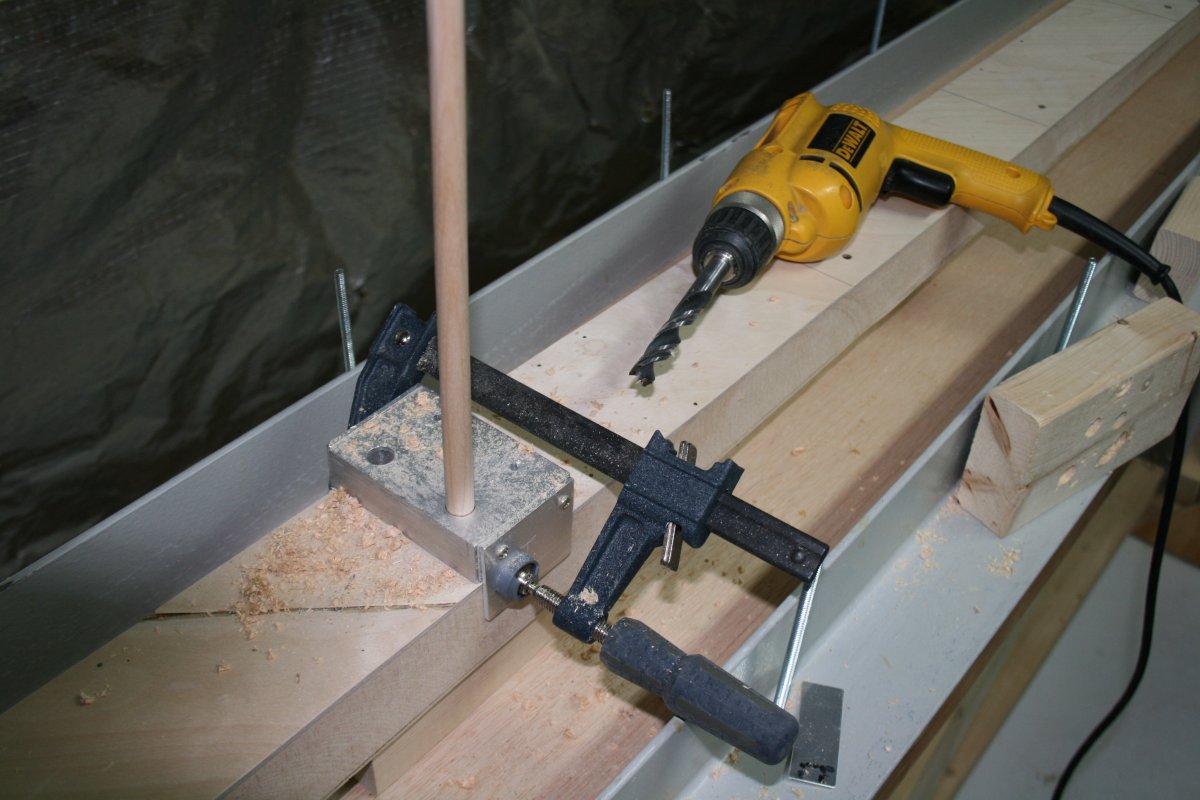
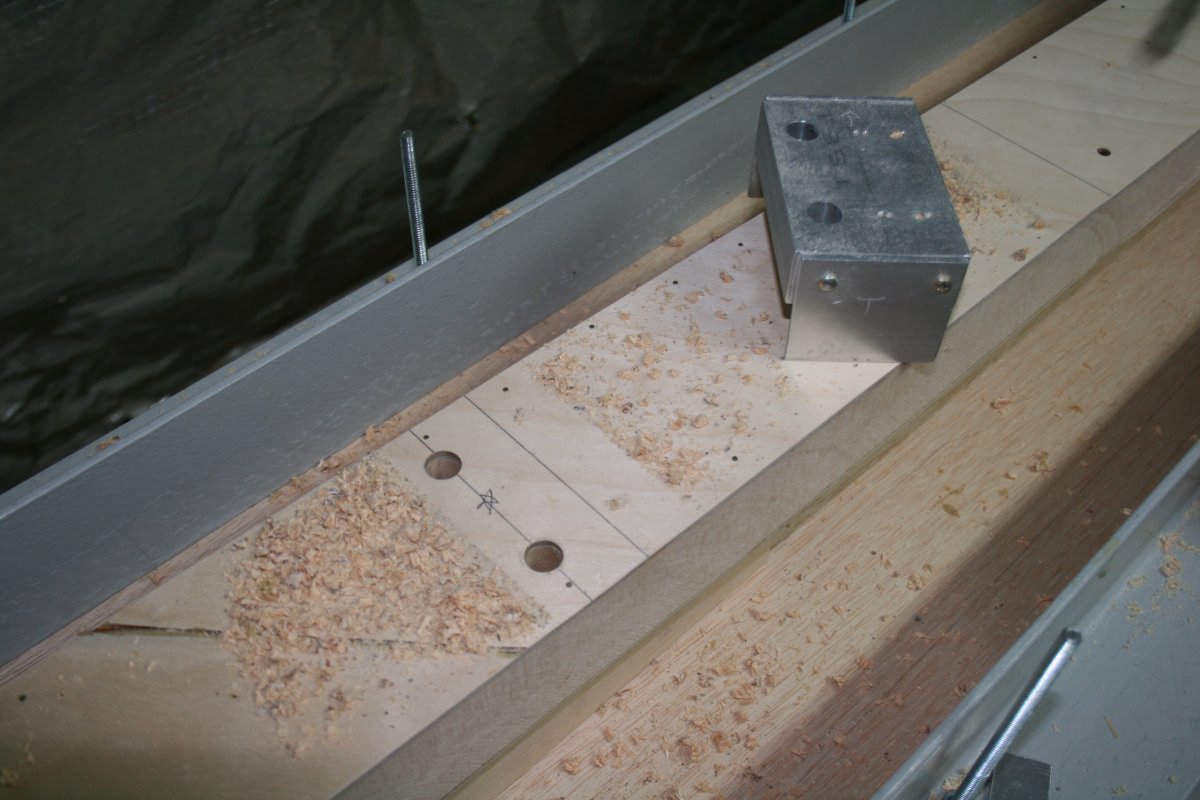
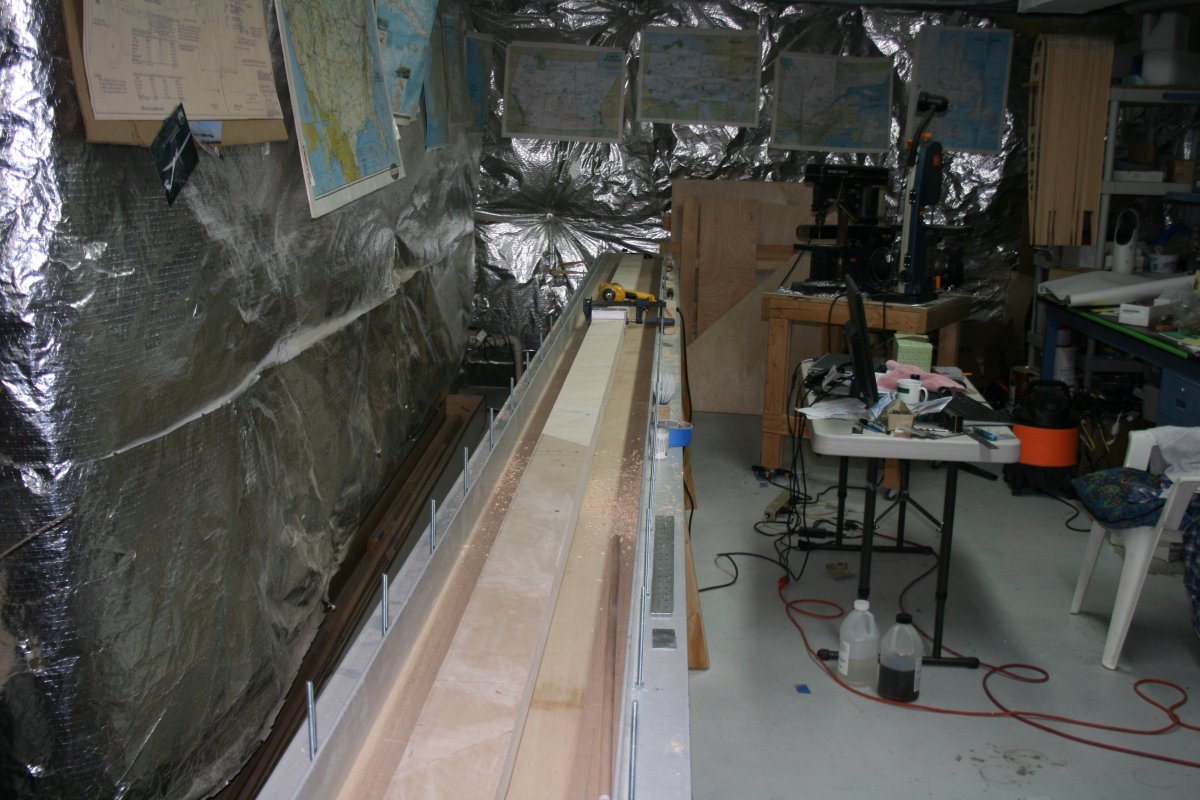
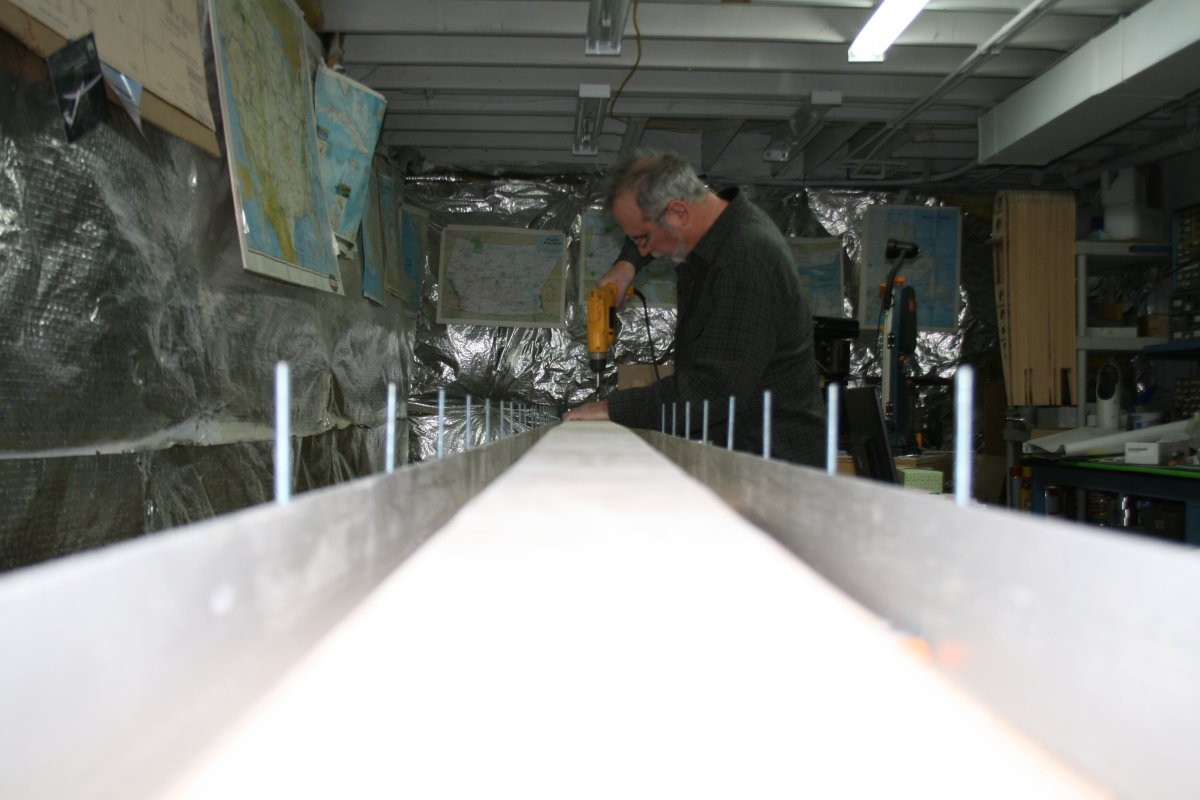
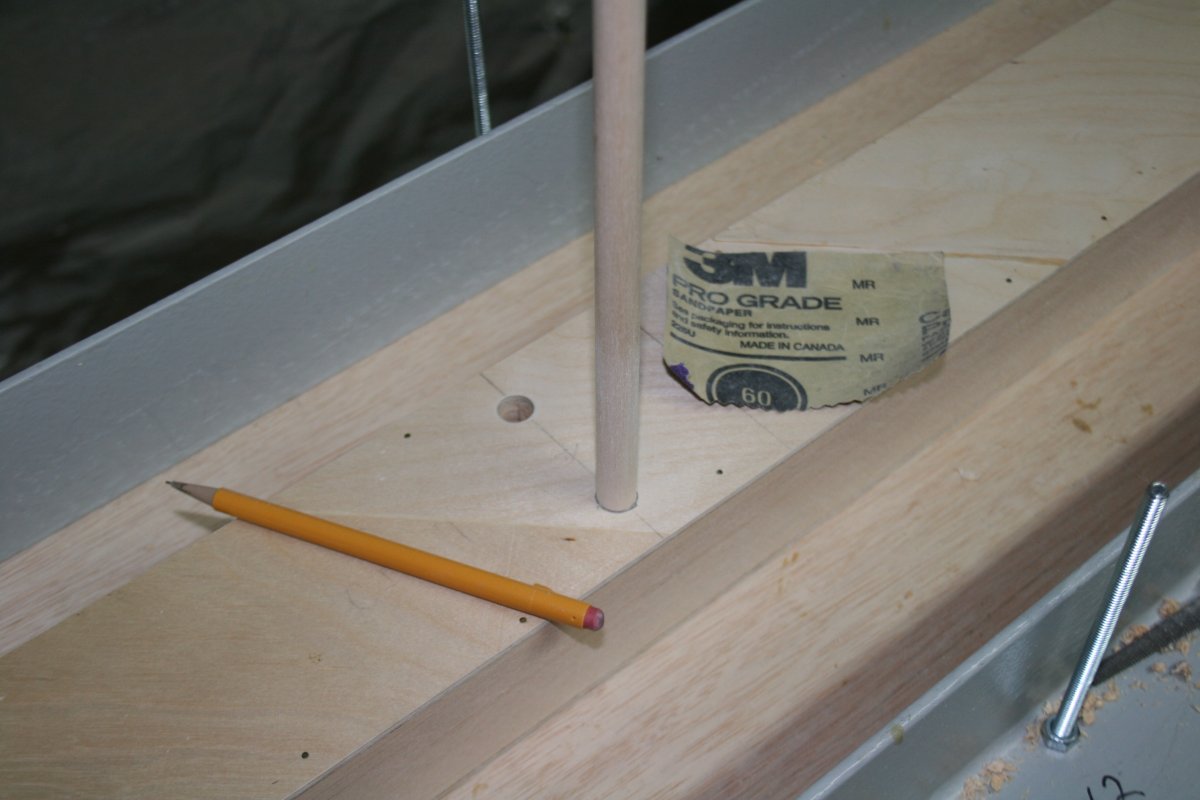
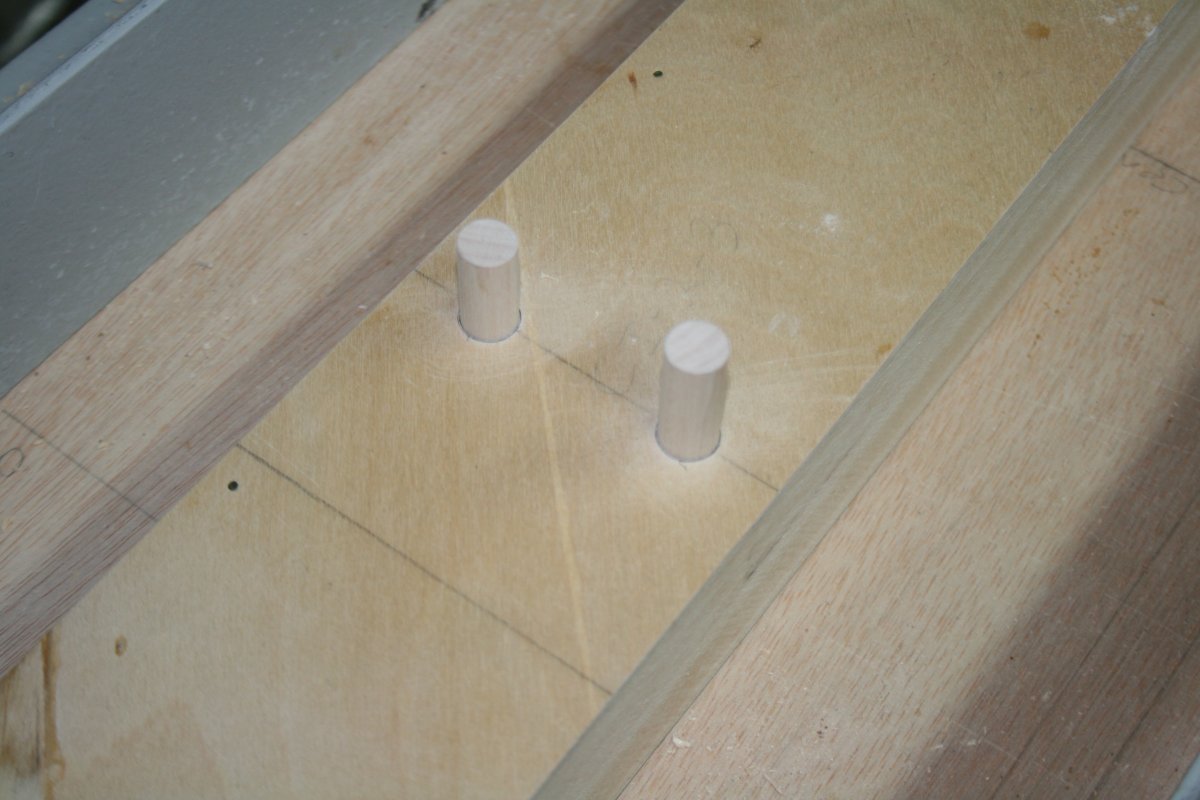
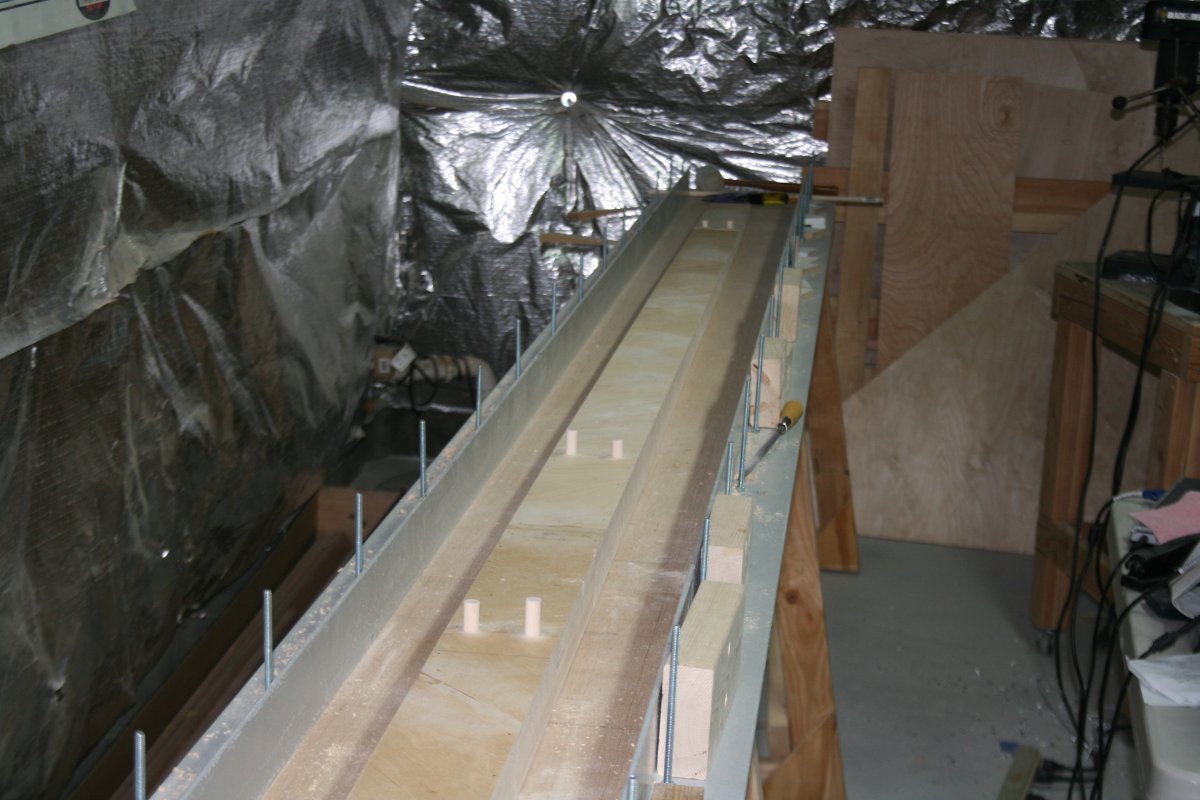
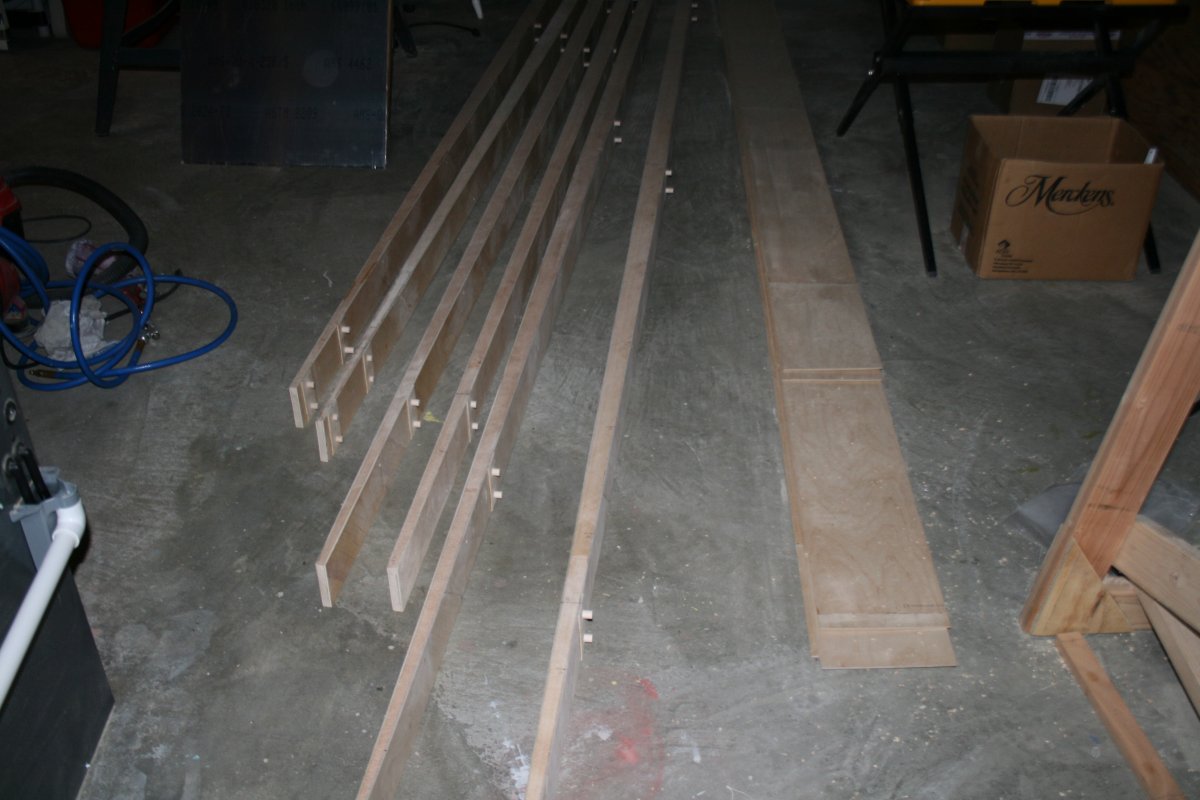
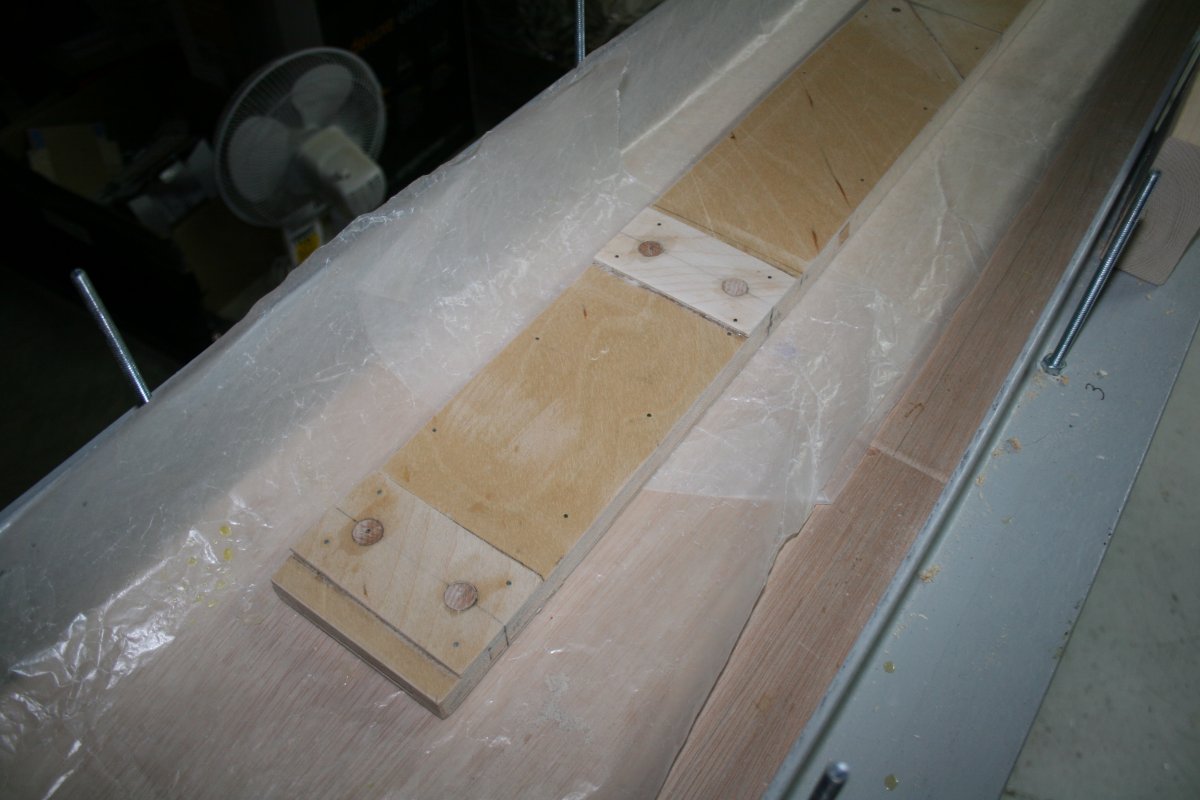
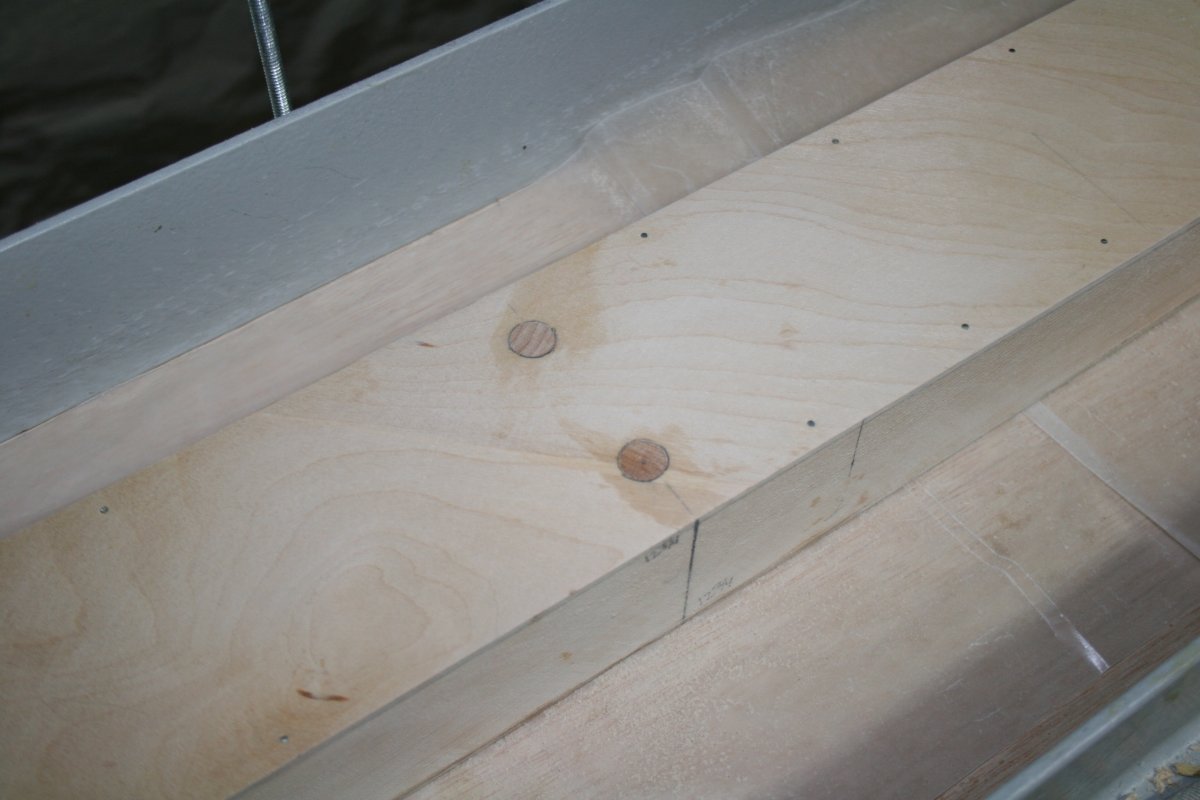
The next step was to drill 1/2" diameter holes in the spar ladders where the spar bolts would go. These 1/2" holes would be filled with maple dowel rod. The actual spar bolt holes would be drilled through the maple dowel. You may be asking yourself why the maple dowel. I believe it's because maple is a harder wood than spruce and Ron Sands, the designer, wanted the spar bolts to go through the harder wood.
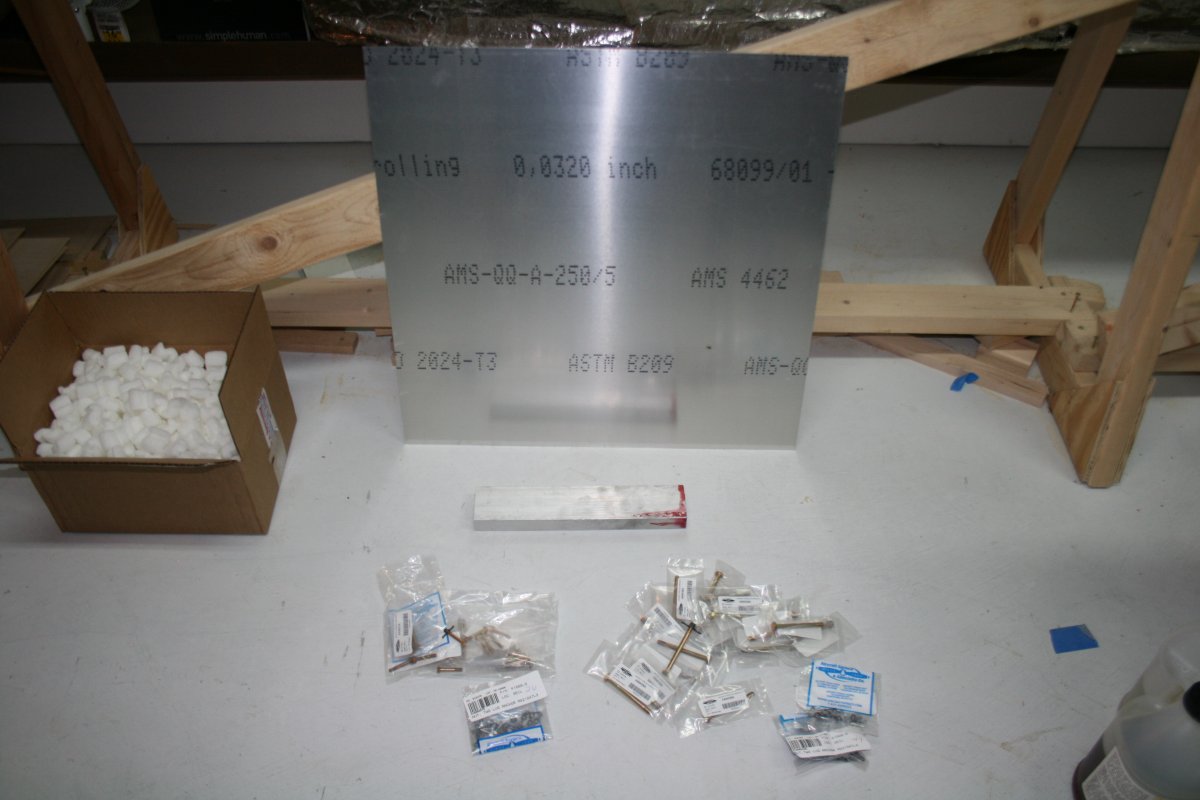
I ordered a bunch of stuff for the next few steps. Bolts, nutplates, aluminum sheet for the nutplates backing strips. Not pictured: 1/2" drill bit, 1/4" drill bit and #12 drill bit, a 2" by 3 and 3/4" aluminum block and nine feet of 1"2 diameter maple dowel. I got everything from Aircraft Spruce except for the 1/2" drill bit which I got from McMaster Carr and the maple dowel which I got from a wood specialty company via Amazon.com.
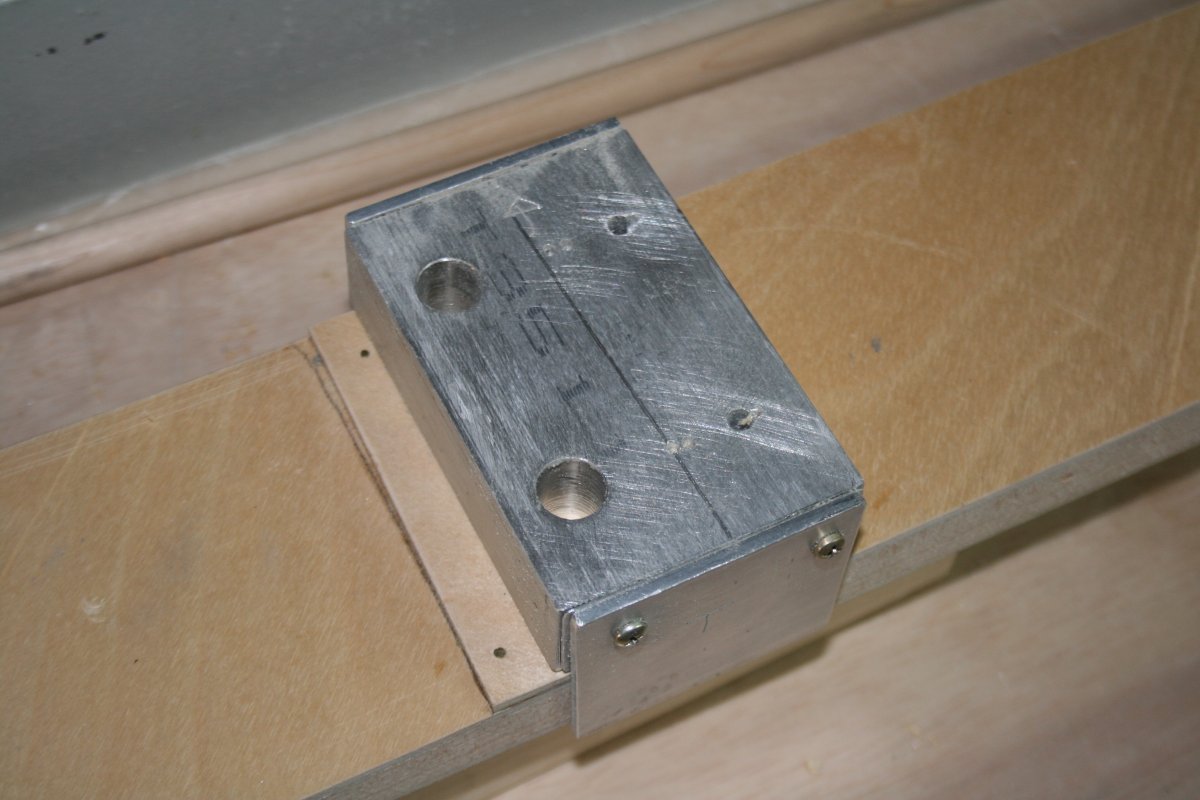
I used the 2" by 3 and 3/4" aluminum block to make a drilling fixture per the plans. Although the plans called for the drilling fixture to be made of steel, I just don't have the tools -- or the desire -- to work with steel so I went with aluminum.
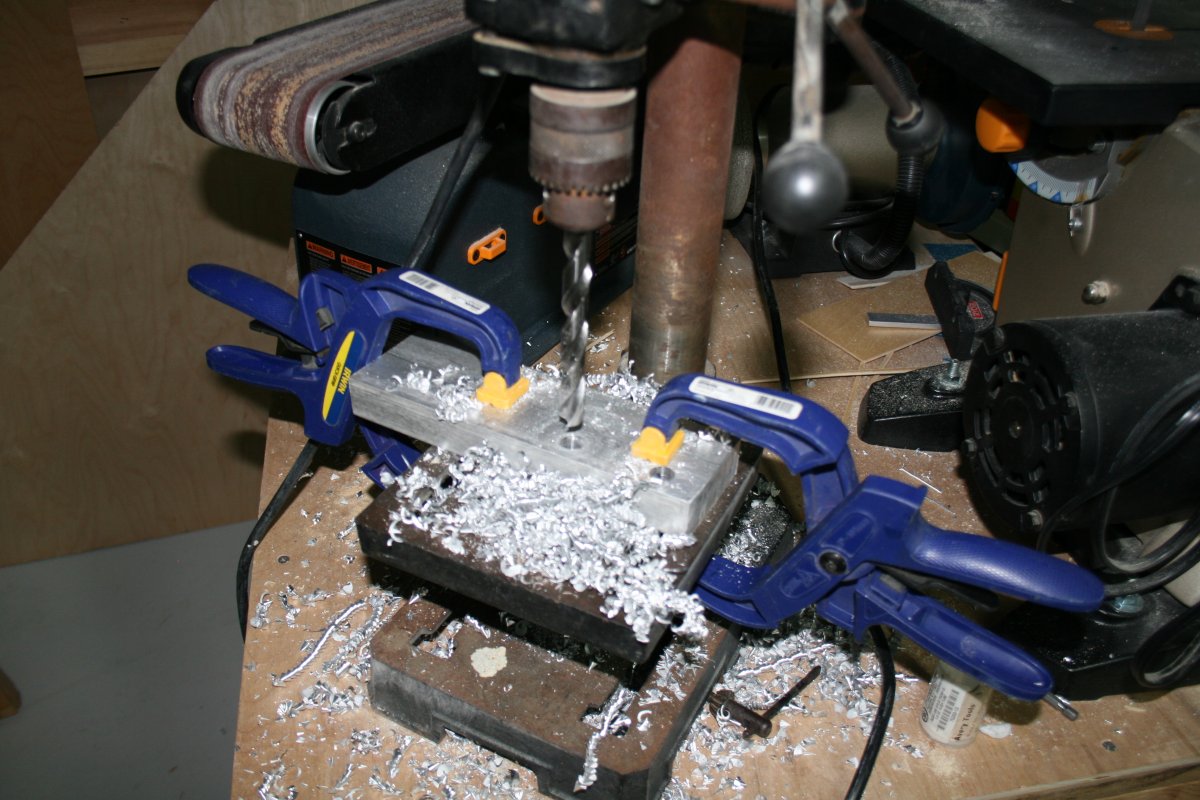
Here, I'm drilling a 1/2" hole through the aluminum block. I'd cut the block to 3 and 3/4" length after the drilling.
The drilling fixture has three sets of holes: 1/2", 1/4" and 3/16". The 1/2" is for the maple dowel. 1/4" is for the AN4 spar bolts for the inboard cabane struts. 3/16" is for the AN3 spar bolts for the outboard interplane struts.
I attached the side panels to the drilling fixture by tapping holes for some #6 screws. This worked well.
Here's a close-up of the drilling fixture. I havn't drilled the 1/4" holes in the drill fixture yet. They will go on that center line.
