September 7, 2008 - Airbox
I transported the flaps, ailerons, empennage parts and wingtips from the paint booth to the hangar. They are the first components to go to the hangar.
Back home, I resumed work on the airbox. I searched long and hard for the airbox hardware but it's just not here. I finally concluded that I hadn't received it -- the first time in the project that has happened. I called Vans and three days later I had the hardware, free of charge. That's great customer service.
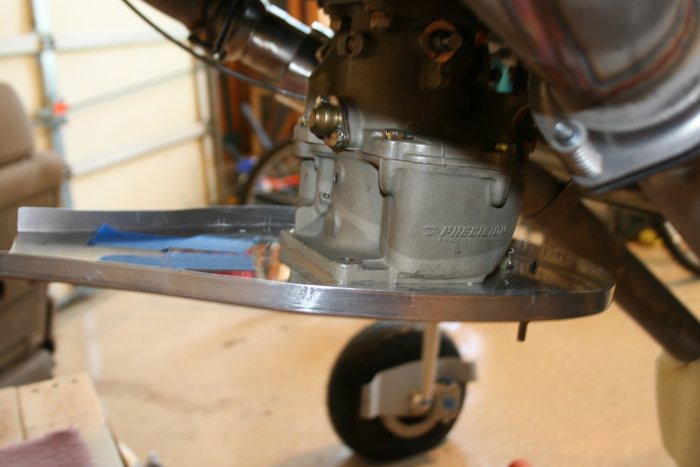
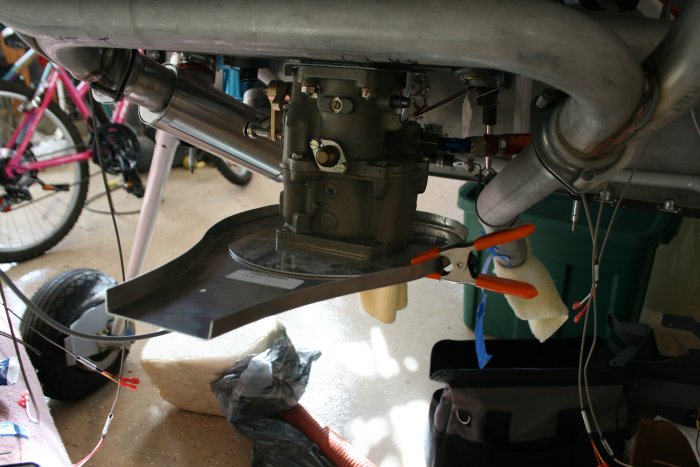
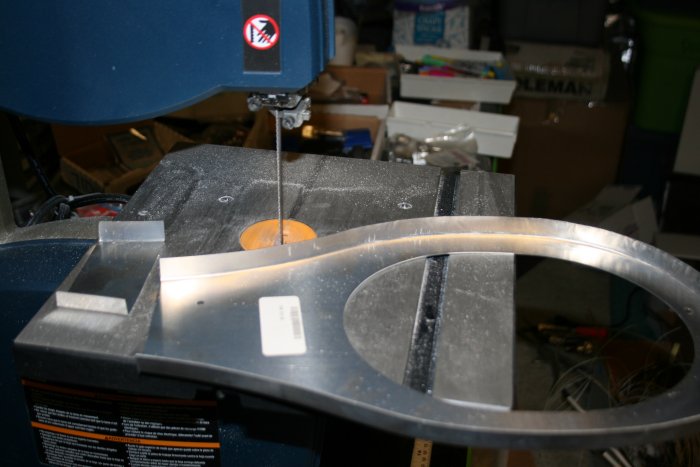
First step was determine how much of the airbox top plate's neck to cut off so the cowl would fit over it. I measured the cowl's trailing edge to the air inlet flange. Then I measured the firewall to the forward end of the top plate clamped to the mount plate.
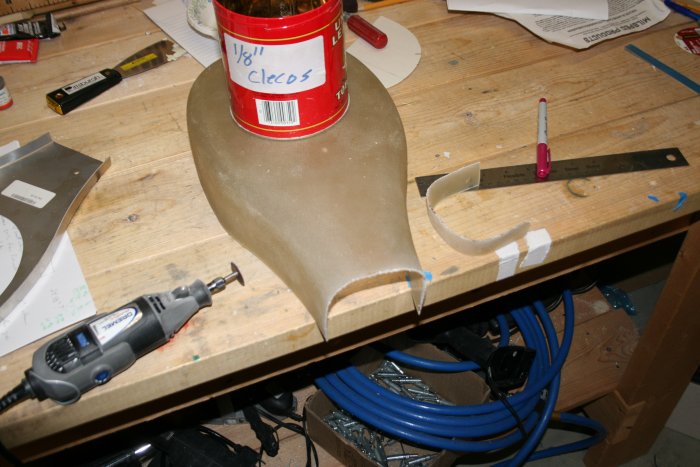
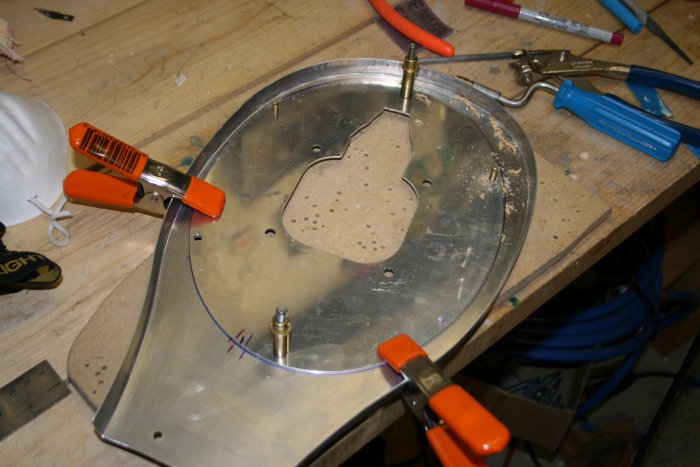
The top plate went back on the mount plate. I realized this time that both the mount plate and top plate had pre-drilled holes -- obviously they were to allow the builder to cleco the two pieces together. Made things much easier.
The next step was to align the top plate neck horizontally with the cowl air inlet. I rotated the top plate a little to the left, then put the lower cowl on. I had to go through this process one more time before I had the top plate where I wanted it. I marked the top plate and mount plate to indicate their correct relative positions for match-drilling.