July 18, 2004 - Wing Rear Spars
|
|
I worked hard on the RV this Sunday and finished up the rear spars. First
I final drilled and dimpled the top flange of the spar where the forked
reinforcer plate goes. That's because there won't be enough to room to
dimple it once the forked reinforcer plate is riveted on.
|
|
 |
|
Next step is to countersink the outboard reinforcer plate. I wanted
to be absolutely sure I understood which holes get countersunk, so I
clecoed together this aileron hinge assembly. A couple of the aileron
hinge parts were mislabeled but I sorted it all out. Fortunately, all
the parts were right.
I go through the following process to get a warm and fuzzy before making
a cut, drill, or anything I can't recover from: 1) preassemble if possible,
2) Look at Dan Checkoway and Todd
Moeller's websites.
|
|
 |
|
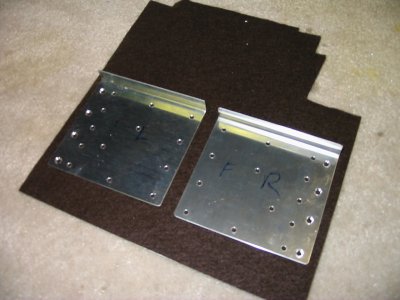
| Here are the outboard reinforcing
plates. The holes on the left and right edge, respectively, are countersunk. |
|
 |
|
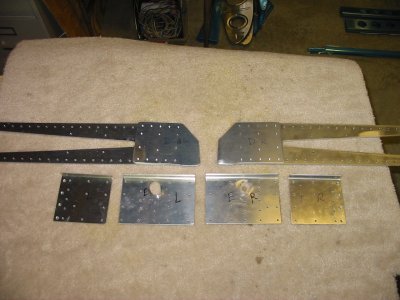
| All the reinforcer plates are prepped
and ready for priming with Mar-Hyde. I only primed the inside where the
reinforcer plate meets the rear spar. |
|
 |
|
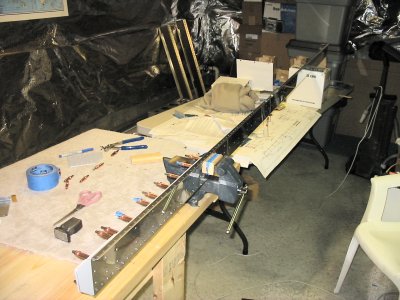
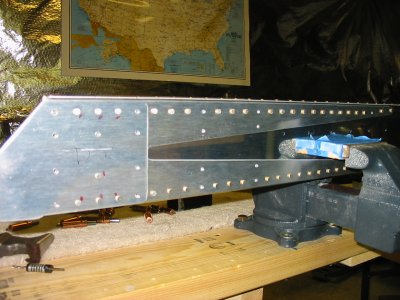
| One of the rear spars is in the vise
ready for riveting. Since they are so long, I have the end resting on a
box. |
|
 |
|
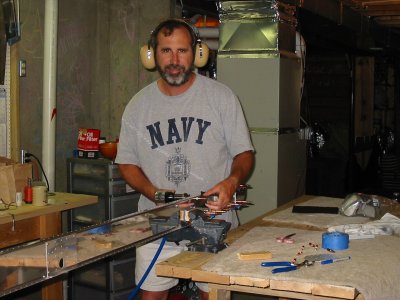
| Riveting in progress! Even though
there might have been enough room for the hand squeezer, I like to use the
rivet gun for size 4 rivets and spar/reinforcer plate work. It's easy to
go and I the results are consistently good. Gun is in right hand, bucking
bar in left. |
|
 |
|
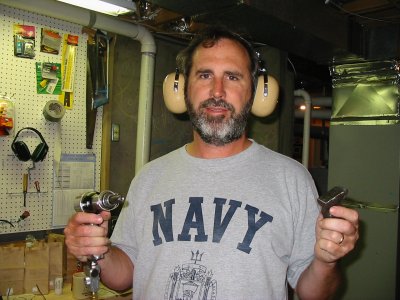
| Rivet man. |
|
 |
|
| All done with the forked reinforcer
plate. Some holes are left undrilled for things like ribs and aileron hinges.
|
|
 |
|
| The center reinforcer plate. Note
that only five holes are riveted. |
|
 |
|
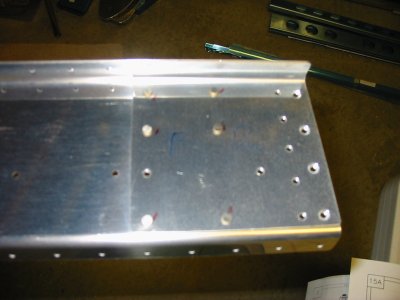
| The end (outboard) reinforcer plate
all riveted. Again, less than half the holes are riveted. You can see the
countersunk holes a little better in this shot. |
|
 |
|
| |
|
|
|
|
|
|
|
|
|
|