August 21, 2004 - Riveting the Left Wing


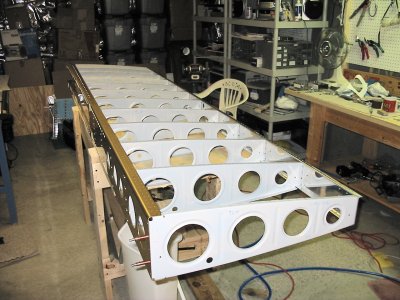
A better picture of the left wing all clecoed together.

Here I have the leading edge ribs clecoed on and ready for match drilling. I only have to do these five leading edge ribs. The inboard leading edge ribs make up the fuel tank, which I ordered pre-built. And don't regret it one bit!
Then it was time to disassemble the wing and prime the ribs. But it turns out that I wasn't quite done with rib prepping. I had to drill a 3/4 inch hole in each rib for the electrical wire conduit. On Van's web site in the FAQ section they had a paper on where to drill the holes. I took their suggestion to put it just to the lower right of the forward lightening hole. First I drilled a 1/8 starter hole, then used the UniBit to take it out to 3/4 inch. Then of course the hole edges needed smoothing....
All left wing main ribs are primed using Mar-Hyde self-etching primer (also known as the rattle-can). You can see the conduit holes in this picture.
This is it. I'm riveting the main ribs to the forward spar. I do one rib at a time which makes it easier to get the rivet gun on the rivet head. Manufactured head goes on the rib flange side. I can use the straight shot set in the gun, since I can gently flex the rib to the side. I prefer to do the riveting solo when I can. I hold the gun in my right hand and bucking bar in the left.
From another angle.
I put masking tape around the rivets (shop head) to prevent the bucking bar from scratching that beautiful spar.

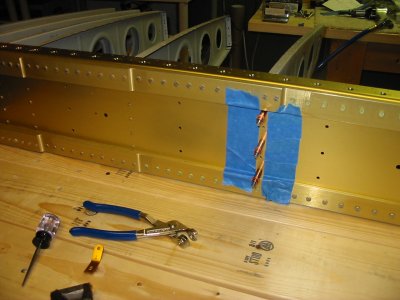
OK, all the main ribs are riveted to the front spar.

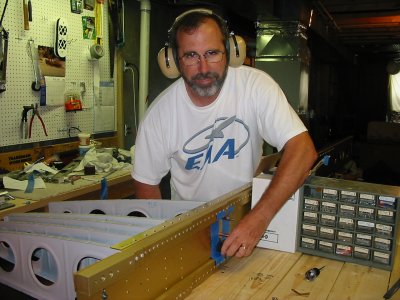
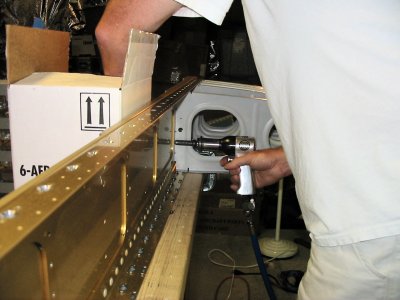
I had thought the rear spar would be a piece of cake, since others had the rivets could be done with the hand squeezer. They must have a different yoke than I do, because mine only worked for the top rivets. Because of the Z flanges on the rear spar, my hand squeezer yoke would not fit around the lower flange. I had to use the rivet gun on them.

And this time, I couldn't "gently" flex the rib to the side. Which meant I had to use the double-angle set on the rivet gun, with which it is easier to make a mistake. And finally, on half the ribs where the flange pointed to the right, I had to hold the rivet gun in my left hand and bucking bar in the right!

But I just worked through it and the rivets came just as good as the ones in front. l

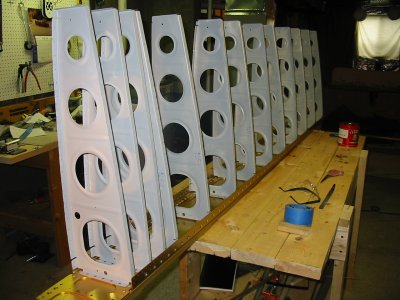
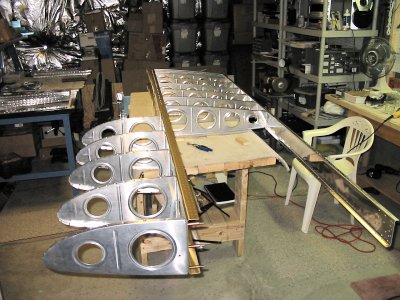
The left wing structure all riveted together.

Next step: build the wing jib so I can start hanging skins.

 
Previous
Home
Next