July 6, 2007 - Panel: Mount Stack
|
|
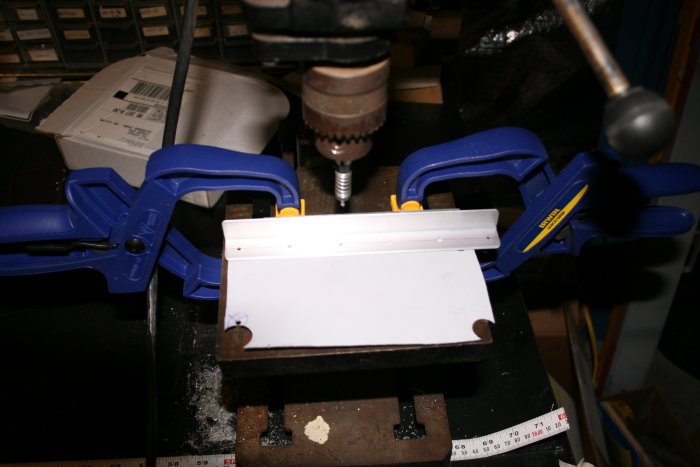
Here I'm drilling the Stack mounting angles. I used the drill-press
and "fence" because it's important for the rivet line to be straight, as
it will be visible on the panel. |
|
 |
|
|
Once the angles were drilled, I backdrilled them to the panel.
|
|
 |
|
|
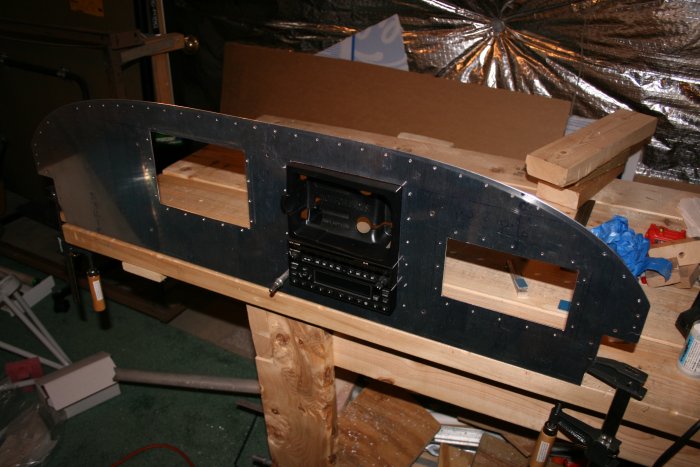
Trail-fitting the Stack components -- again. |
|
 |
|
|
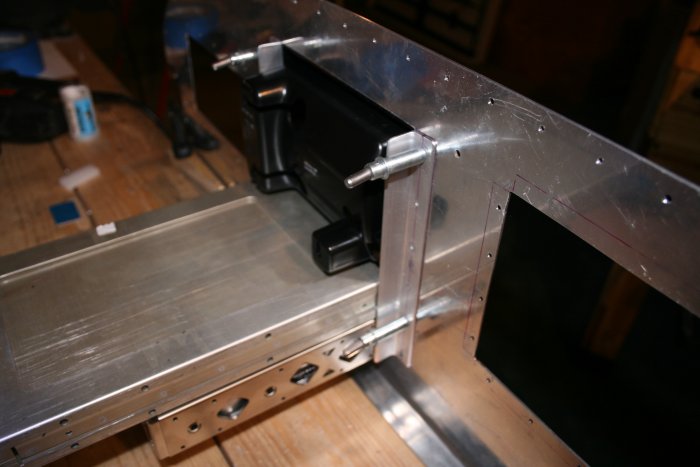
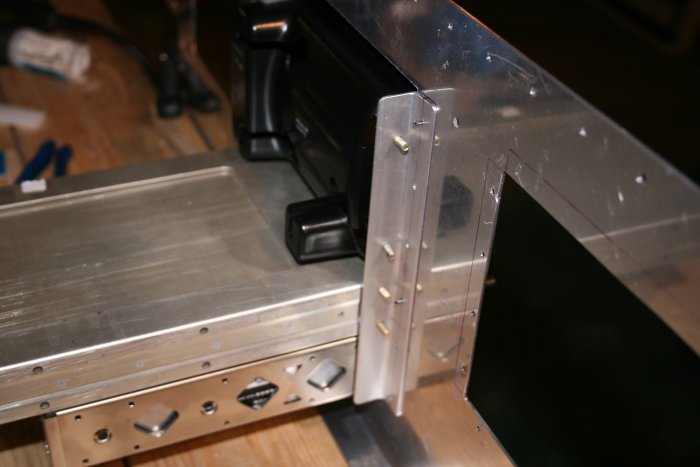
From the rear. The mounting trays fit between the mounting angles
just right.
|
|
 |
|
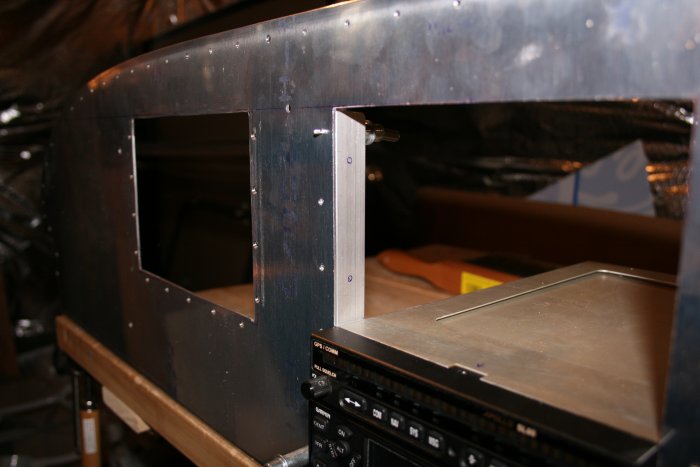
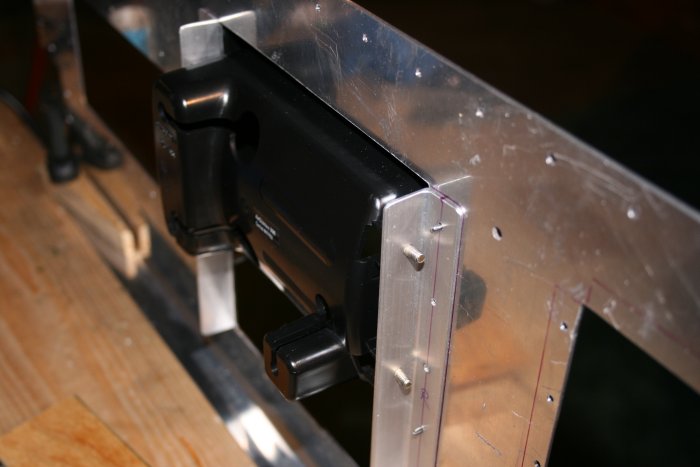
| Now to drill the holes in the angle
for each rack. I started with the AirGizmo. Again, I used the
Dan Checkoway method. With the AirGizmo mount in place, I used a
sharpie from the inside, through the mounting hole, to mark the angle.
In this image, you can see the two circular markings. I did this for
both sides, then took everything apart. |
|
 |
|
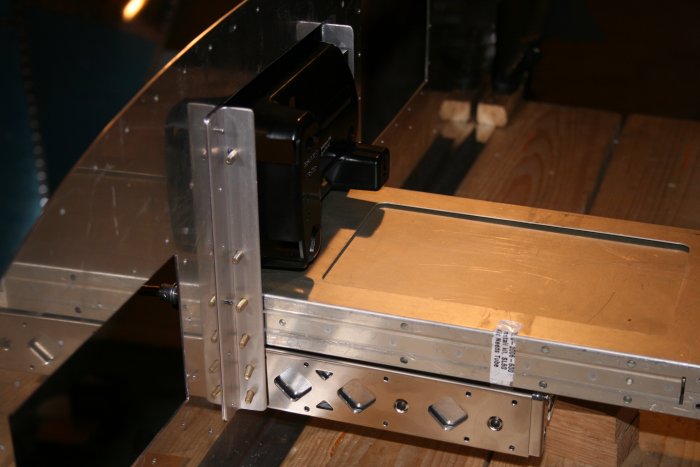
| I drilled the four holes in the
angles, then put everything back together. This time the AirGizmo
mount has screws installed, as shown below. |
|
 |
|
|
I followed the same process with the next item down the stack -- the SL-60
Comm/GPS. |
|
 |
|
|
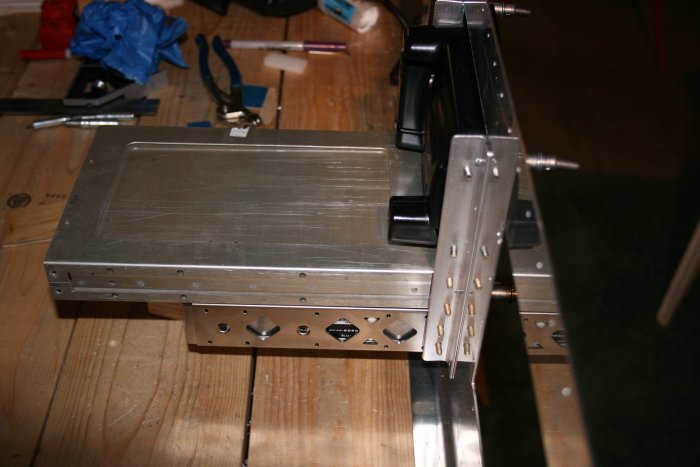
Then the GTX-327 transponder on the bottom.
|
|
 |
|
|
Everything came out nicely. |
|
 |
|
|
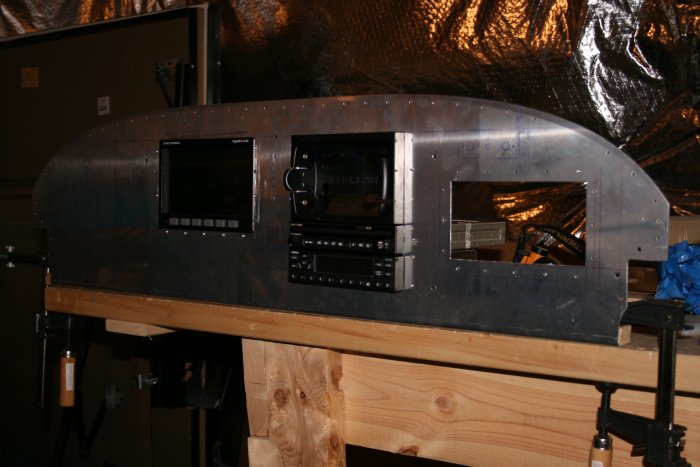
I couldn't resist putting the Dynon in and admiring the panel. I'm
pleased with how the panel looks so far.
|
|
 |
|
|
|
|
|
|
|
|