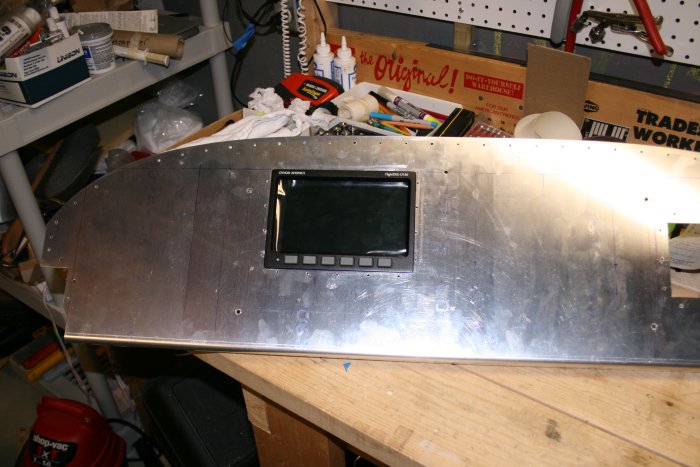
July 4, 2007 - Panel
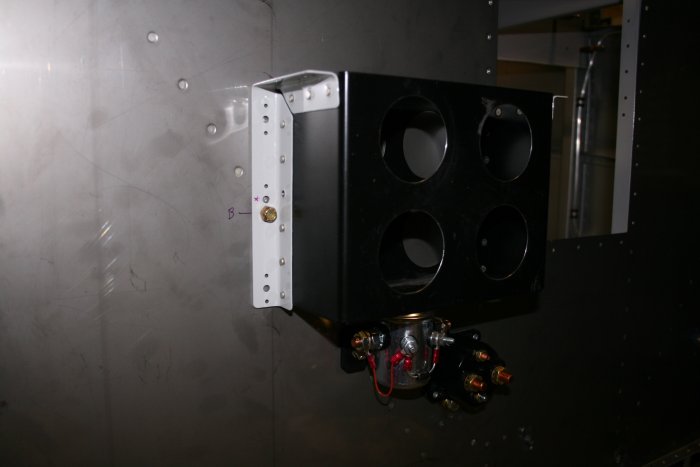
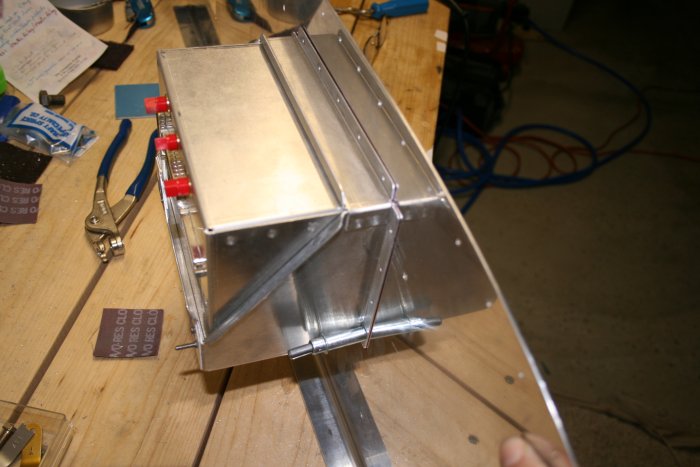
With the Dynon's rectangular hole cut-out in the Panel, I turned my attention to the mounting bracket.  First step was to drill the flanges. I figured five holes on the horizontal flanges and four on the veritical flanges would suffice.   
Next I back-drilled the bracket to the panel.  I had to use my 12" #40 bit for this.   Because of the aft flanges, it was challenging to drill the holes near the top of the bracket.  I couldn't figure a way to drill the top horizontal row so I just left it undrilled.  The instructions say you only have to drill the vertical or the horizontal flanges; you don't have to do both. 
I clecoed the mounting bracket to the panel.  And then of course I just had to see how the Dynon looked in the panel.  Looks great as far as I can tell.  Alignment looks good. 
From the rear. 
I countersunk the #40 holes on the panel front.  I took my time and worked very carefully, as the shop heads will be visible on the panel  -- don't want oversize or undersize countersinks.  Must be just right.  All countersinks came out well.  The Dynon was essentially done. 
I turned my attention to the "Stack" cutout.  This time I didn't drill the #40 holes in the corner; that caused more trouble than it was worth with the Dynon cut-out.  I just drilled the 3/4" holes near the corners. 
Once again, I used the jibsaw to drilled out the rectang.e
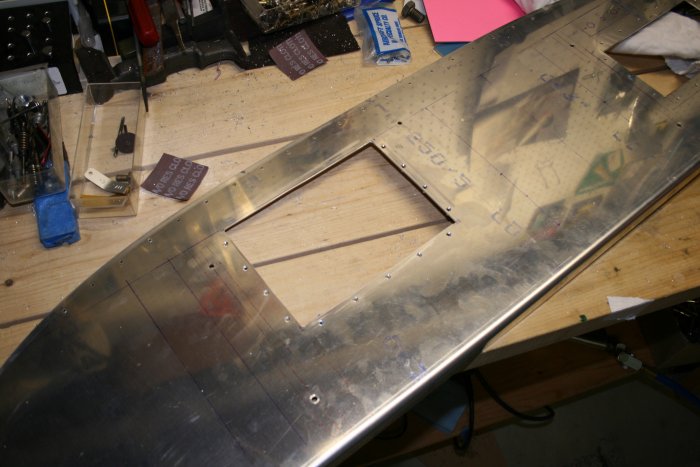
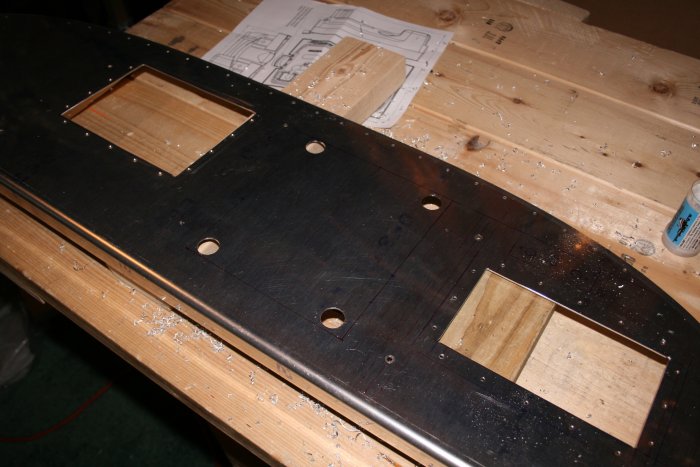
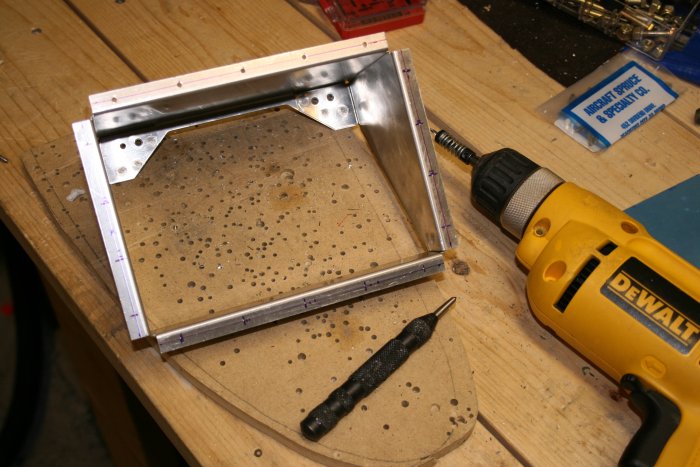
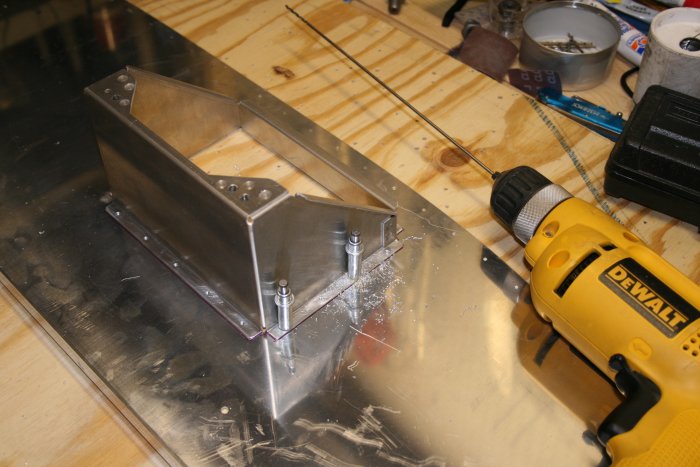
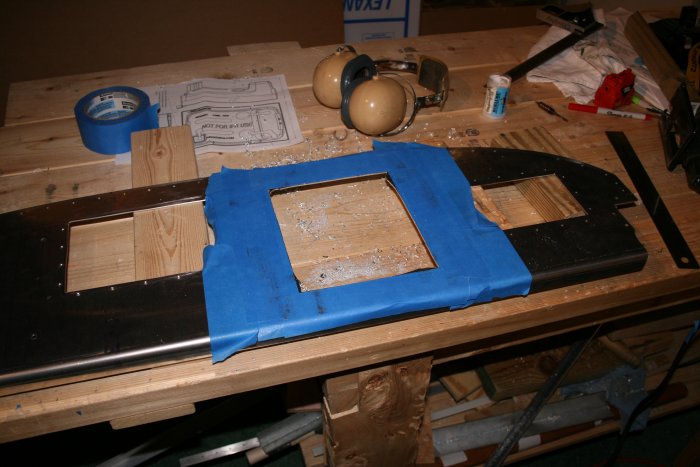
There are still the corners to deal with.
Instead of the dremel, I used my Exacto- saw to square the corners. This worked much better.
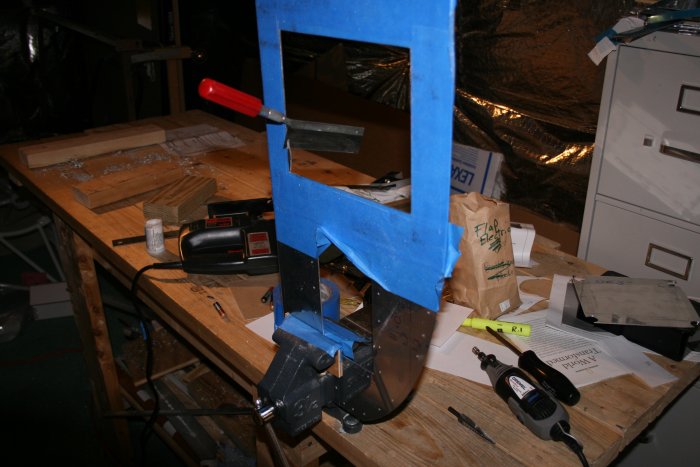
Then the inevitable filing.  This History Channel had an excellent series on the American Revolution so I enjoyed watching that while filing. 
The battery box temporary fitted to the firewall.  Because the B&C Battery Contactor is taller than Van's, I have to move the battery box up about 3/8".  I just drilled a nutplate holes to #12.  I'm going to have to get some end nut-plates. 
Here you can see the manufactured flush heads of the rivets. 
 
Previous
Home
Next