September 15, 2007 - Relays, Riveting
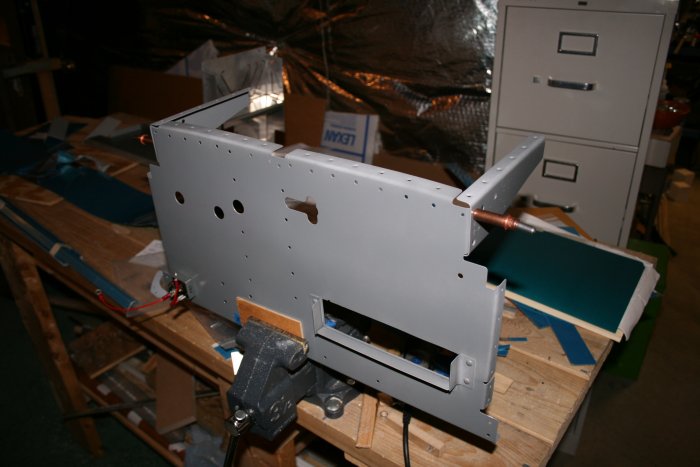
Anyone who has been following my web log has probably noticed I've been working on the relays for a long time. I had bought my master and starter relays from B&C Specialty Products. The problem was that they are not the same as what Van's supplies, and don't conform to the Van drawings. The problem was connecting the master and starter relays with the two copper strips. After much effort and frustration, I gave up, and just ordered the Vans starter relay. Then I cut and drilled theI two copper strips. Done. Finally.
Save yourself some time and effort. Stick with the Vans master and starter relays.
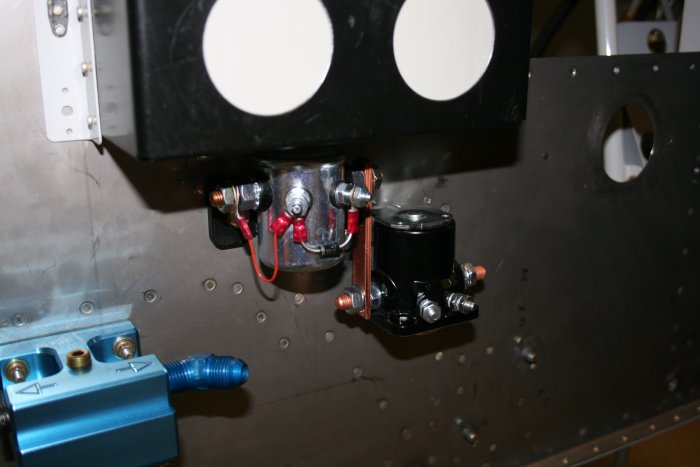
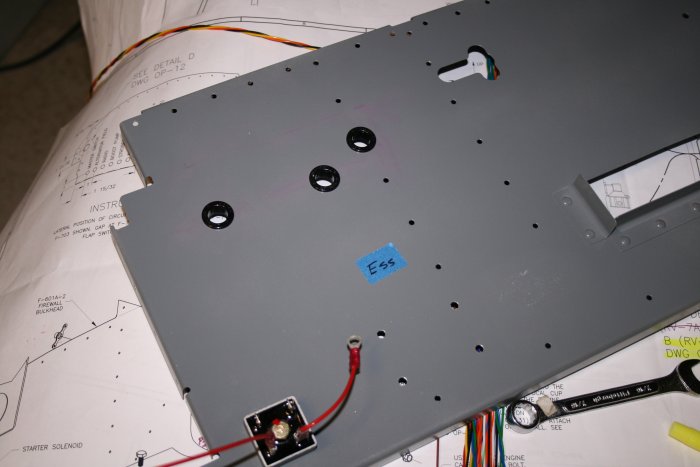
A better look. (Note: I drilled the one on the right incorrectly. Later, I drilled the hole beneath it to 5/8" for the snap bushing.
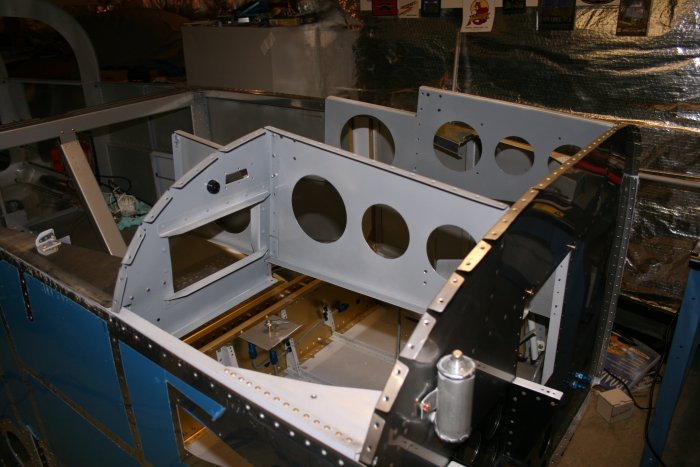
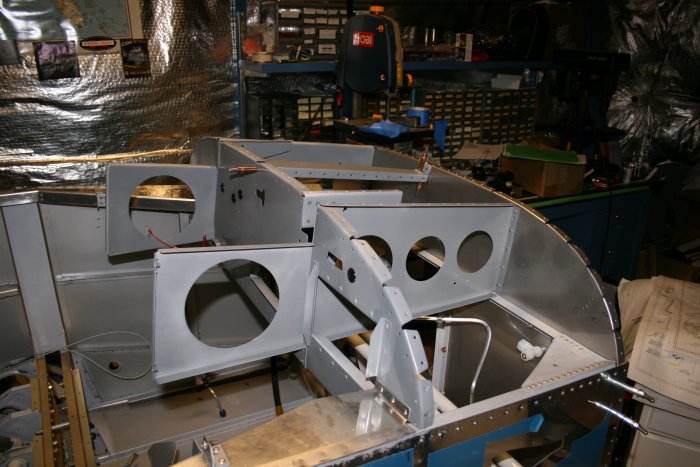
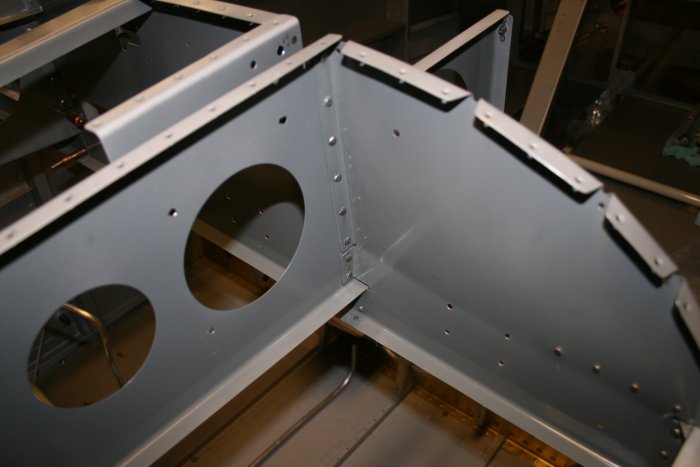
Then I riveted the left and right side panels to the fuse. It wasn't easy riveting. I had to use the double-angle set -- not my favorite. I also had to shoot the gun with my left hand frequently.
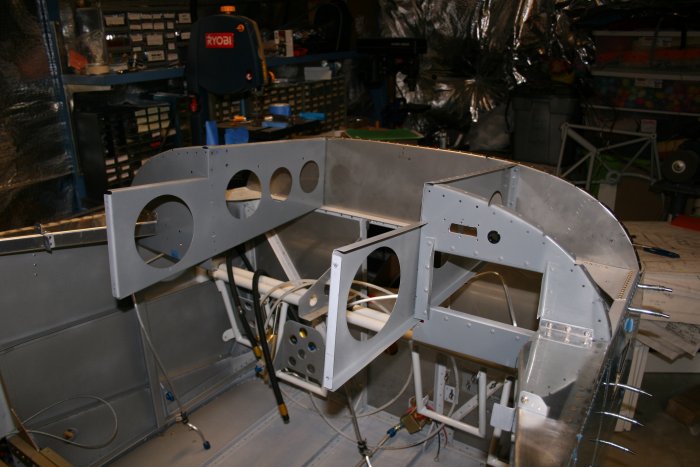
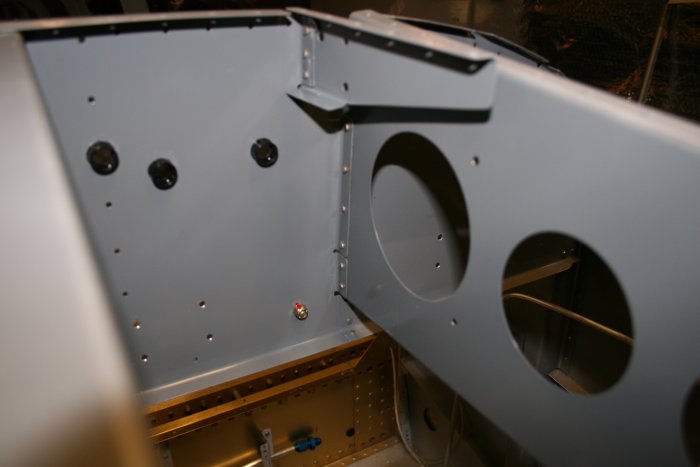
Lynnette came down and helped me rivet the two ribs to the firewall -- five rivets each. They were flush rivets which required dimpling the firewall for 1/8". To do that I had to buy the 1/8" pop-rivet dimpling set. Hard to believe after all this time this was the first time in the project I needed this tool.