August 5, 2007 - Static Ports
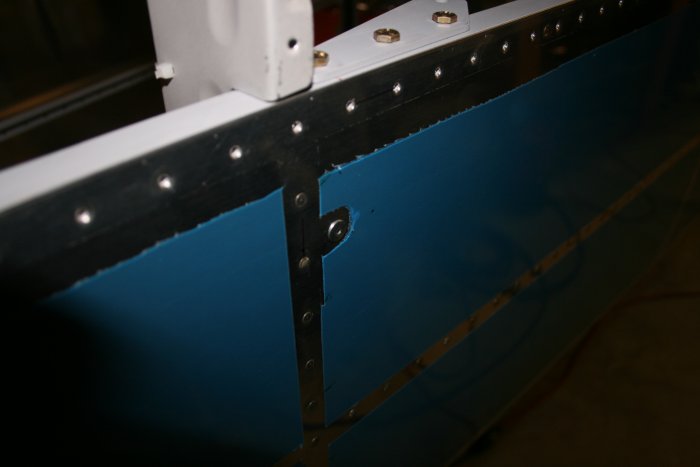
Some builders are outraged that Vans uses pop-rivets for the static ports. (Probably the same ones who complain that Oshkosh is too commercial or that the Bratwursts there cost too much). But this isn't your typical LP4-3 pop-rivet. It actually looks pretty good. And, of course, it works.

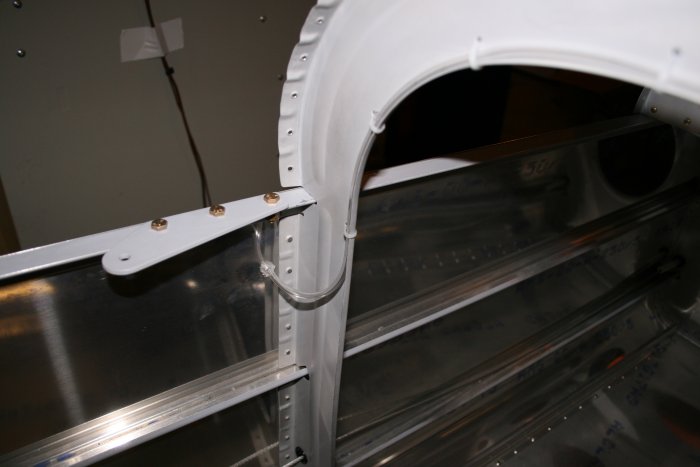
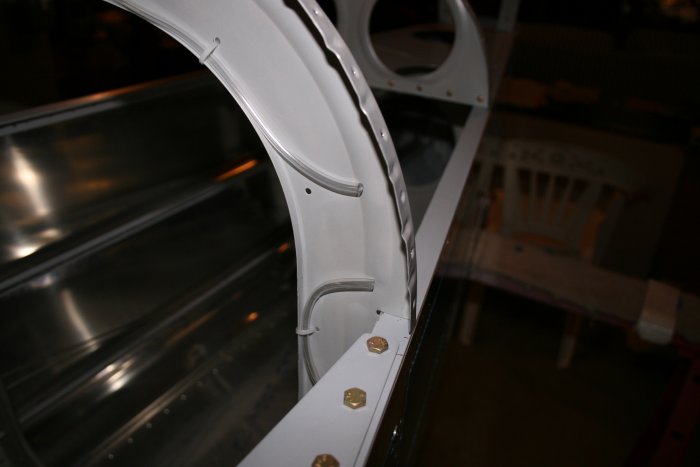
Next I installed the 1/8" id tubing from the pop-rivet up and around the
bulkhead. I heated the tube end with the heat gun to get it to go
over the rivet end. Then I put Permatex RTV Silicon adhesive
around the tube and rivet end. I used plastic ties to secure the
tubing to the bulkhead. The ties went through #30 holes I had
drilled eons ago.

A Vans-supplied plastic tee will go between the two tube ends.
However, I need to buy some 3/6" id tubing to link them.
