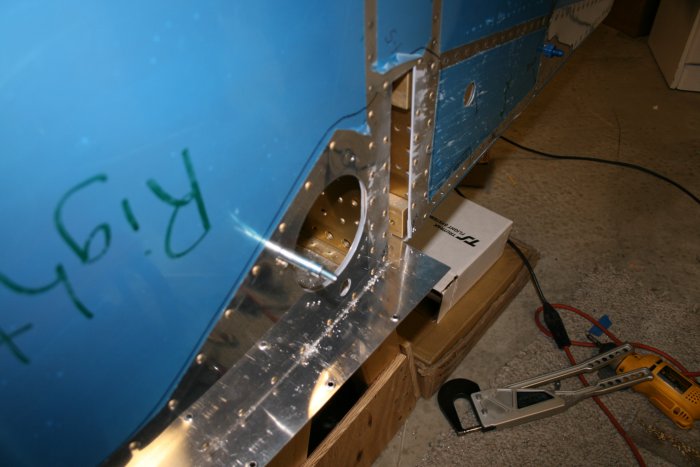
August 4, 2007 - ELT, Aileron boots
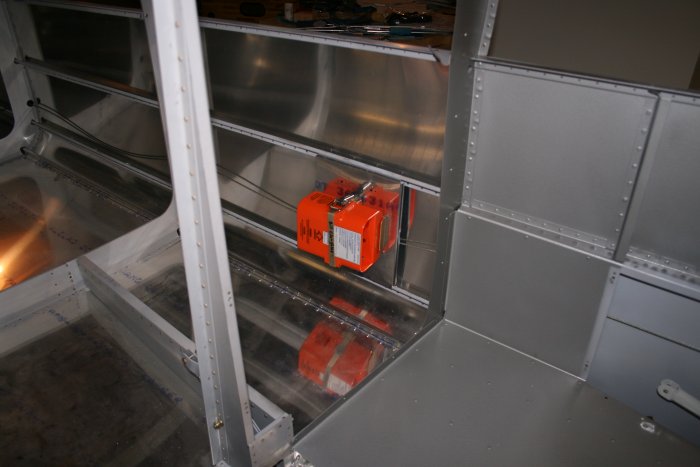
Then I strapped the ELT in. I still have to run the RJ-45 wire
from the ELT to the remote switch on the panel as well as mount the
antenna somewhere and run the cable to it.
I met Chad Jensen at the Oshkosh RV barbecue. When I got back, I
was looking at his web log, and saw where he had installed the aileron
boots. I had ordered some myself from FlightLine Interiors when I
had my seats upholstered. I figured I might as well install mine
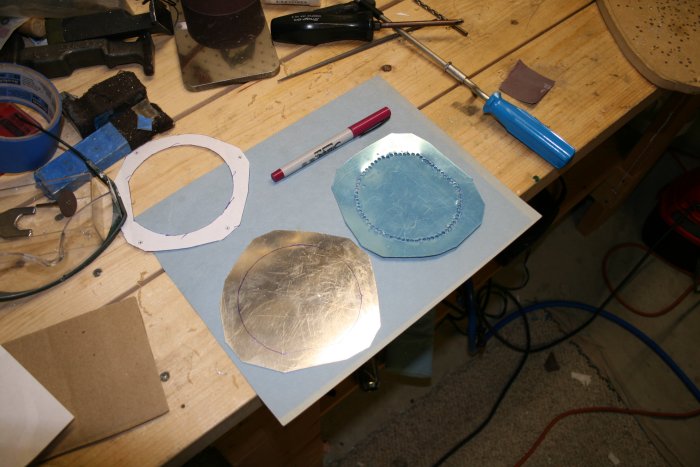
now. First item of business was to make the aluminum donuts per a
drawing they supplied. The outside was easy. I cut out the
inside by drilling #30 holes all the way around, then cutting between
them with a Dremel cutting disk, then using the Dremel nibbler to smooth
the edge. No big deal. Probably an easier way to do it, but
I couldn't think of one. I used .016 sheet for one donut and .025
for the other. Why the difference. Because that's what I had
in my aluminum stock pile.