January 11, 2009 - Hang Rudder ... Again
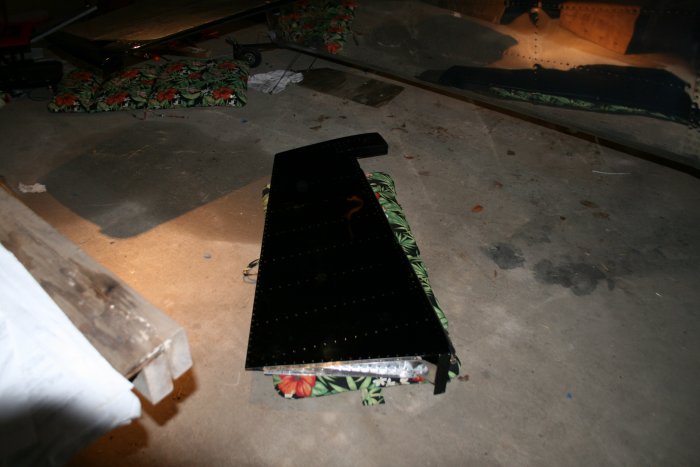
Got to the airport around 9AM. The first thing I tried to do was put the rudder bottom tip on. Right away I realized it wasn't going to happen. The tailwheel steel gear was in the way. Nothing to do but take the rudder off. After all that work getting the washers and nuts on. Sigh.
I didn't take me too long to get the rudder off.
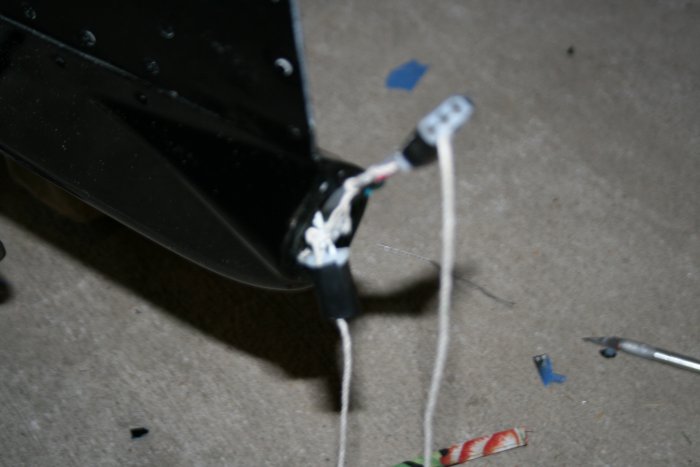
I started working on the wiring that
runs through the rudder bottom tip to the Nav/Strobe light.

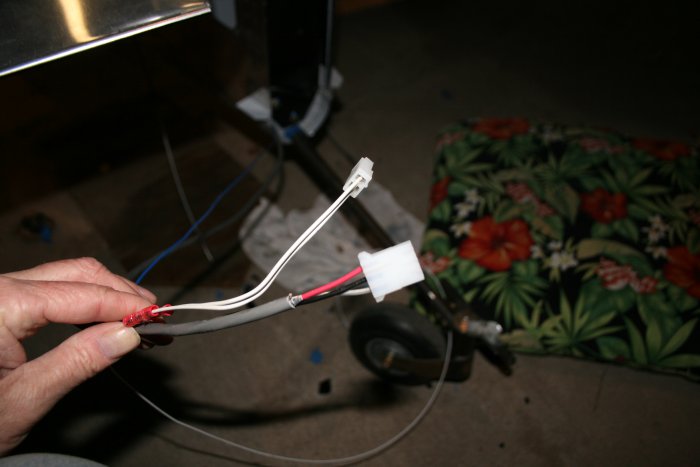
Here's a shot of the strobe wire
bundle and the blue Nav power wire coming out of the tail area. The
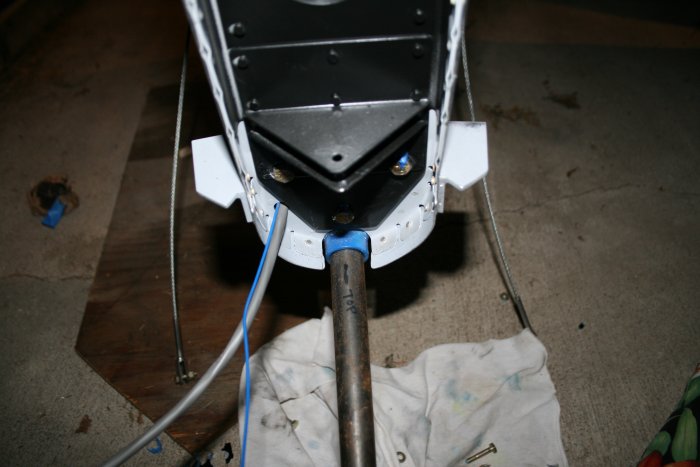
Nav light gets a local ground. I ran a wire from the Nav connector,
through the same hole as the strobe bundle and blue wire, and anchored it
on one of the elevator stop bolt/nuts. It wasn't easy getting that
nut back on, let me tell
you.
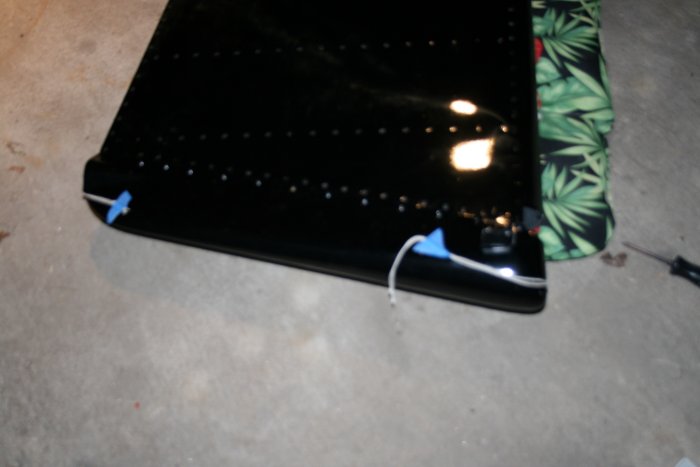
I connected the Nav/Strobe light to the connectors sticking out the back of the rudder and they tested 4.0. Thankfully!
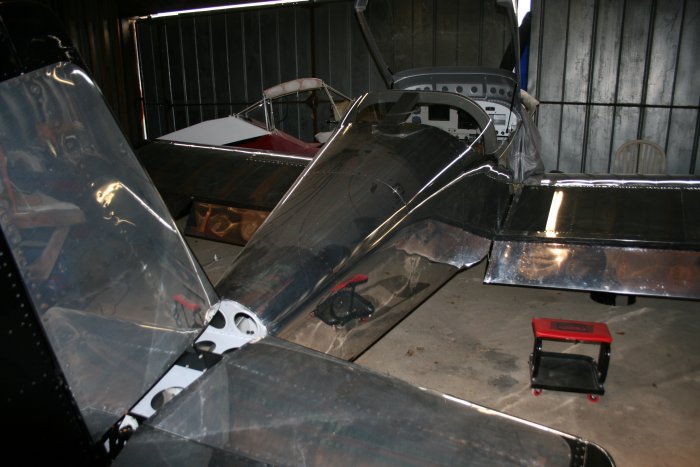
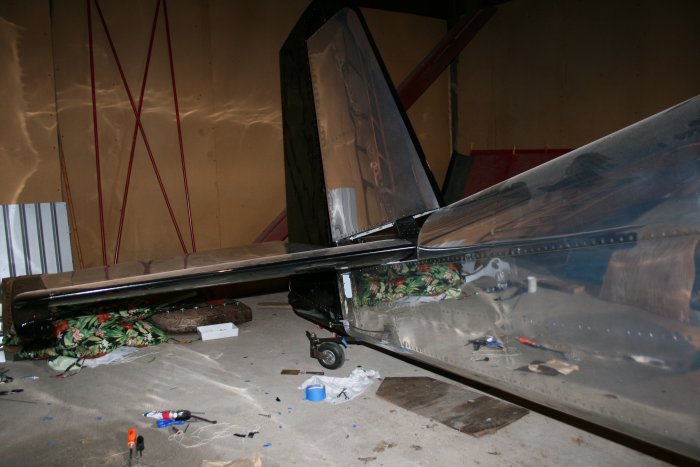
I finished screwing down the rudder bottom tip.
The RV looks much better with the
rudder
on.
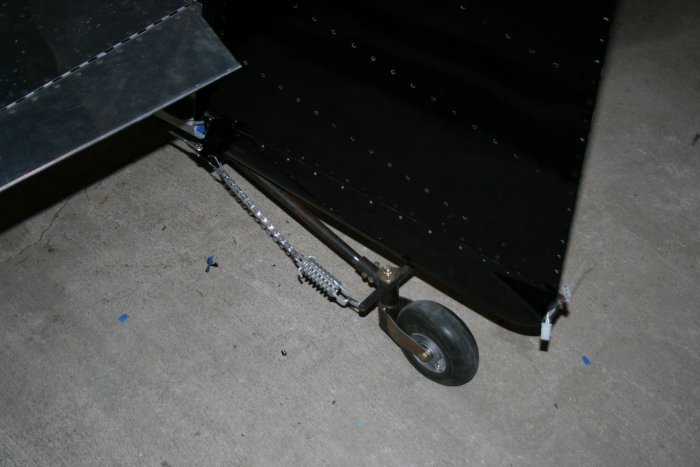
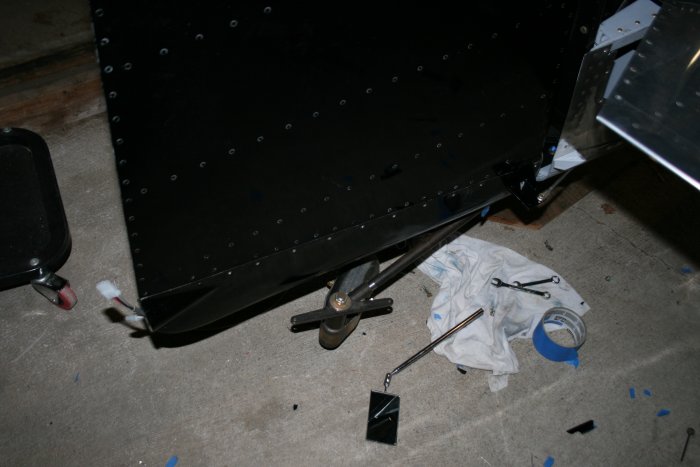
About 30 minutes later I was
done. This was one of the few times I have been able to knock
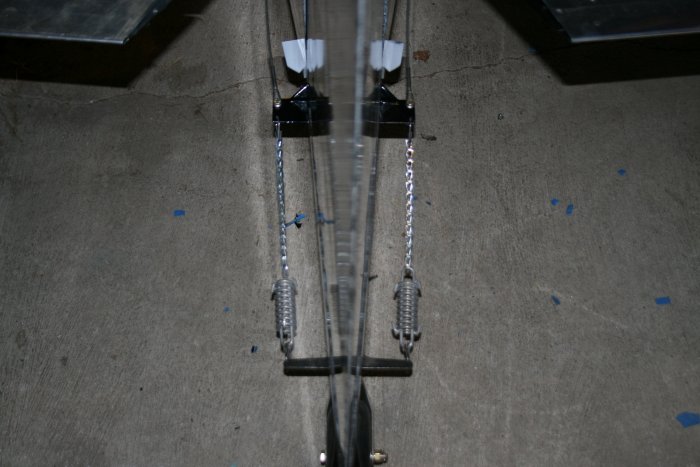
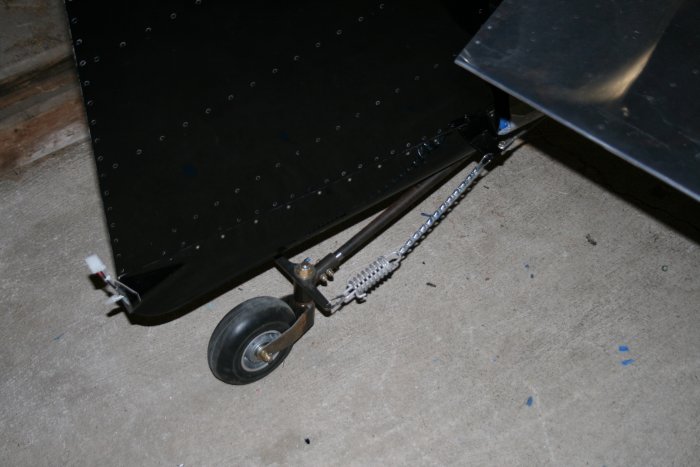
something out in a relatively short time. The chains have about a
1/2" sag, per the drawings.
I need to get some longer screws to
hold down the Nav/Strobe light; that's why you don't see it mounted
yet.