January 13, 2008 - More Riveting
|
|
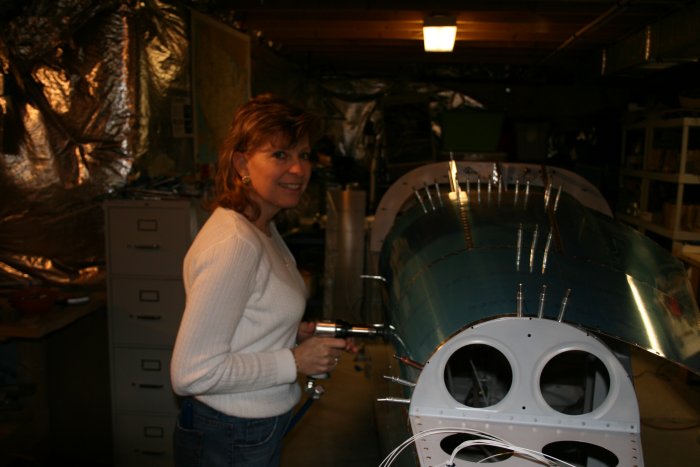
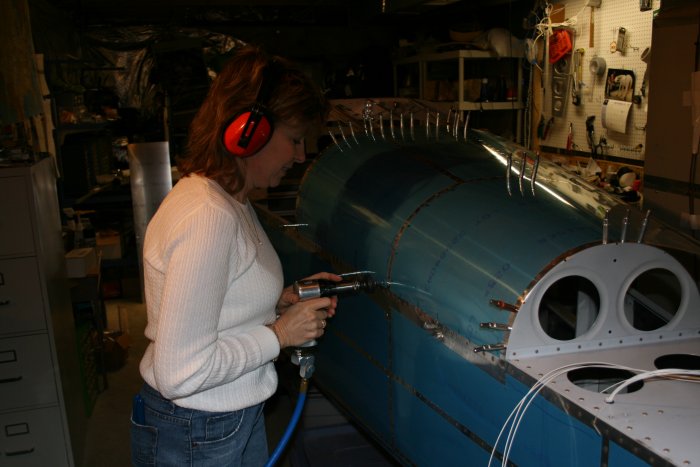
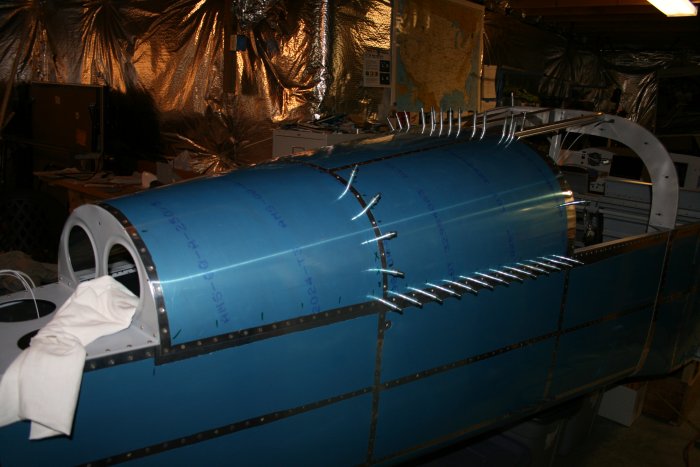
Tongiht we were
riveting the left side of the aft top skin. Here's an action shot of
Lynnette riveting. |
|
|
|
|
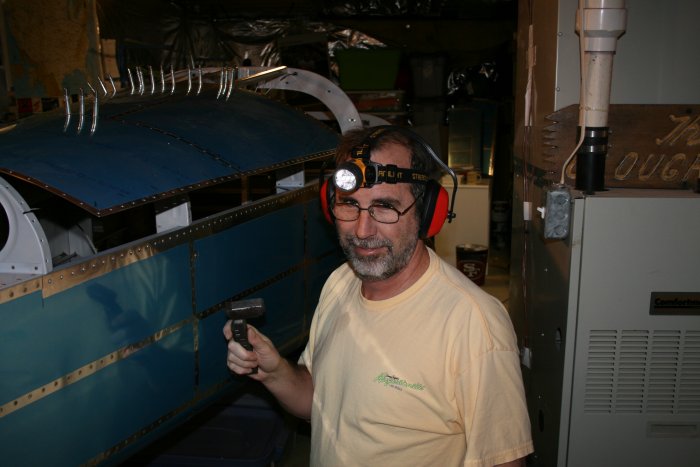
And me bucking from the right
side. Yeah, bucking is a lot of
fun.
|
|

|
|
|
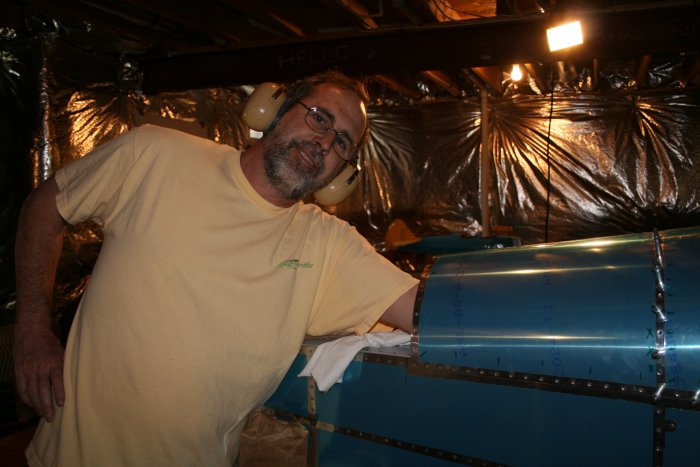
If I was starting
the project right now, I'd buy one of those tungston bucking bars.
But they cost 100 bucks and I don't have that much more riveting to do, so
I'm sticking with my steel
bar. |
|
|
|
|
|
|
|
|
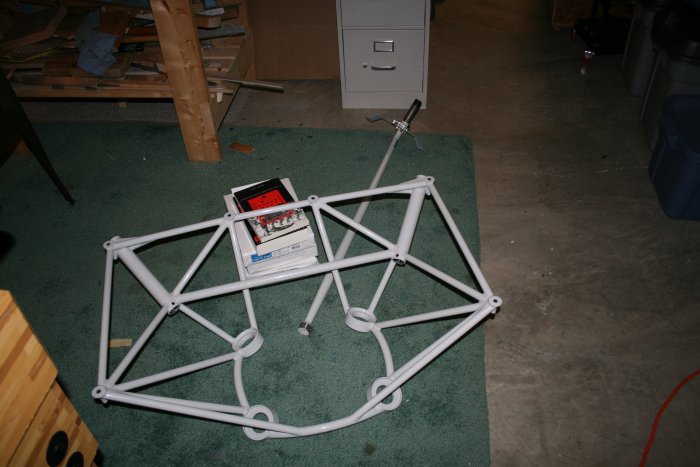
| We started on the
right side. I had thought I'd have to crawl into the fuse to do
this, but I decided to give sticking my arm through the holes in the F-709
bulkhead a try and found it worked fine. |
|
|
|
| We quit riveting
after doing the right side aft of the F-708 bulkhead. This second
night we nailed all the rivets; none require drilling out. |
|
|
|
|
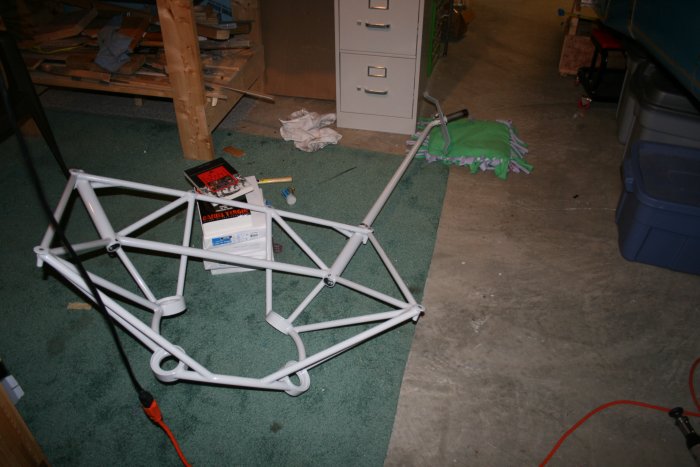
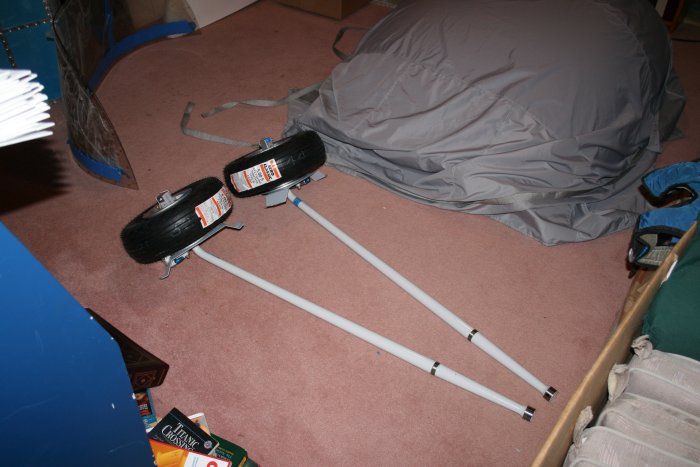
My next task was
to make sure the gear fit in the engine mount and that all the bolts would
go
in. |
|
|
|
|
It took a little
sanding of the inside of the engine mount tubes, but I got the gear to
slide in. I also made sure the gear retaining bolts slide all the
way through the engine mount and gear holes. |
|
|
|
|
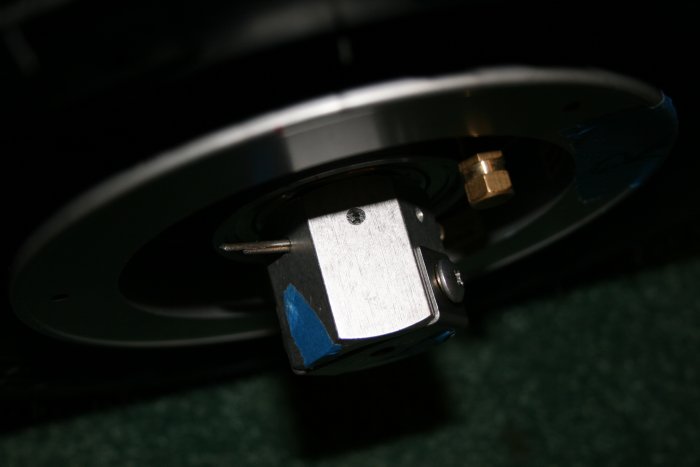
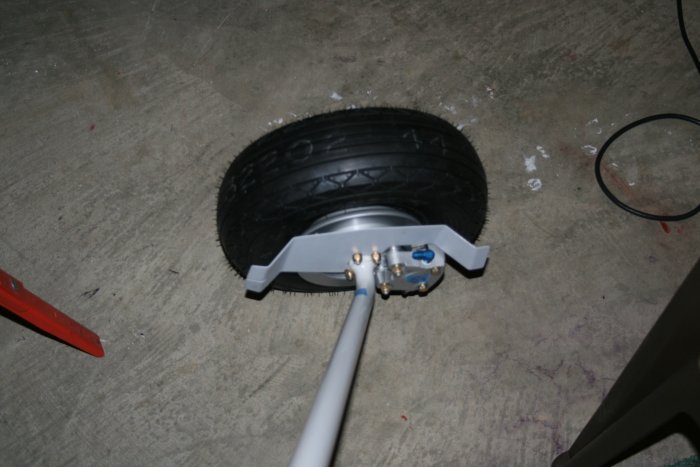
I made sure the cotter pin fit
through the holes in the axle. I had drilled these holes months last
summer I
think.
|
|

|
|
| With
the wheel on the axle, I screwed ont he axle nut and made sure the
cotter pin went through the axle nut, through the axle, and out the other
side of the axle nut. This took a little bit of finagling and needle
file work, but I got both sides done. |
|
|
|
| I bolted on the
brake assembly, and with that the wheel and gear
are good to go. |
|
|
|
|
The wheels and gear are ready to go on the airplane.
I guess I should take off those tire sticker labels. |
|
|
|
| |
|
|
|
|
|
|
|