October 8, 2006 - Forward Upper Fuselage |
||||||
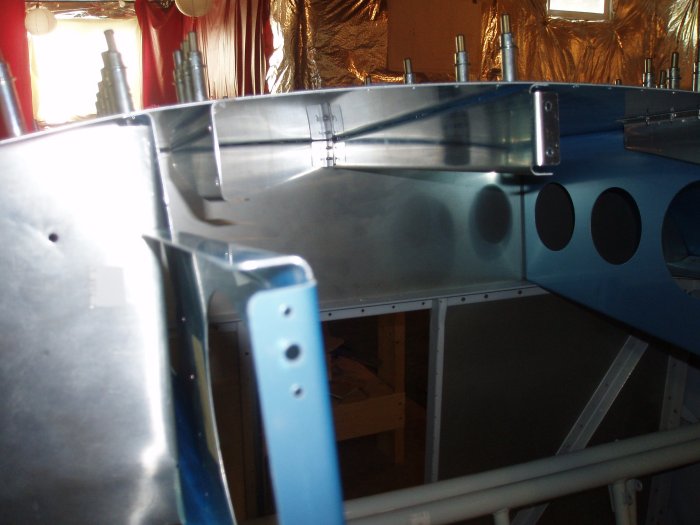
It's hard to see, but there is a little angle bracket holding the long rib to the firewall. I had to match drill the angle to the firewall. I used Dan Checkoway's technique of removing the center subpanel to get easy access to the angle. It was a piece of cake with my 1/8" long bit, | ||||||
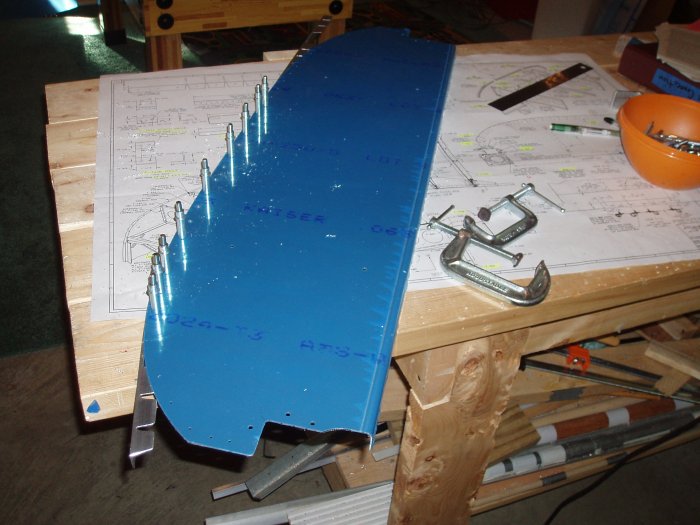
Here I'm drilling the Panel reinforcer to the Panel.
|
||||||
I had to do that, so I could drill the little angle thing to the side of th epanel. | ||||||
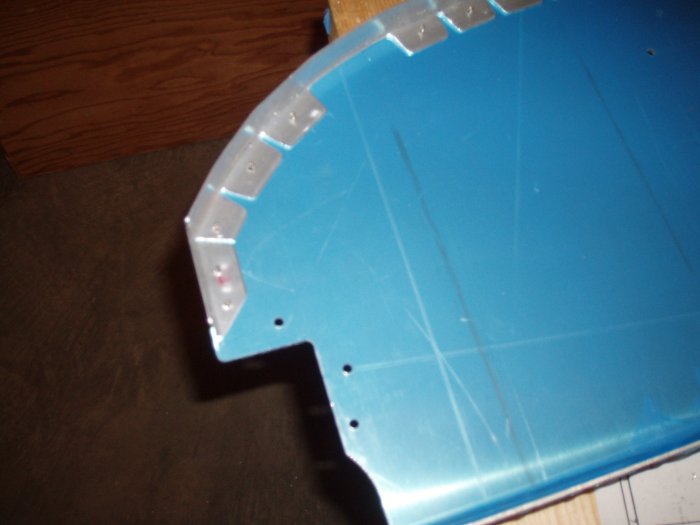
Then I started working on the little angle brackets that secure the
panel to the fuselage side. This ended up being more
time-consuming than I had expected.
|
||||||
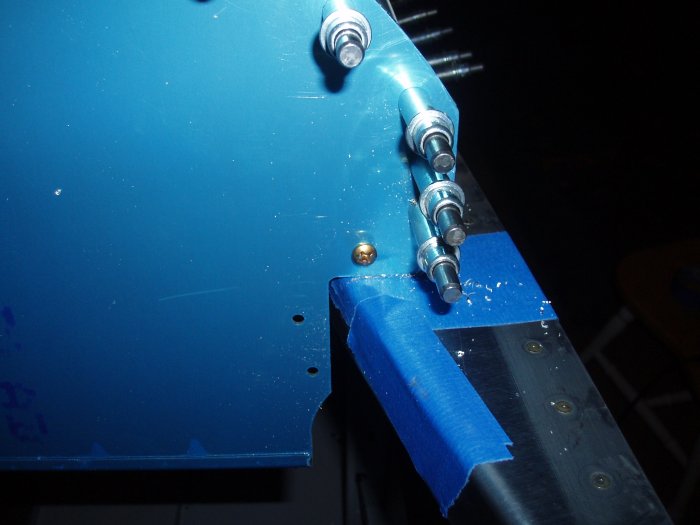
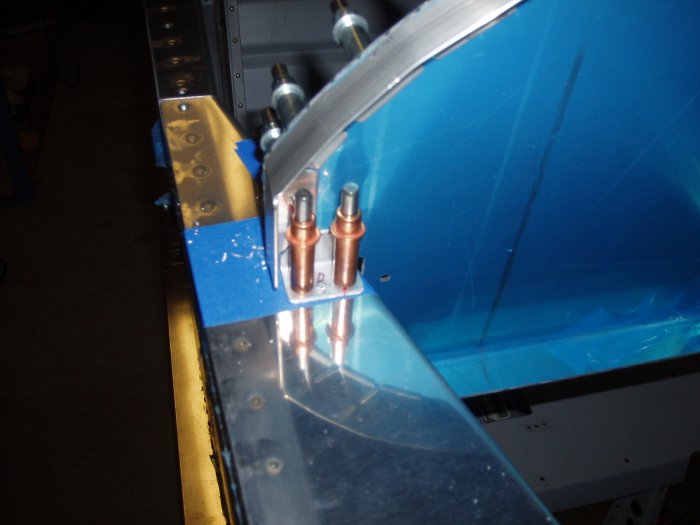
Looking from the front of the panel. The screw is just sitting in the hole; I havn't put the nutplate on the angle yet. | ||||||
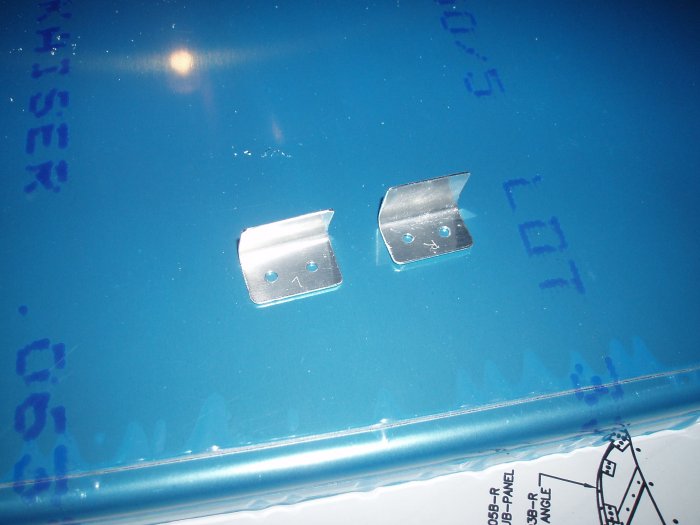
I had to fashion these side brackets. They were on the drawing for the Slider canopy, but not the Tip-up canopy. No big deal. | ||||||
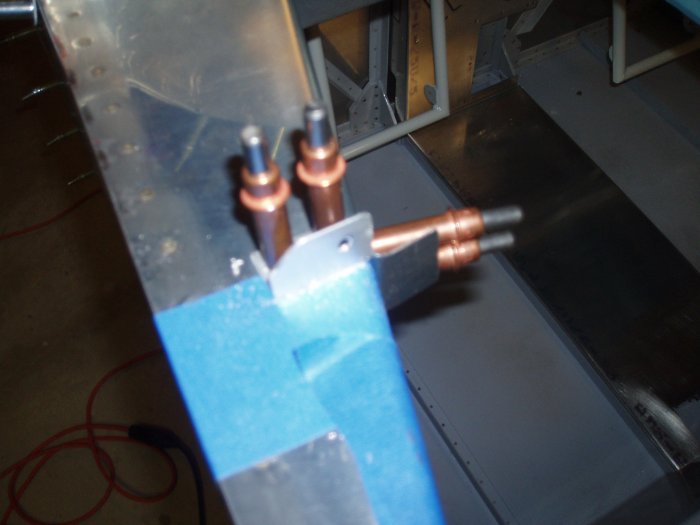
I match-drilled the side brackets to the forward canopy deck, using the bracket as a template. I dread having to rivet these little brackets to the canopy deck; it's going to be a bear. | ||||||
I was tired of working on the forward upper fuselage so I started on the
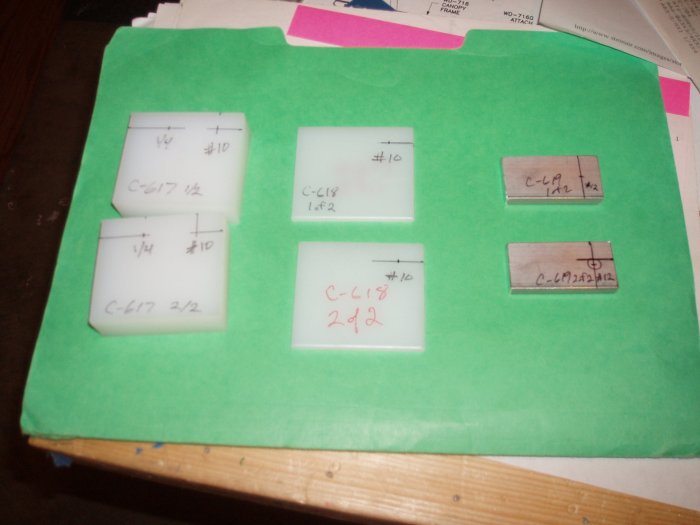
canopy! I started by fashioning some spacers according to the
drawings. It took me a little while just to find the stock.
But I did after awhile. The new blade on the band saw made cutting
the aluminum spacers to the correct size a snap. I'd have saved
mucho hours on this project if I had had the band saw and metal cutting
blade from the start.
|
||||||