December 30, 2005 - Rudder and Brake Pedals
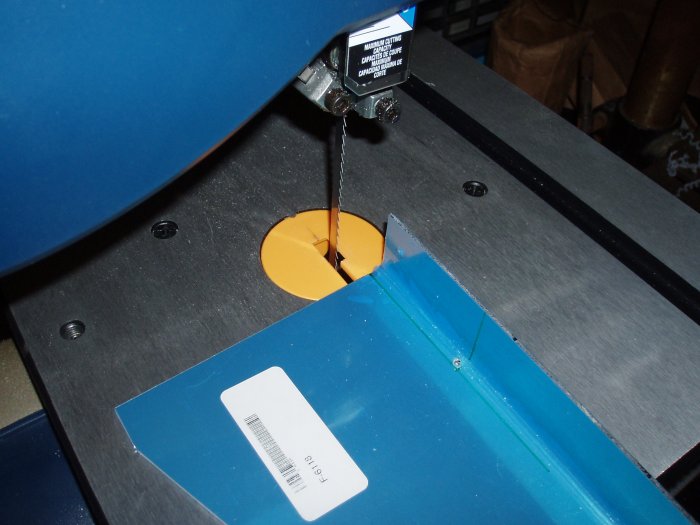
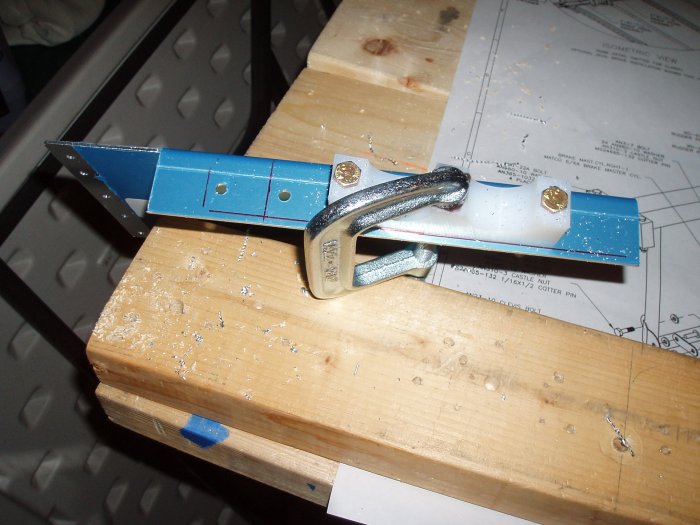
The new bandsaw in action. It was the perfect tool for this
application -- cutting a notch out of the center rudder pedal bracket.
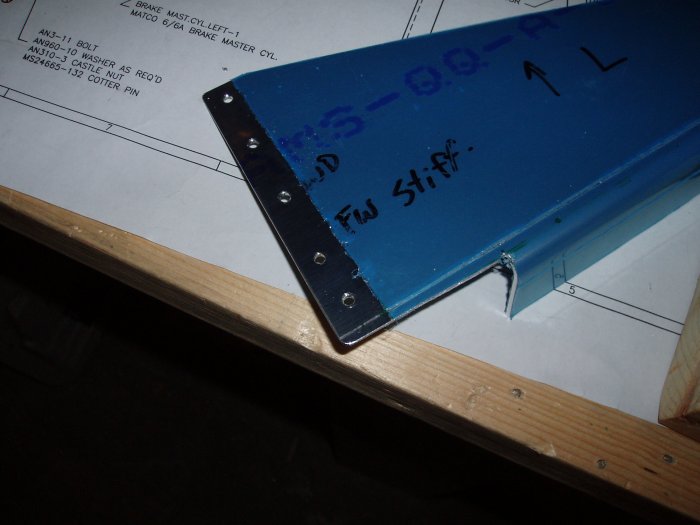
Before I cut, I trial fit the bracket inside the forward fuselage with
the firewall recess thing clecoed in place. I marked with a
Sharpie where the notch had to be for the bracket to fit around the
firewall recess. The Sharpie mark matched almost perfectly with
the dimensions on the drawings and I had my warm and fuzzy.
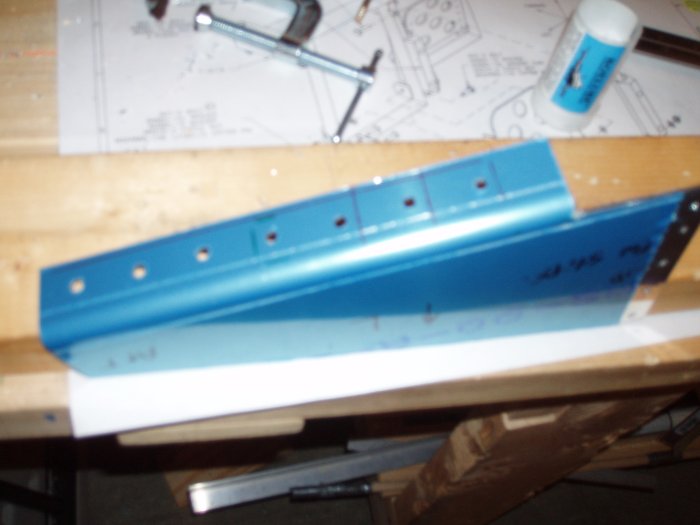
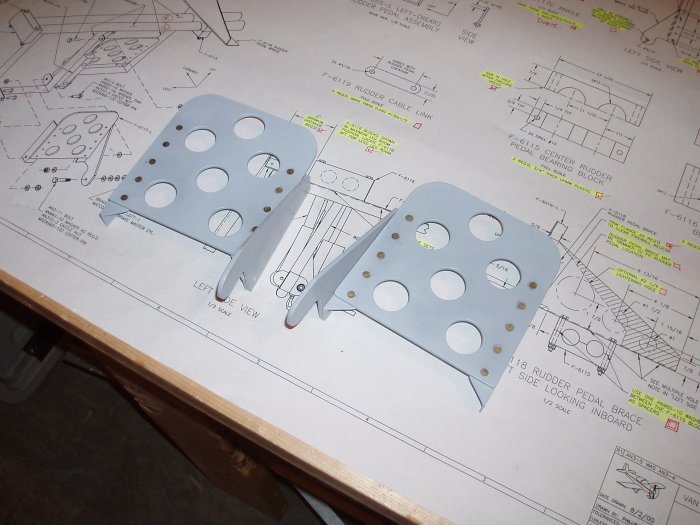
I trial-fit the bracket again and the notch was perfect. I marked
with a Sharpie where the five holes should be. They aren't
perfectly equidistance because I didn't want the hole near a rivet shop
head on the firewall. I drilled the five holes in the bracket.
With the first pair of holes drilled, I could matchdrill the second and
third pairs by simply moving the bushing block back one inch -- the
spacing I had used on the stiffener angles.
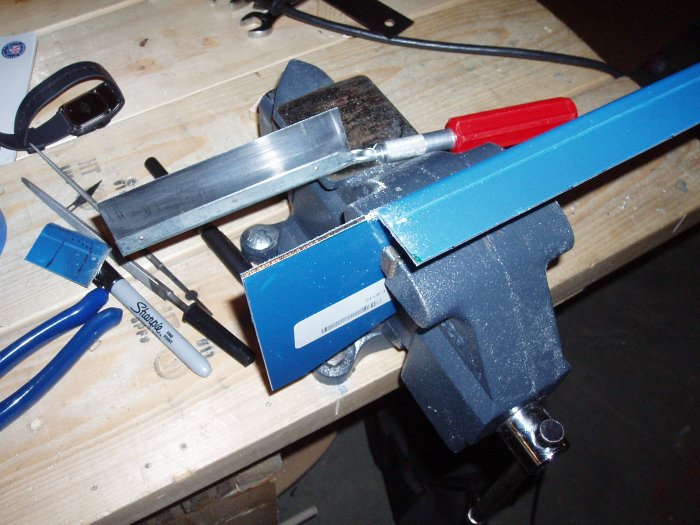
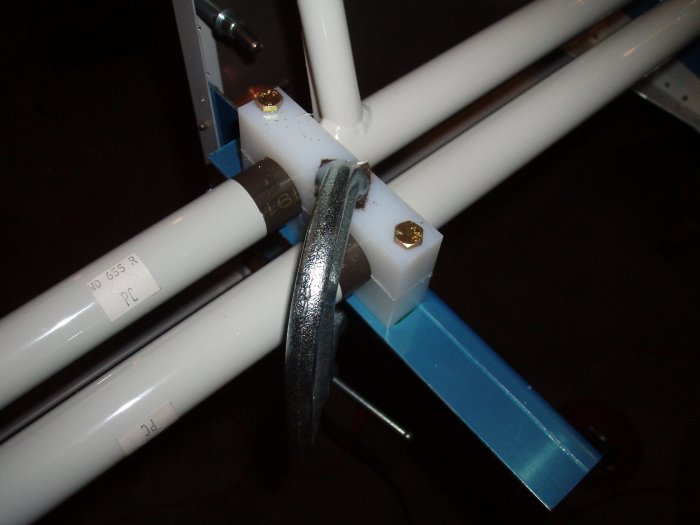
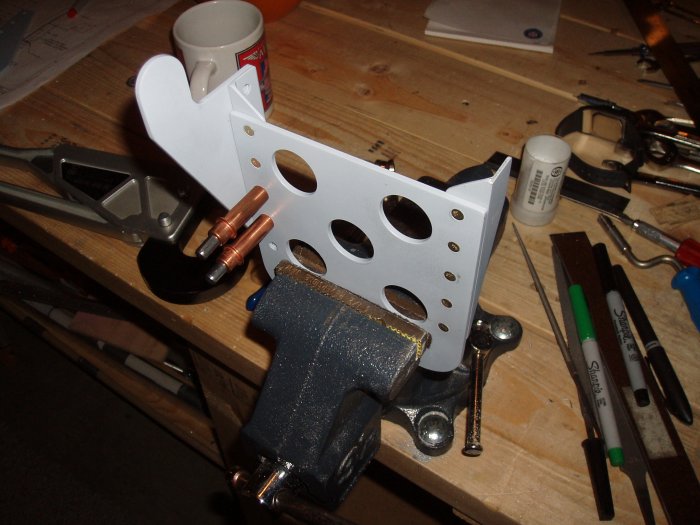
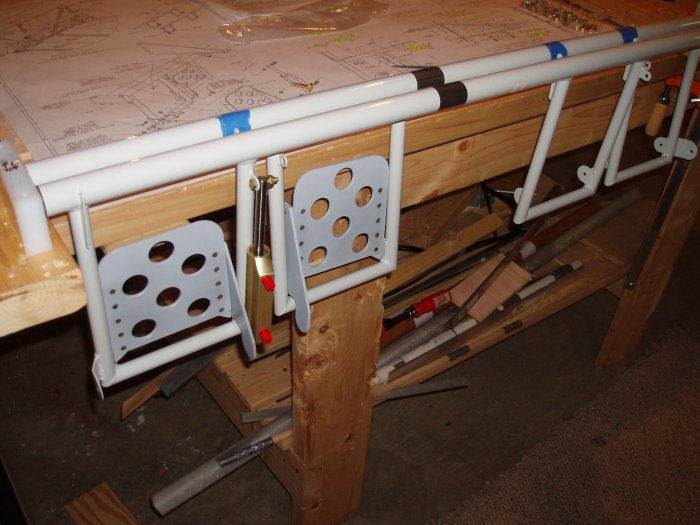
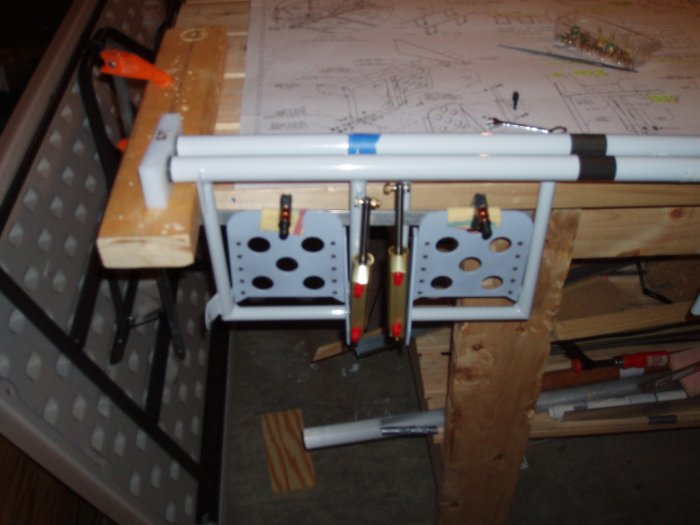
Now for the fun part: riveting the brake pedals together.
It's been awhile since I've done any riveting and this was some of the
easiest riveting of the entire project. Just put the pieces in the
vise and squeeze the rivets with the Main Squeeze.
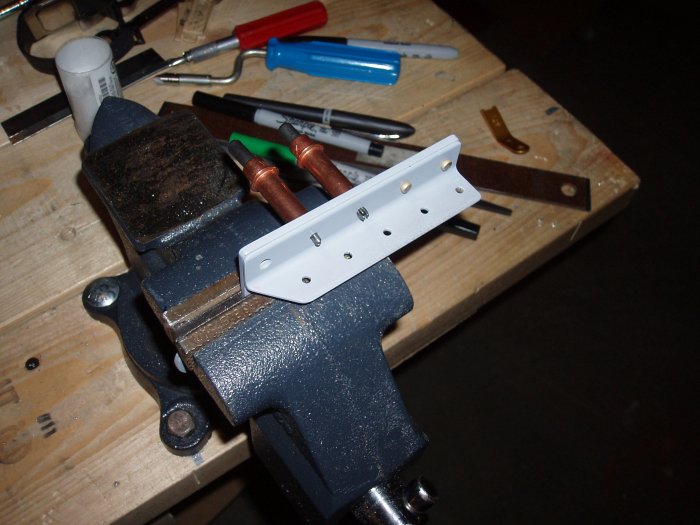
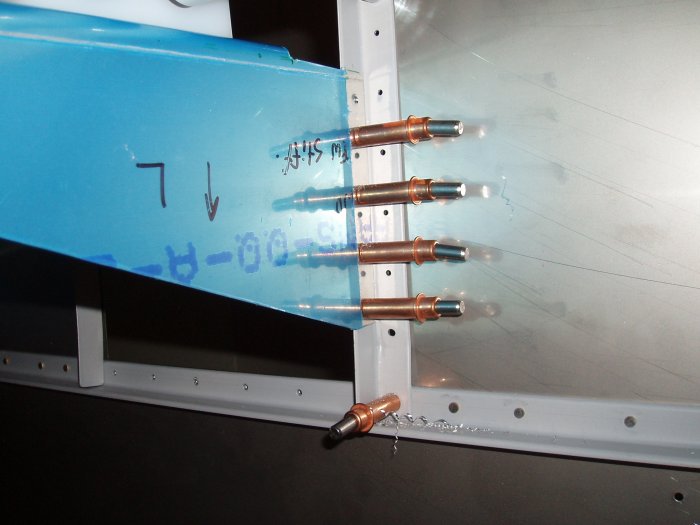
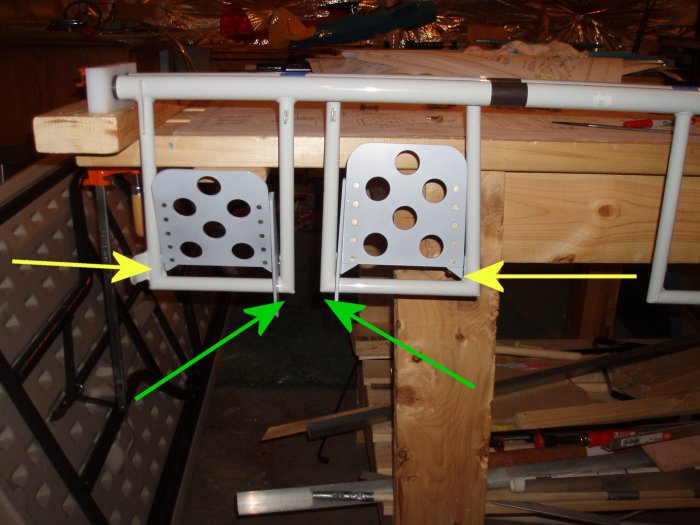
The arrows point to where the holes in the brake pedals are drilled.
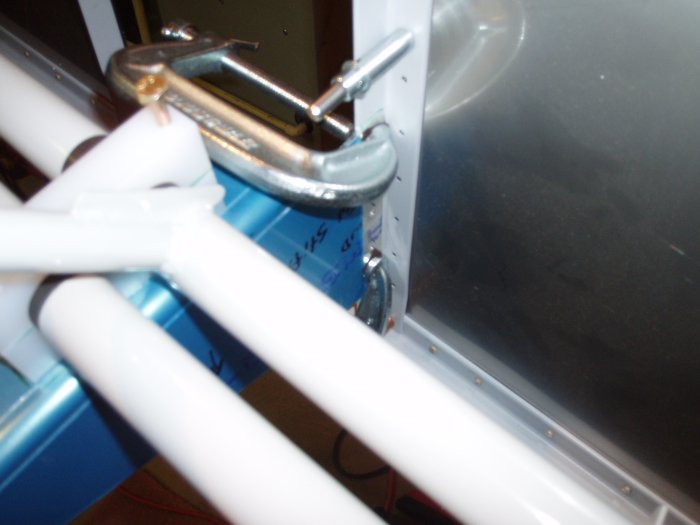
The instructions never really say when you should drill the lower
longeron to the side skin. I'm pretty much done with the
instructions as far as the forward fuselage goes, so I decided I might
as well do it.
Despite the increasingly vague instructions, no one thinks more highly of these Vans kits than I do. The instructions were very detailed in the early days when I needed to be led by the hand. And it never fails to amaze me how perfectly the parts go together when you cleco them together for the first time using the pre-drilled holes. It would be harder and take longer to build this plane without having Dan Checkoway's site to refer to, but Dan's site does exist, the perfect complement to the instructions and drawings. It's all good.