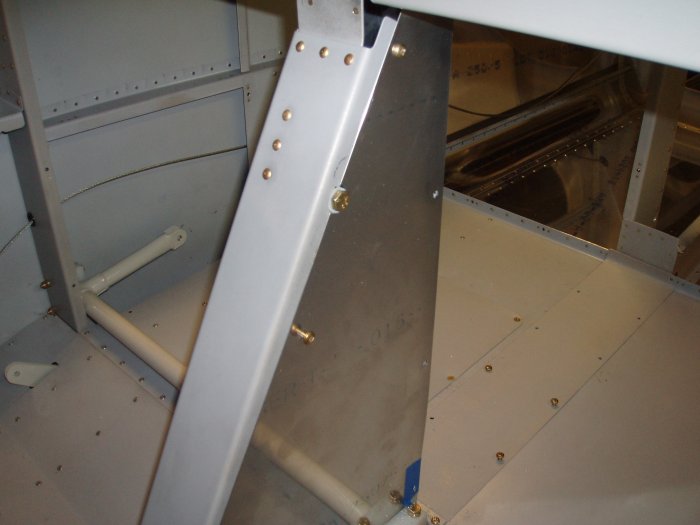
May 21, 2006 - Flap Actuator Mechanism
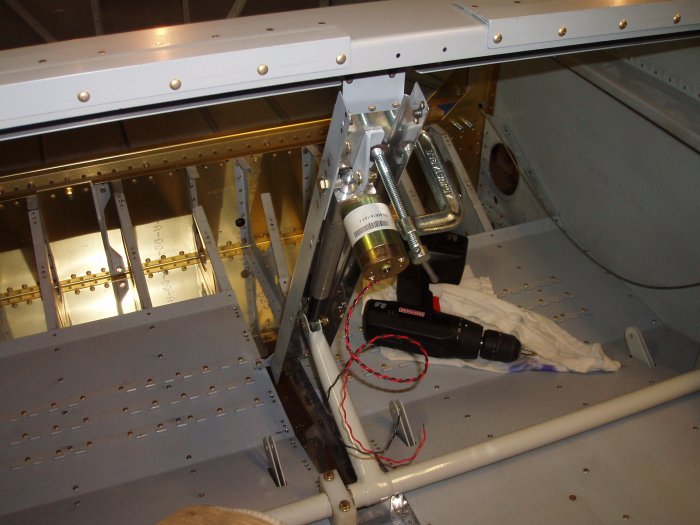
I match-drilled the top and bottom holes, using the channel as a
template.
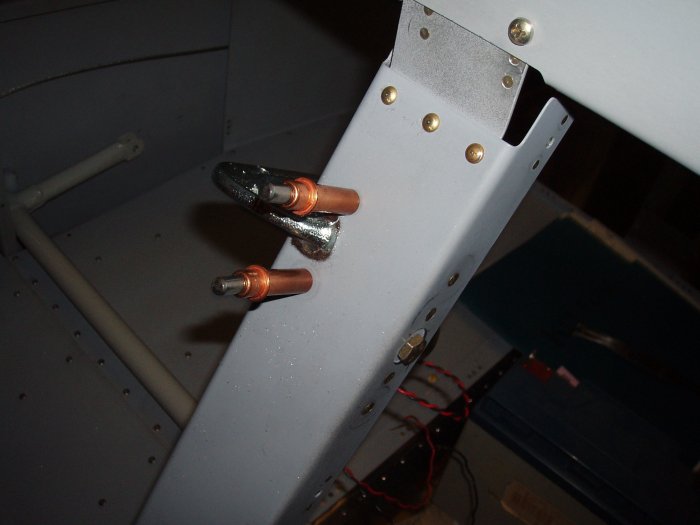
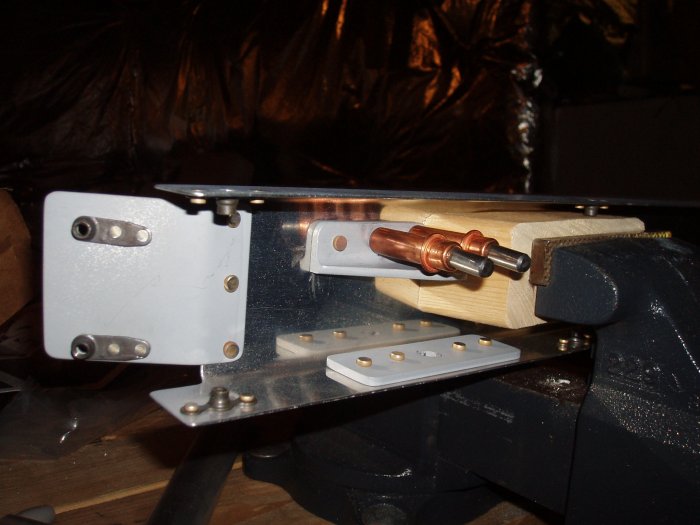
A better look at how I riveted the channel.
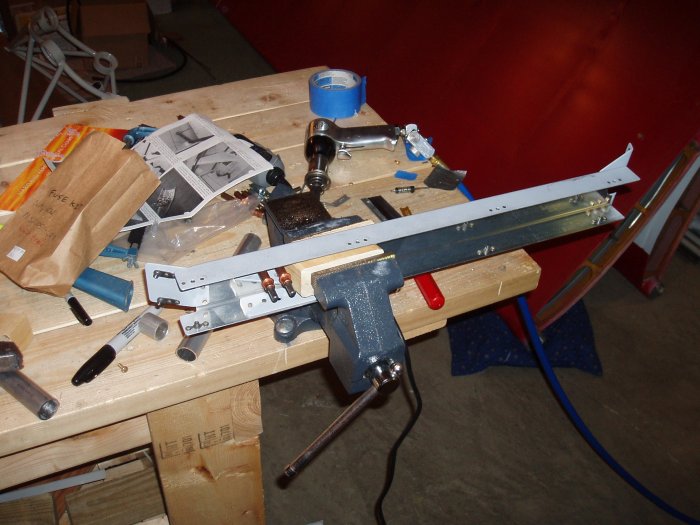
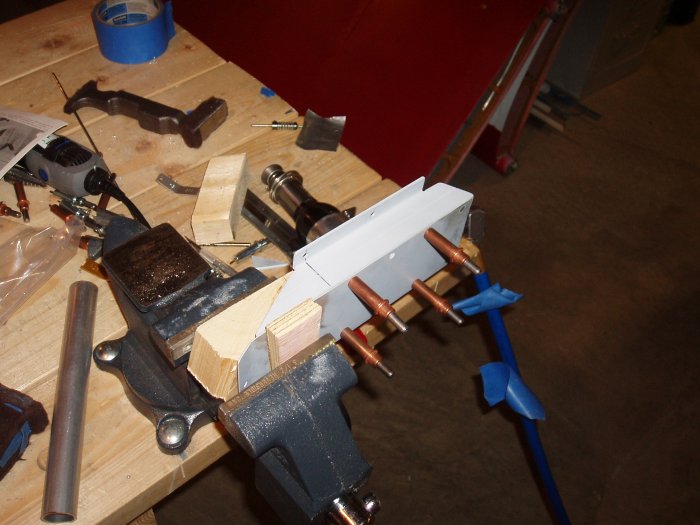
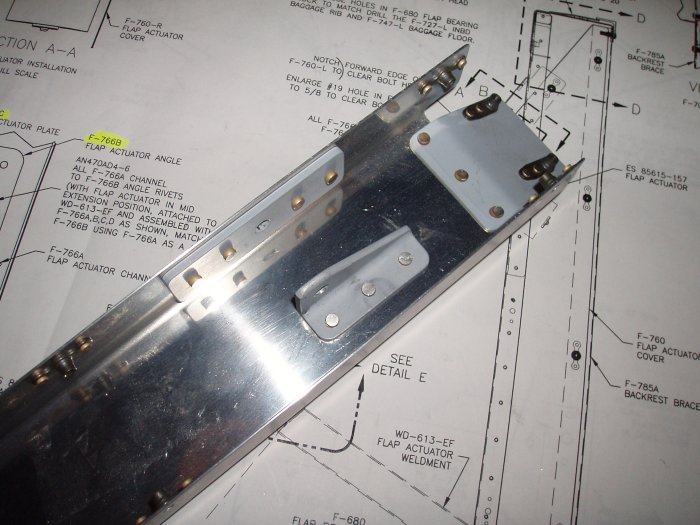
Then I screwed the bottom of the backrest to the floor, and match-drilled the top, using the F-705 bulkhead as a template.
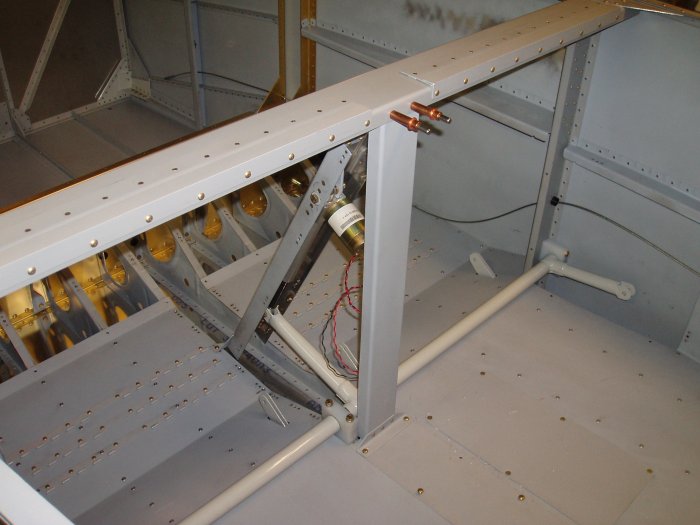
Then I screwed the forward and bottom edges of the the side panels down,
and match-drilled them to the backrest with the #19 bit -- since they
would take #8 screws, using the side panel as a template.
Everything I've been doing the past month or so gets screwed down with
#8 screws into nutplates. I am soooo glad I bought the good
Snap-on screwdriver. It is absolutely amazing how well it grips
the phillips head. And the wooden handle is nice and smooth;
no chafing of the hand. I use a power screwdriver when I can too.
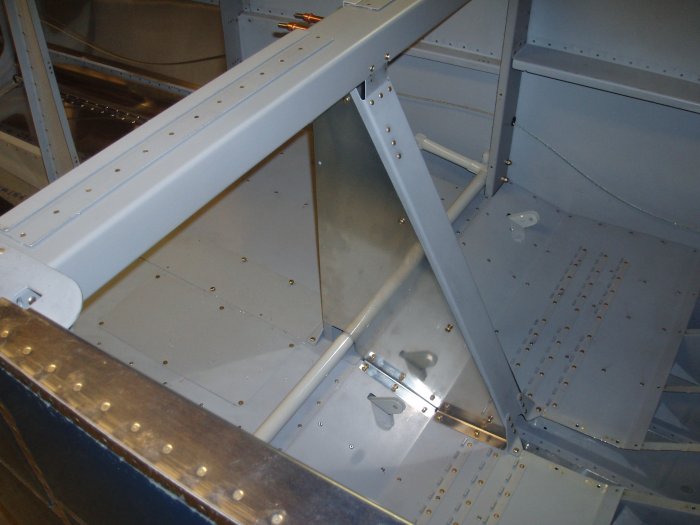
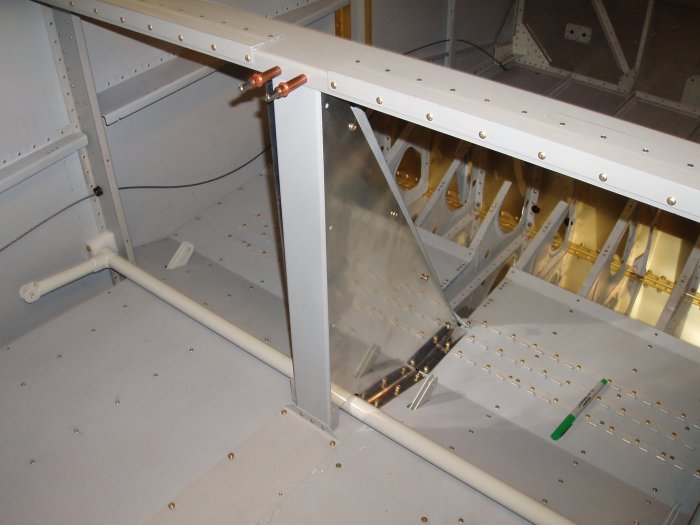
The left wide panel from the forward quarter. I had to "notch" the
side panel where the bolt head protrudes. I made the intitial
notch with the Unibit, then expanded it with the Dremel tool. No
big deal.
So all I have left to do on the flap actuator mechanism is install
nutplates on the backrest and I'm done.
The next step in the instructions is to fit the wings, but I probably am
not going to do that until after I get back from my Oregon Trail flight
in the Citabria. Until then, I'll work on the Kitfox and perhaps
start on the canopy supports.
