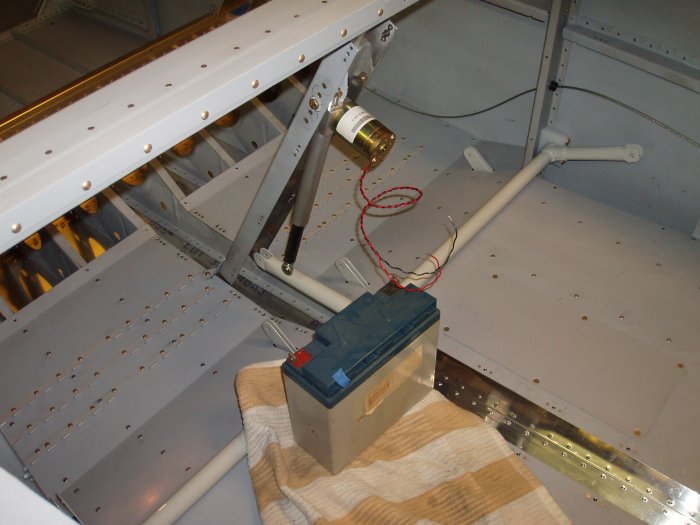
May 19, 2006 - Flap motor

I finished putting the nutplates in the right aft seat floor so the aft seat floors are done.  Then I bolted the flap actuator back in. 
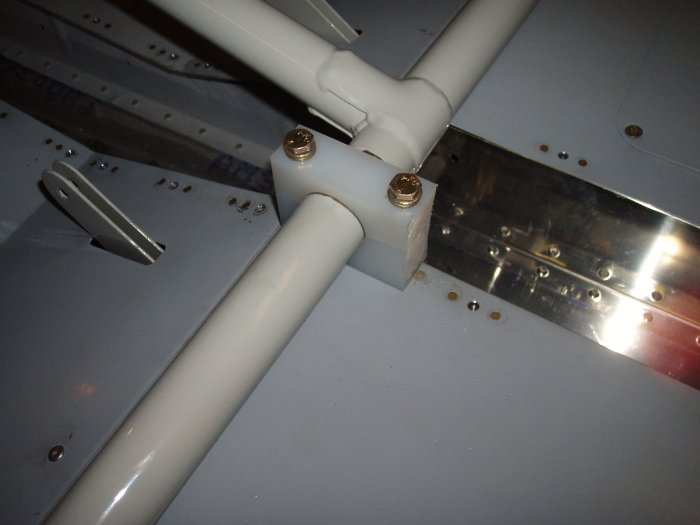
A close-up of the center bearing block.  The drawings call for two AN3-22s, but I could only find AN3-21s.  And the 21s were too long.  As you can see, I had to put two washers under each bolt head to keep them from protruding way out the nutplate on the bottom.  On my next order to Aircraft Spruce, I'll see if I can order some AN3-20s. 
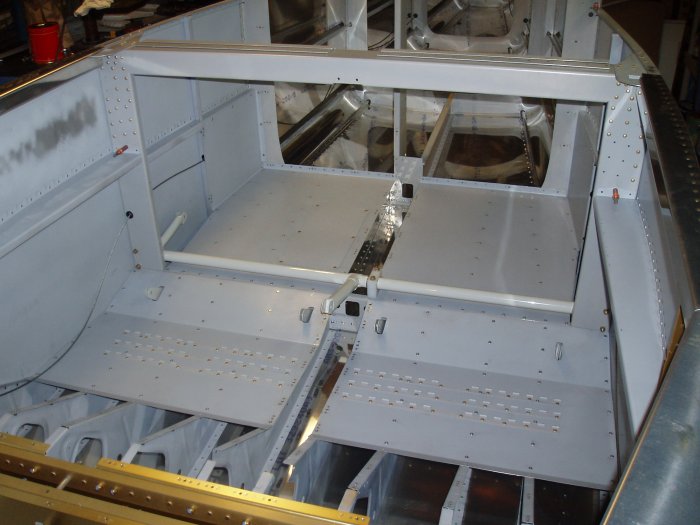
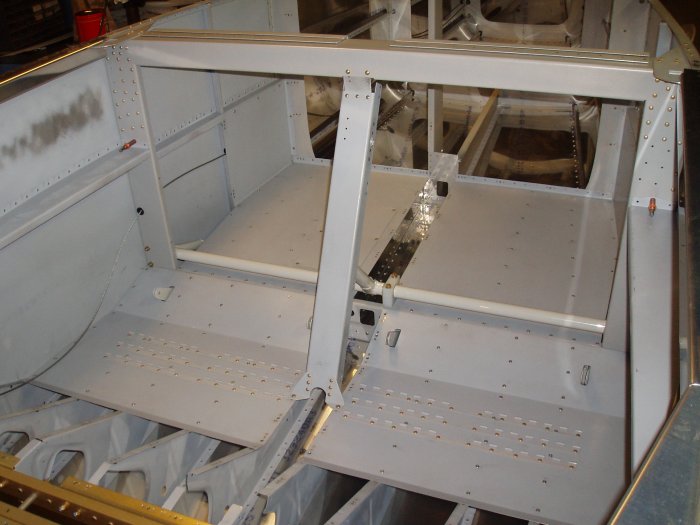
Next I screws on the flap channel.  Two screws on the bottom and two on the top. 
Then I temporarily bolted the top of the flap motor to the channel as shown here.  The instructions say to get a 12 volt battery and run the flap motor until the black thing is halfway.  The battery pictured here came in the stuff I got with the Kitfox.  I didn't know if it had any charge.  I gave it a try and the flap motor fired right up.  But instead of moving, the black part just spun in place. What's going on?  Was it broke?  I went upstairs and searched through the old RV-7 Yahoo Group archive.  I didn't see anything until the very last post which told me to just hold the black part with my hand while applying the juice and the arm would move.  I did that and sure enough, it worked.  I ran the arm to the max and to the min and then to the middle.  

By the way, the instructions call for drilling a hole in the bottom of the flap motor so that you can run some safety wire to keep the lock nut from turning.  I tried it and all I succeeded in doing was scratch the steel on the flap motor and break my small drill bit.  I put locktight on the threads of the bearing nut, screwed it in, put locktight on the threads under the lock nut, and tightened that sucker down hard. 

Previous
Home
Next