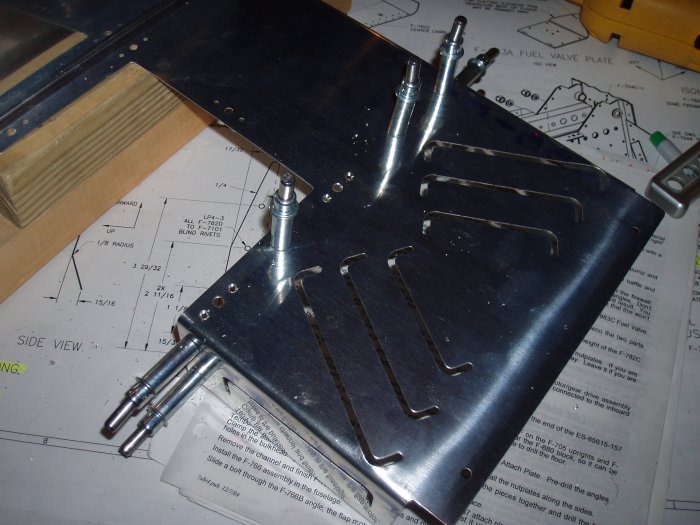
May 1, 2006 - Seat Tunnel and Forward Covers

I drilled the cover to the seat tunnel cover brackets.  Pictured at the bottom is my new Snap-On screwdriver.  Someone had posted that they work really well for screwing #8 screws into nutplates.  So I ordered one.  And you know what?  The poster was right.  It works great!  A most valuable addition to my tool kit.
The cover is flush-riveted to the brackets so I had to countersink the cover.  The next step is to prime the brackets and cover, then rivet them together, and the seat tunnel cover is done. 
Next, I turned my attention to the Forward Cover.  First I clecoed the heat baffle to the Center Cabin Cover and match-drilled the holes. 
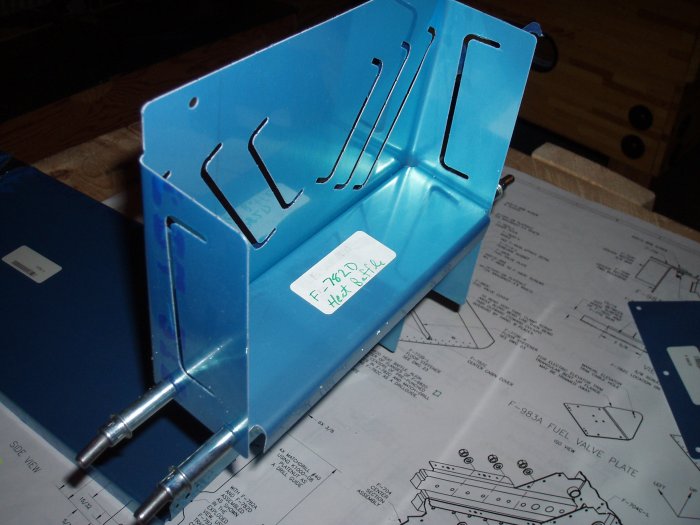
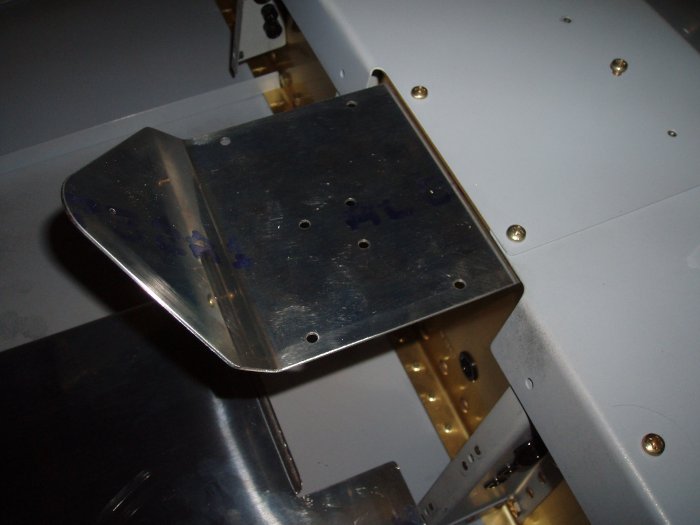
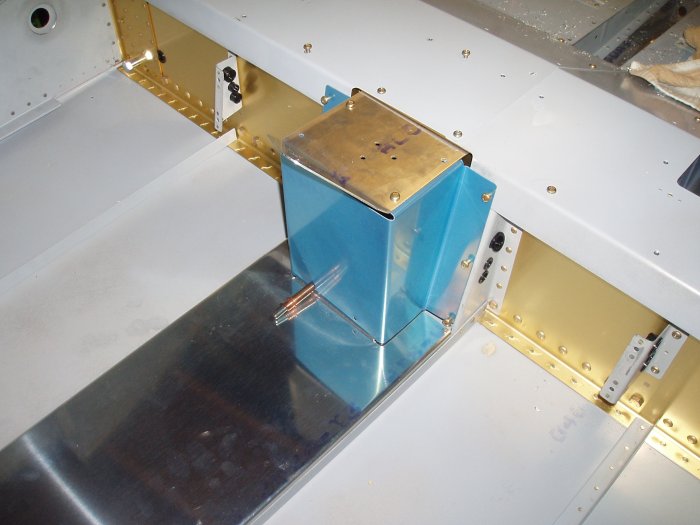
After removing the blue vinyl, edge-smoothing, counter-sinking and dimpling, I riveted the heat baffle in.  I also installed nutplates on the main Center Cabin Cover. 
I edge-smoothed the Fuel Valve Plate and riveted nutplates to it.  It slides under the right forward seat floor.  Screws go through the seat floor, the F-704 forward flange into the Fuel Valve Plate nutplates. 
Then I slid the Fuel Valve Cover (blue vinyl still attached).  I slide the Center Cabin Cover forward so it mated with the bottom of the Fuel Valve Cover. 
 
Previous
Home
Next