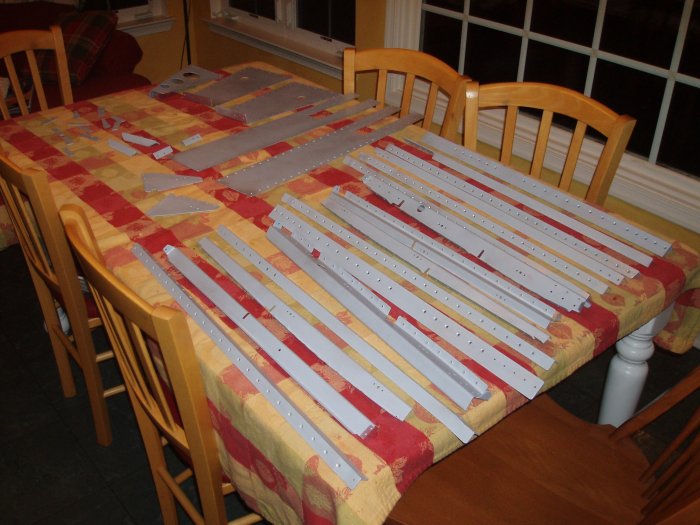
January 15, 2006 - Priming

It was incredibly windy today so I didn't think I was going to be able to prime.  There's always something to do on a project this size.  In this case I decided to cut the lightening holes in the rudder pedal brace bracket.  I clamped the bracket down, drilled starter holes according to the dimensions in the drawings, and used a Unibit to widen the starter hole big enough for the circular bit. 
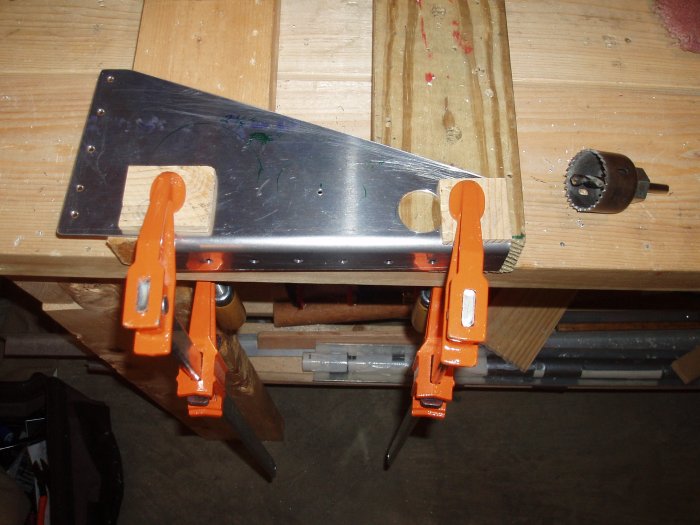
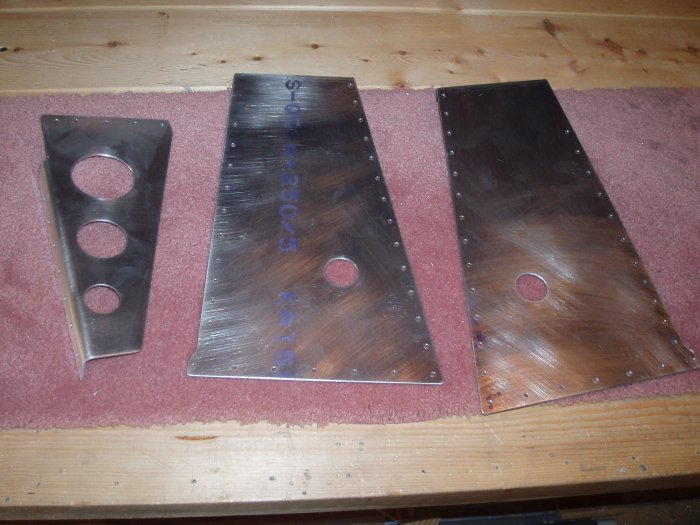
Here I've just finished drilling out the center 1 1/2" lightening hole. 
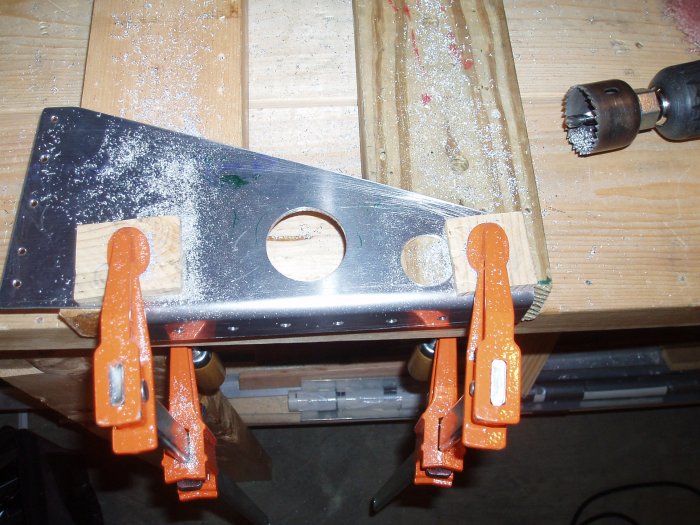
The rudder pedal brace bracket is done.  I also drilled out the 1" fuel line holes in the F-7101 skin reinforcers. 
I had hoped the wind might lighten up in the afternoon but it wasn't happening.  I like to prime in the day when the lighting is good and the temperature is warmer so I had to prime today if I wanted to do any riveting during the coming week.  I decided to prime in the garage with the garage door half open.  I put a box fan at the garage entrance facing out to draw out the fumes.  I laid a plastic drop cloth over the garage floor.  Finally, I cinched my respirator down very, very tight. 

The priming went very well, actually.  I primed all the parts shown here, plus the main longerons.  In the past I havn't primed the inside of the alcad skins.  But because the inside of the side skins had gotten scratched somewhat, I scotch-brited them a little, and gave them a light dusting of primer.  And since I did the side skins, I also lightly primed the bottom skin.  I figure the forward fuselage area will get painted anyways, so I might as well prime it now.  My interior is going to be fairly spartan, like the Vans demonstrator aircraft.  No upholstery or anything fancy.  And just painted light grey.

Tomorrow I start riveting all this mess together!

I asked my 11 year old daughter Maggie to come up with some possible paint schemes for the RV.  This is what she came up with.  At this point, I'm thinking letter E. 
 
Previous
Home
Next