December 30, 2006 - Mounting the VS to Fuselage |
||||||
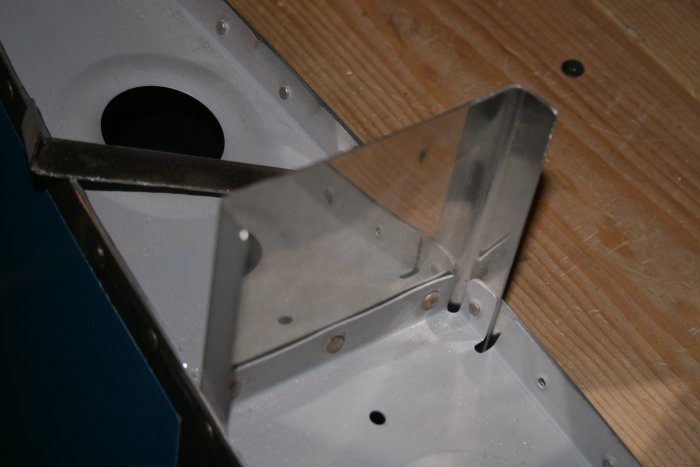
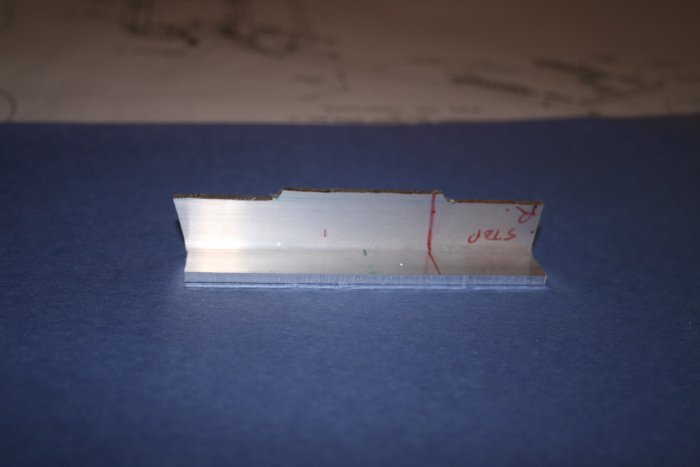
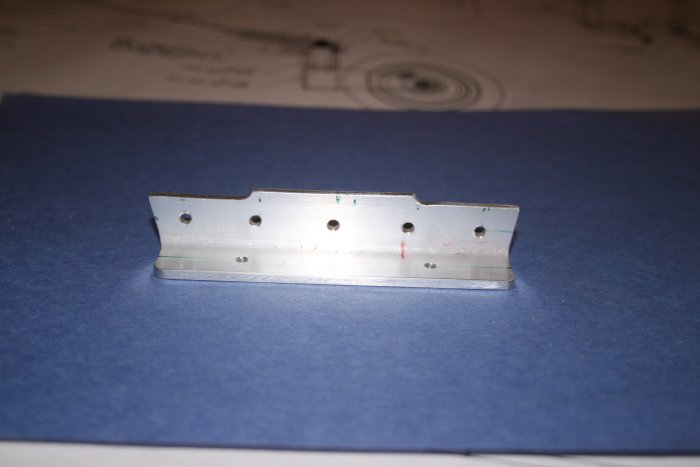
The goal for today was to mount the Vertical Stab (VS). I started off by fashioning the rear bracket which also doubles as the elevator stop. This bracket required a lot of cutting because you start with an oversize angle. Cuts were required down both edges. The bandsaw made it quick and easy, though. | ||||||
Filing and drilling holes required another hour of effort, though.
|
||||||
Next I cut 5/8" off of the VS forward spar, per the instructions & drawing. I used the dremel tool to do it. | ||||||
The instructions say to clamp the forward bracket to the HS forward
spar. I decided to match-drill it using the holes in the HS spar
as a template.
|
||||||
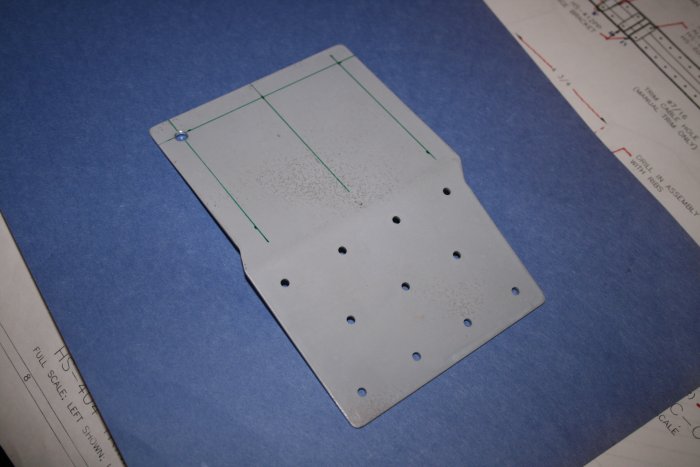
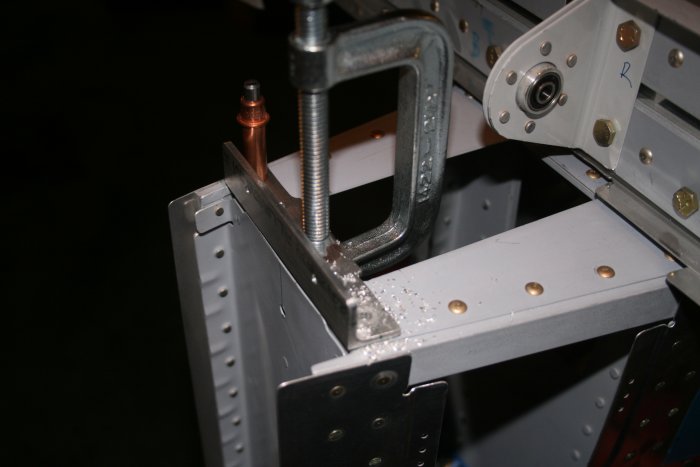
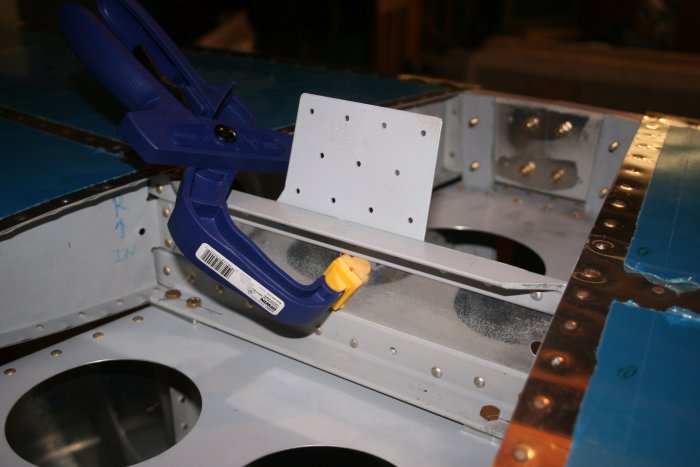
So that I drilled the holes in the proper place on the bracket, I drew lines on the bracket, which I was able to see through the holes on the HS spar. I drilled a single starter hole in the bracket so that I could cleco the bracket to the spar. | ||||||
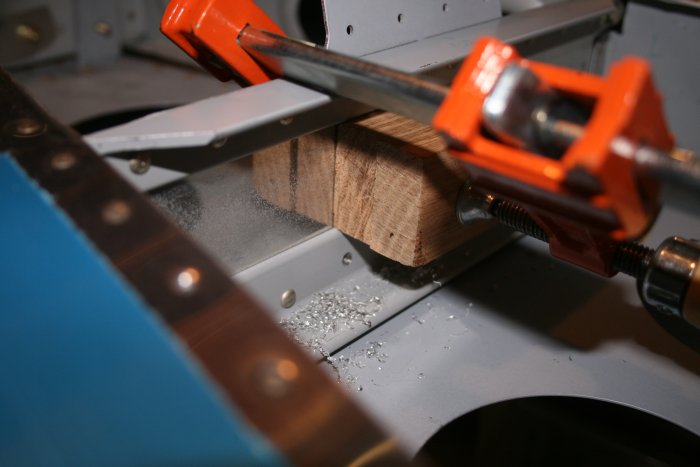
Match-drilling the bracket. | ||||||
Almost done. I think this might be the first time I've ever used the 3/8" clecos. They work well in a #12 hole that will take an AN-3 bolt. | ||||||
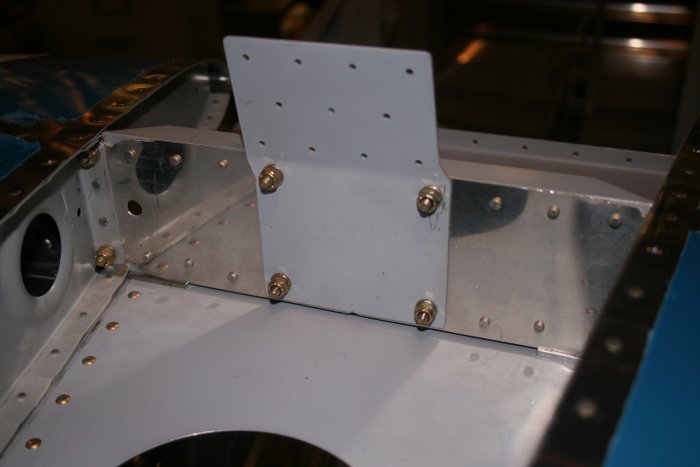
I bolted the bracket to the HS forward spar. I'll clamp the VS
forward spar to the bracket during alignment.
|
||||||
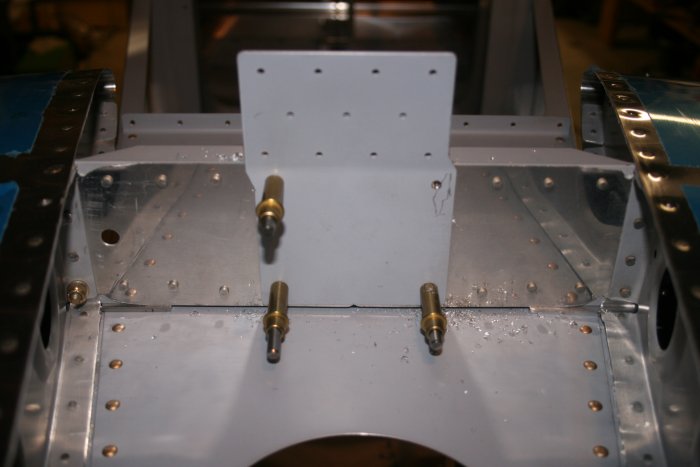
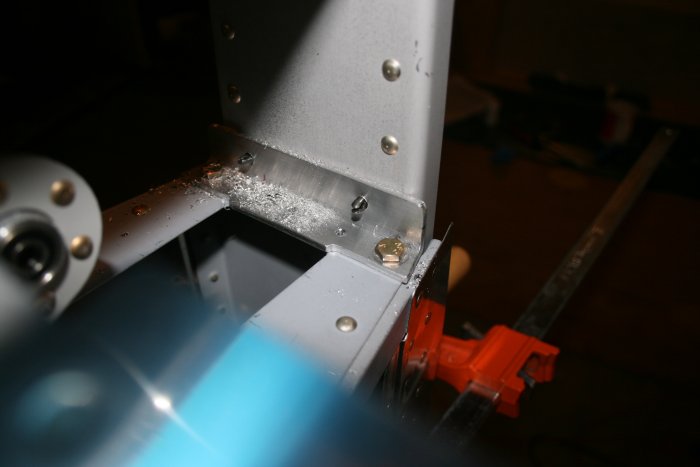
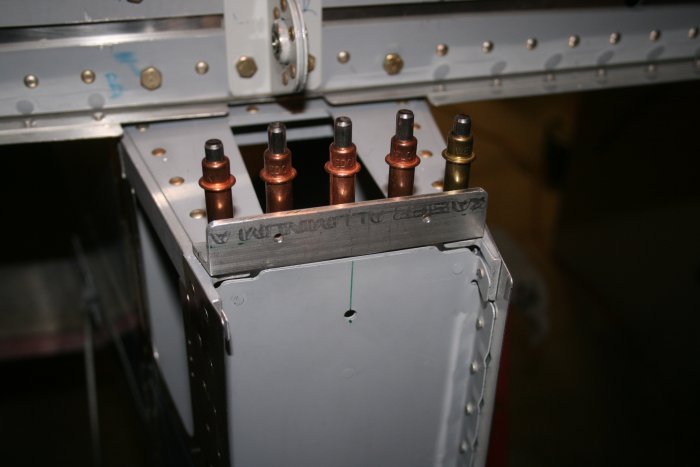
Now I'm drilling the rear bracket (elevator stop) to the top deck. I was careful to drill so that the two holes went through the center of the main longerons. | ||||||
AN-3 bolts go in the two outer holes while the three inner holes take
1/8" rivets.
|
||||||
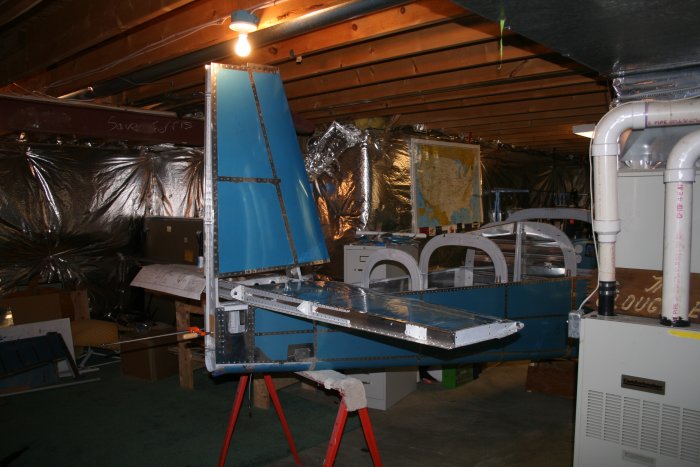
The Vertical Stab sits on the RV for the first time! | ||||||
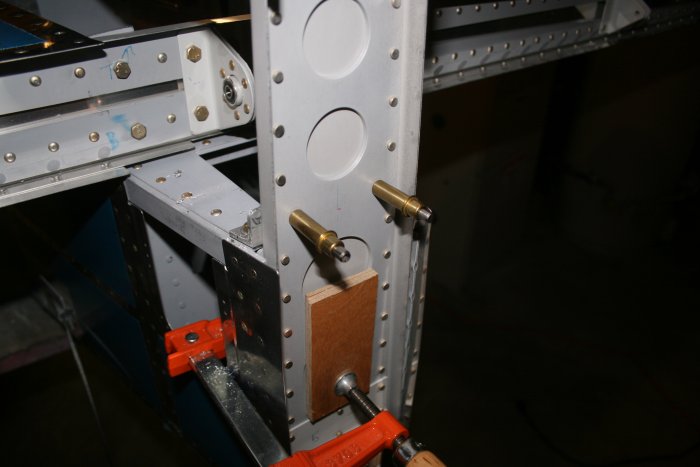
I carefully ensured the VS was vertical by making sure the top was equidistance from the HS tips. Using the rear bracket as a template, I match-drilled the VS rear spar using the angle-drill. | ||||||
Looking aft at the VS rear spar and rear bracket. | ||||||