October 28, 2006 - Canopy Latch Mechanism
|
|
It was too windy to fly today, so I worked on the RV all day. First
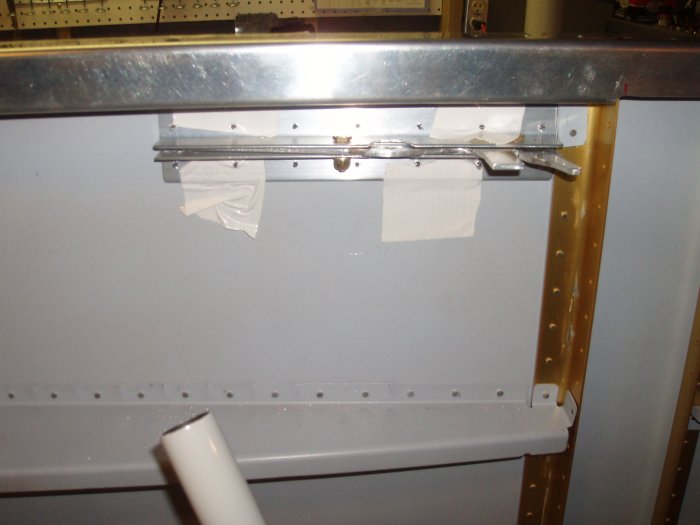
I match-drilled the canopy side latch angles to the left fuse skin, using
the skin as a template. I taped the angles in place while the latch
itself kind of kept everything in place by protruding through the slot. |
|
 |
|
|
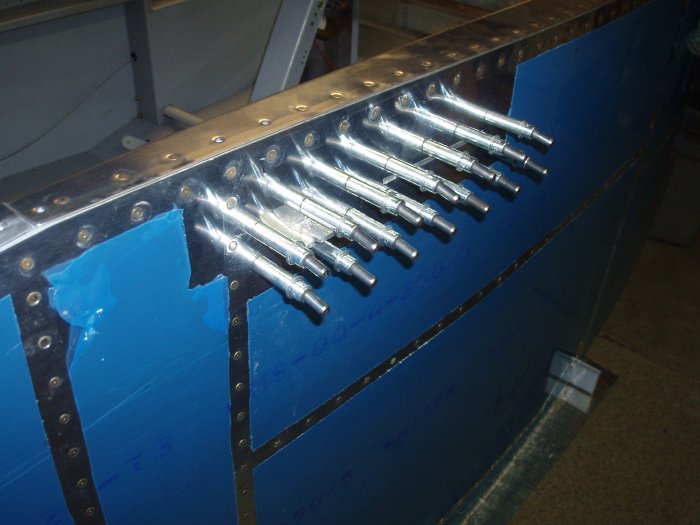
I drilled all the angles, clecoing as I went.
|
|
 |
|
|
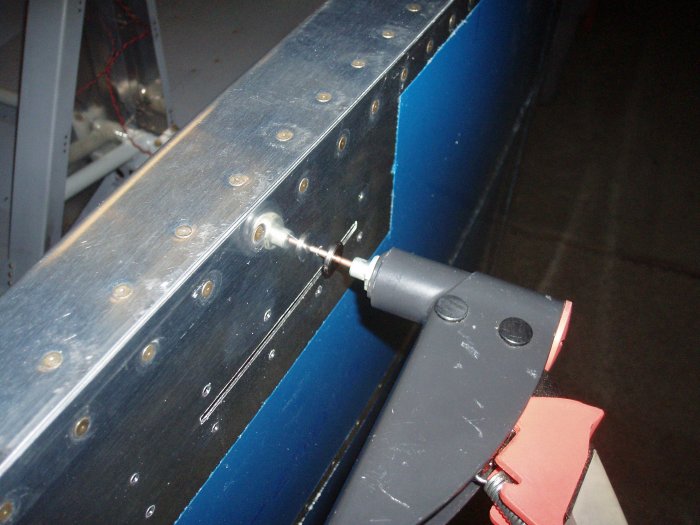
Next I dimpled the skin using the pop-rivet dimple dies. This is the
dimpling method of the last resort but is the only way to do it. |
|
 |
|
|
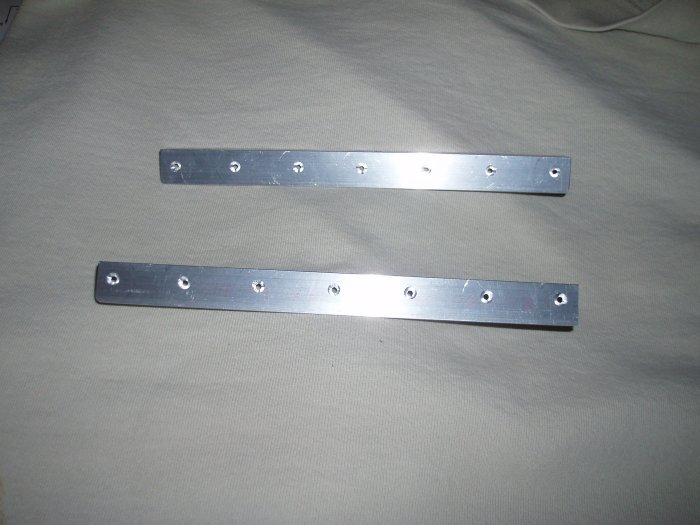
Then I countersunk the latch angles.
|
|
 |
|
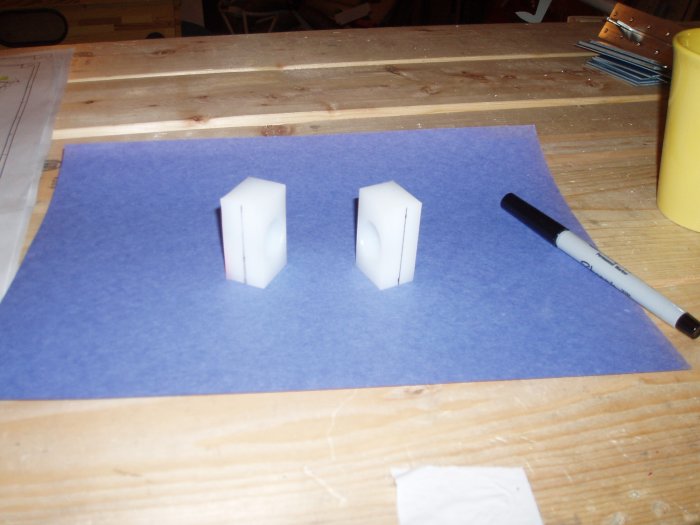
| I marked each latch block with
lines per the instructions. |
|
 |
|
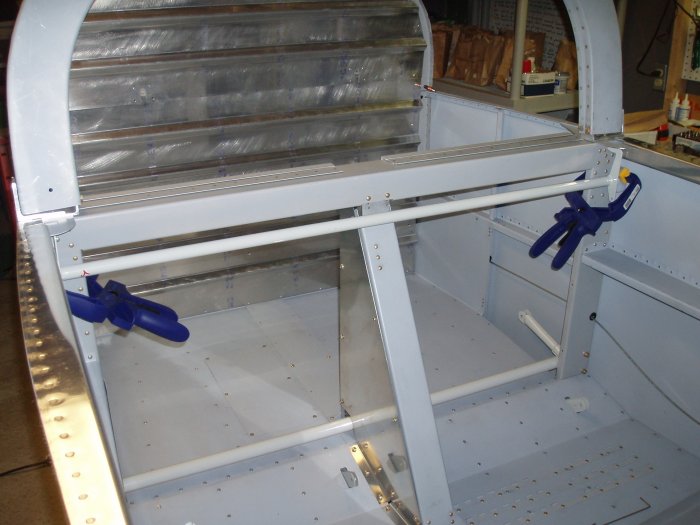
| Then I put the blocks on each end
of the canopy latch tube, stretching across the fuselage. Amazingly,
each prong fit perfectly in the oval slots I cut long ago into the F-705
bulkhead. Things don't usually work out that well for me! |
|
 |
|
|
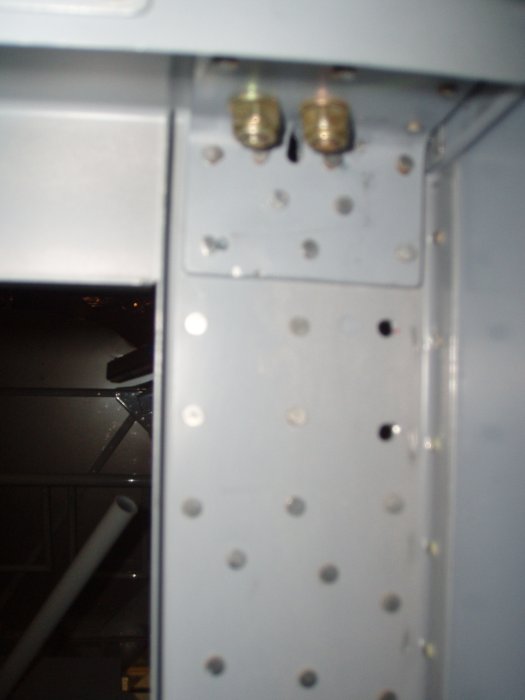
The two holes in the F-705 bulkhead are used to match drill the UMHV
blocks. I couldn't see the lines through the holes but they were
pretty close. |
|
 |
|
|
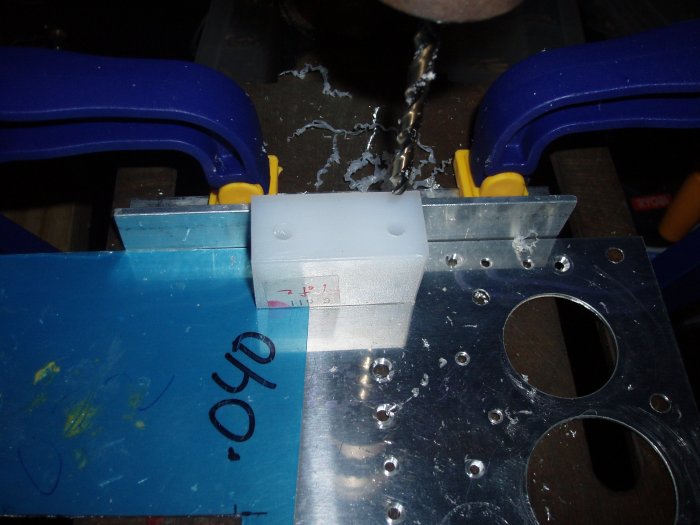
You don't match-drill completely through the blocks; you just get the
holes started. You drill the holes through in the drill press.
Lately, I've been using Dan Checkoway's method of using a piece of angle
clamped to the drill press platform as a "fence". This technique
really helps drill accurate holes. Yet another hat tip to Dan.
|
|
 |
|
|
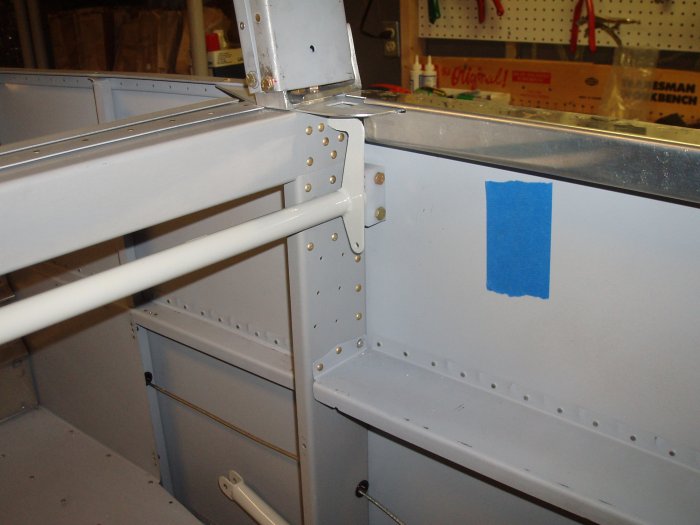
I bolted the blocks to the F-705 bulkheads. All the holes lined up
perfectly. |
|
 |
|
|
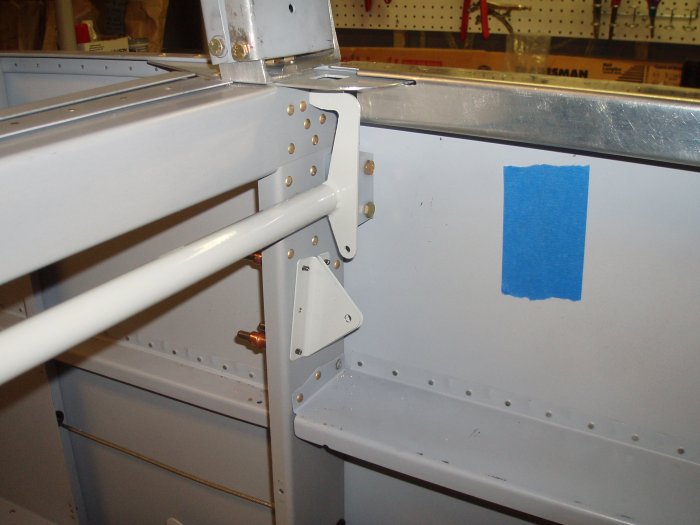
The next step was to cleco the triangular steel brackets on to the F-705
bulkhead.
|
|
 |
|
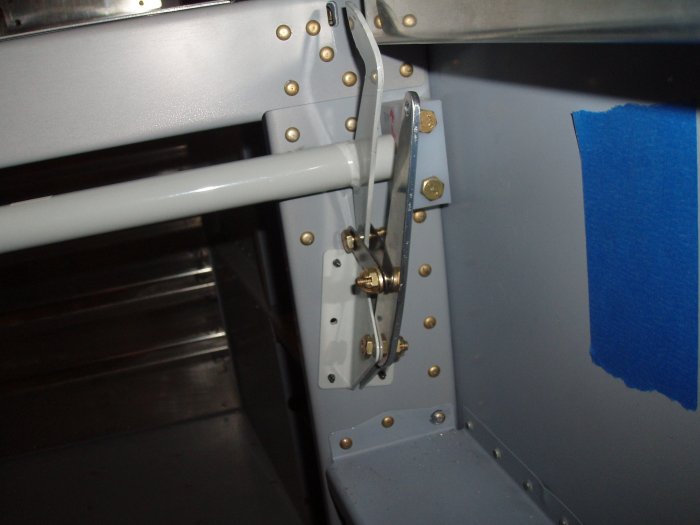
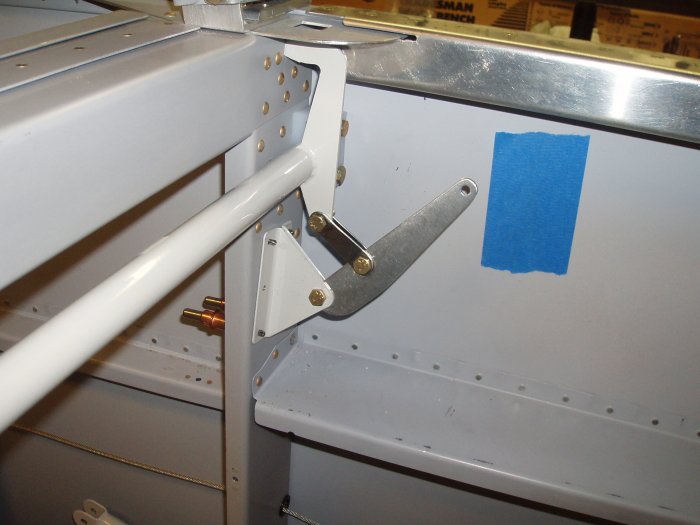
| Then I trial fit the levers and
steel straps as shown. |
|
 |
|
| I had to put a little "joggle" into
the steel straps by bending and twisting them. I needed a #3 drill bit
to fashion the aluminum tube pushrod that goes aft to forward, so I stopped
at this point. |
|
 |
|
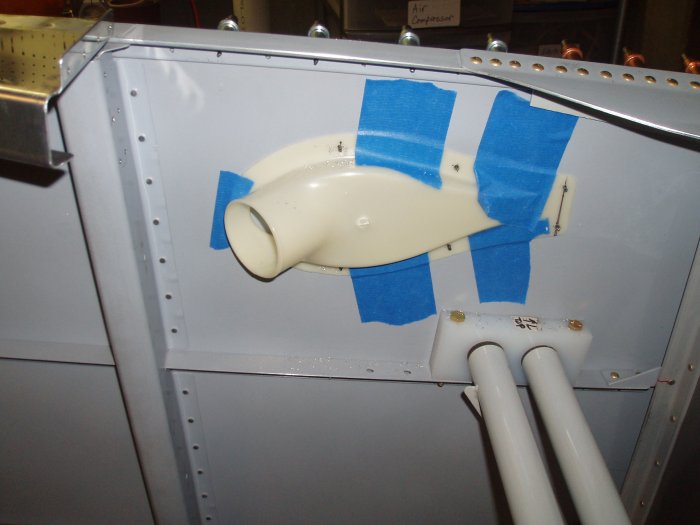
| I decided to drill the air vent
fittings to each side of the forward fuselage. First I drilled six
holes into each air vents pieces. Then I taped them to the side skin.
Then I match-drilled the skin, using the air vent as a template. |
|
 |
|
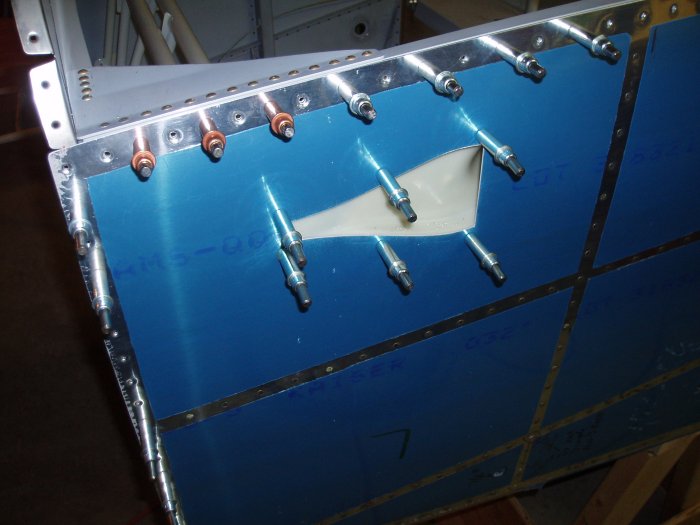
| All done. It came out nice.
Later on, I'll secure the vents to the skin using Proseal. I'll also
rivet them with flush pop-rivets. |
|
 |
|
| |
|
|
|
|
|
|
|


