November 12, 2006 - Forward Canopy Frame

Thanks to the rain all day this Sunday, I didn't have to rake leaves and was able to put in some serious hours on the RV.  As well as update the web log for the past two weeks.  The first thing I did was drill the 3/8 holes in the canopy frame gooseneck.  I used a Unitbit to drill the hole close to 3/8; then I just used a 3/8 bit, since I don't have any reamers.  Next I cut the little bushings from aluminum tubing.  Here is the gooseneck with bushing inserted. 
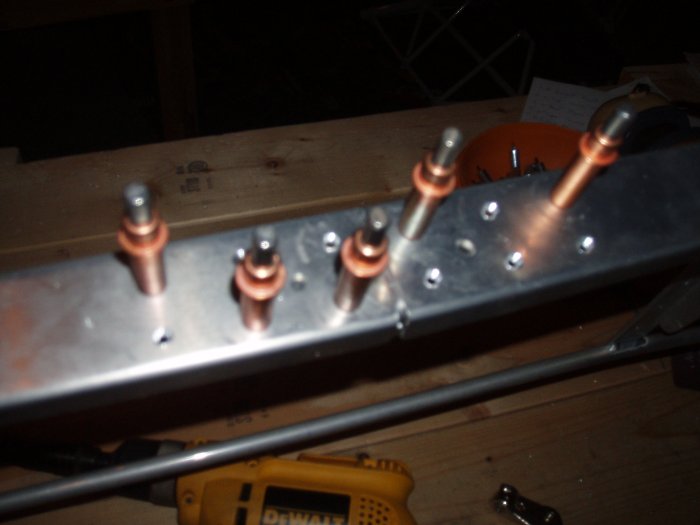
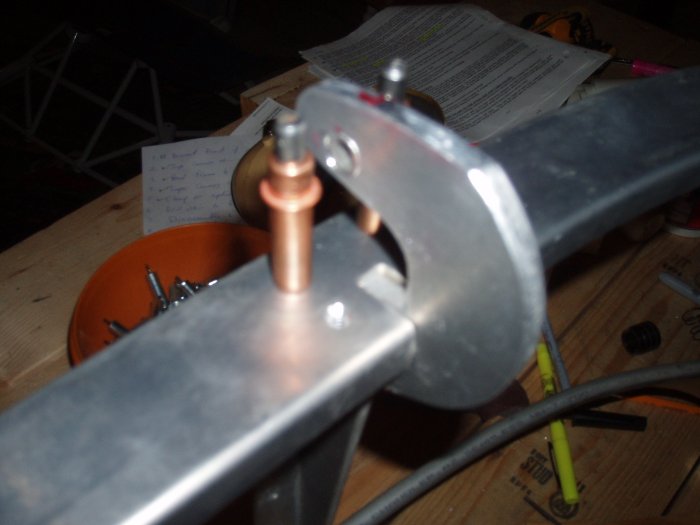
Here I am countersinking the canopy frame for the splice plate rivets.  I apologize for the blurry photo.  After all this time, you'd think I'd know how to take sharp, clear pictures with my digital camera. 
I countersunk the four holes around the gooseneck.  I had to use the countersink bit in "suicide" mode; i.e., without the micro-stop guard.  I took three shots of this, trying to get a sharp image but with no joy.
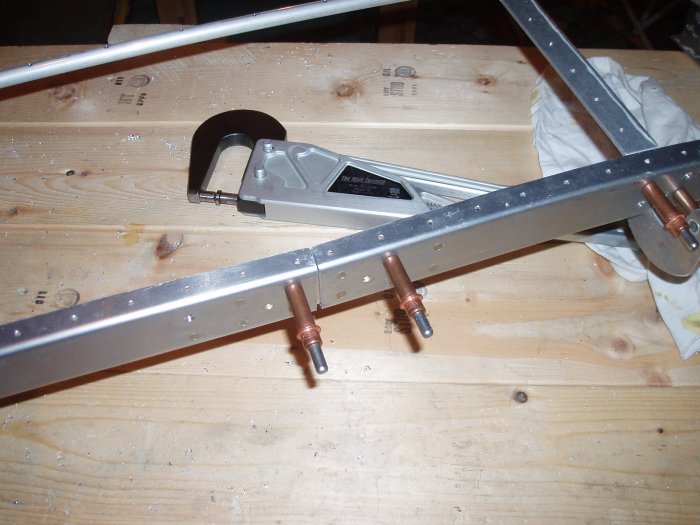
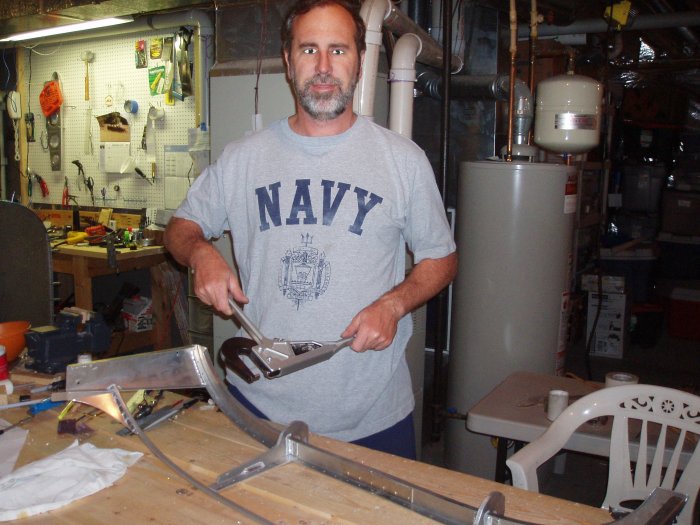
Riveting the splice-plate to the canopy frame with the Main Squeeze.  It's been a long time since I riveted anything; it was fun.  Easy riveting and it came out nice.  Now why did this picture come out so sharp and not the previous ones?
A rare action shot.  Editor note:  What's with the eyes?  You been sniffing that acetone again?
The forward canopy frame with splice-plate and goose-neck brackets riveted. 
The next step was to fit the forward canopy frame into the fuse and make sure it rotated up without binding.  There was a lot of binding -- it took me quite a few iterations of trimming the angle pieces that are clecoed to the front of the subpanels. 
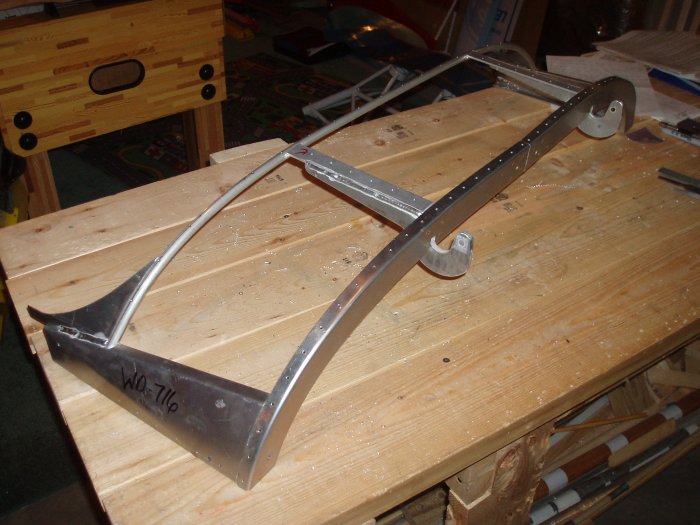
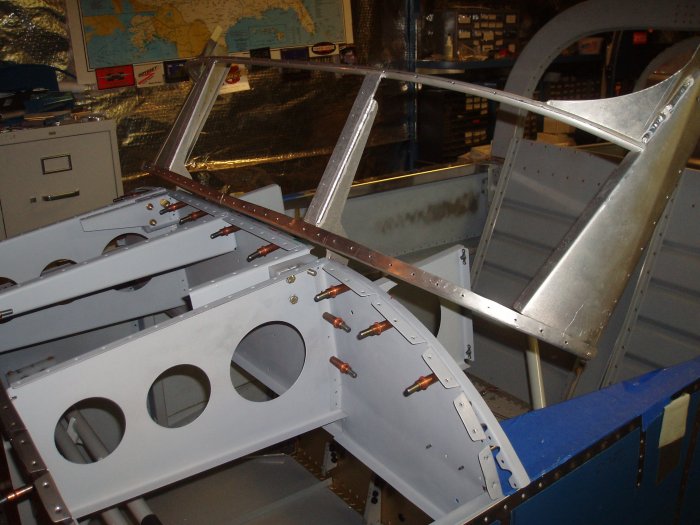
But I finally got it so that the canopy frame raised without binding.  
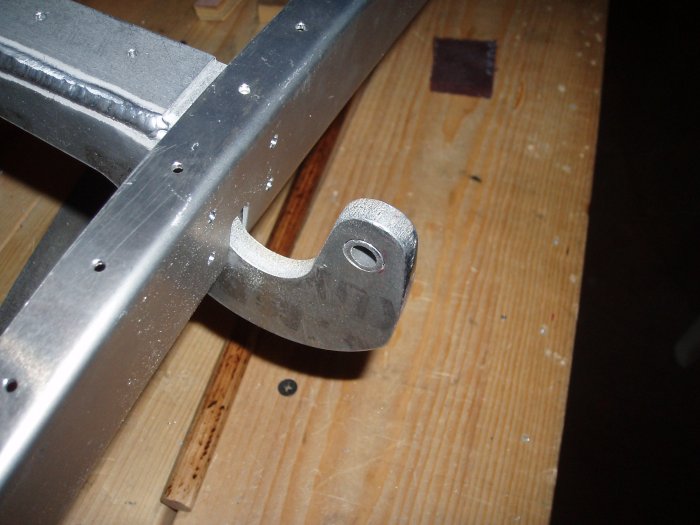
I also had to file some of the left gooseneck. 
The next step is to cleco the forward fuse skin and canopy skin on and check for binding.  Sure enough, more binding.  I've had enough filing edges for today.  Next time. 
Previous
Home
Next