June 5, 2004 - Left Elevator


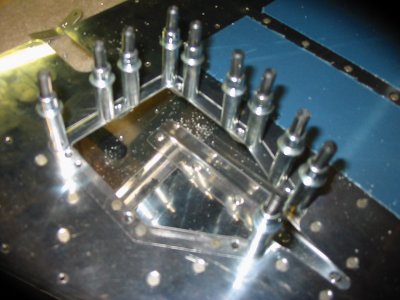
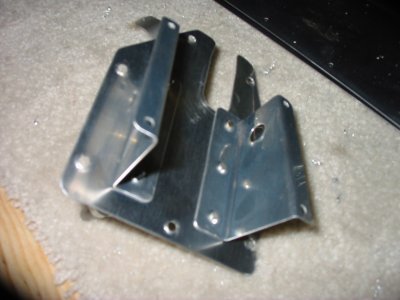
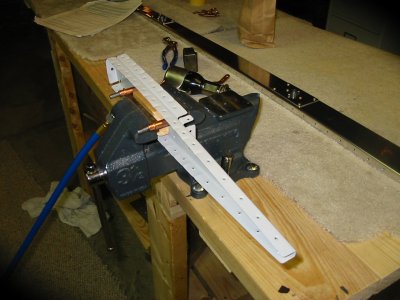
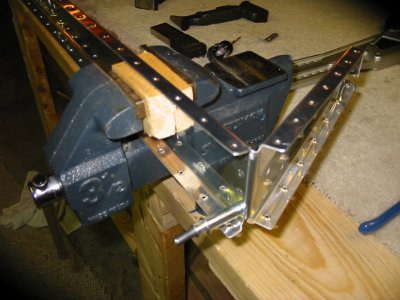
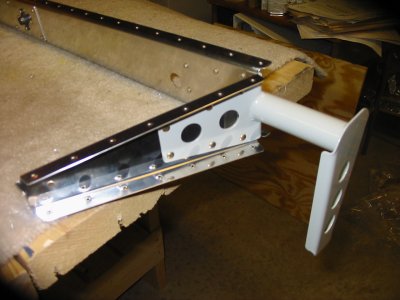
The electric trim servo brakets clecoed together.

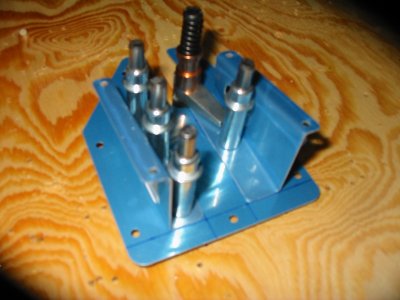
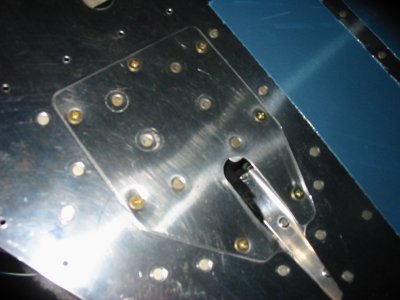
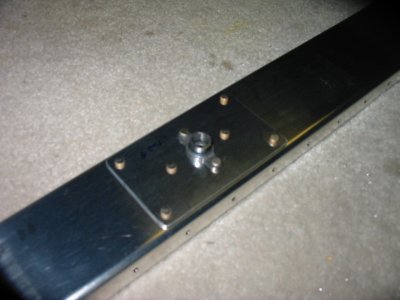
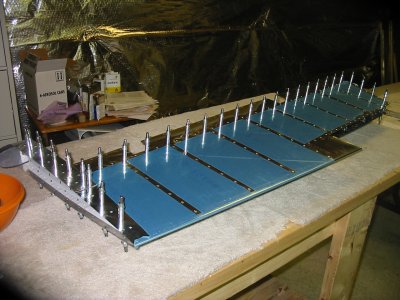
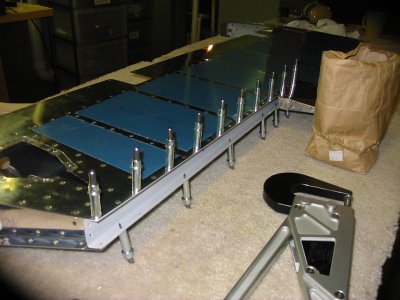
You can't see them, but these clecos are holding the nutplates underneath the trim servo reinforcing plate. You can see the countersunk holes where the rivets go. I should have riveted the nutplates before riveting the servo reinforcing plate to the skin.
The electric trim servo brakets riveted.
Electric trim servo assembly screwed into the bottom of the left elevator.
Dimpling the skin to spar holes.
Riveting the spar reinforcing plates to the spar. My technique has evolved. I have learned the importance of clamping the assembly in the vise. I like to do riveting solo, gun in the right hand and bucking bar in the left. For the spar riveting, I like to use the gun over the squeezer.
The finished product: reinforcing spar and nutplate riveted to the spar.
Riveting the top ribs together.
Riveting the bottom rib to the spar.
Riveting the control horn to the spar and bottom rib.
The inside of the elevator skin. It's hard to see but I squirted a glob of clear RTV sealant at the bend of the skin on the stiffeners per Van's instructions. Bought the RTV sealant at the local autoparts store.
Clecoed the skin onto the spar and ribs, then riveted. I was able to do all the skin riveting with hand squeezer.
Then I clecoed the rear spar into the elevator and riveted the bottom edge only. The top edge is awaiting the trim tab hinge.
Previous
Home
Next