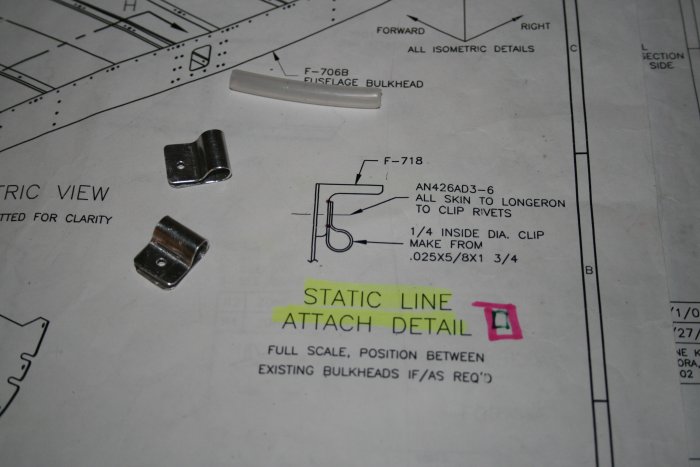
December 24, 2007 - Static Line
I spent at least an hour making these
little clips to secure the tubing to the underside of the longeron.
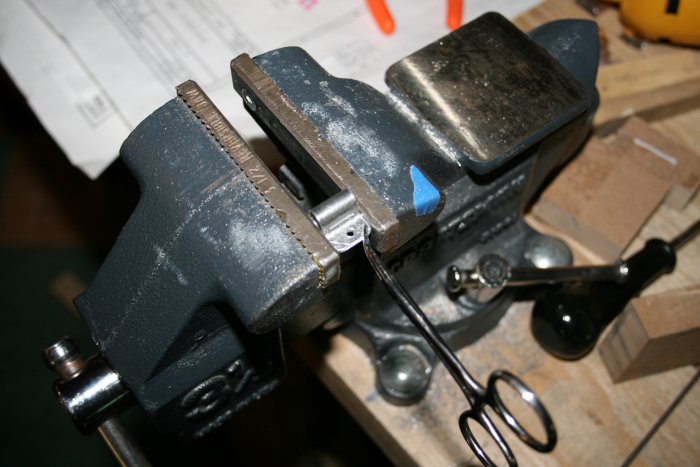
To make the clips, I fashioned a strip of aluminum per the drawings.
I wasn't sure how to bend it. I ended up doing it by just clamping
the piece in the vise around a 1/4" piece of aluminum tubing.
I ran the tubing to the airspeed
indicator, then from the airspeed to the Dynon.
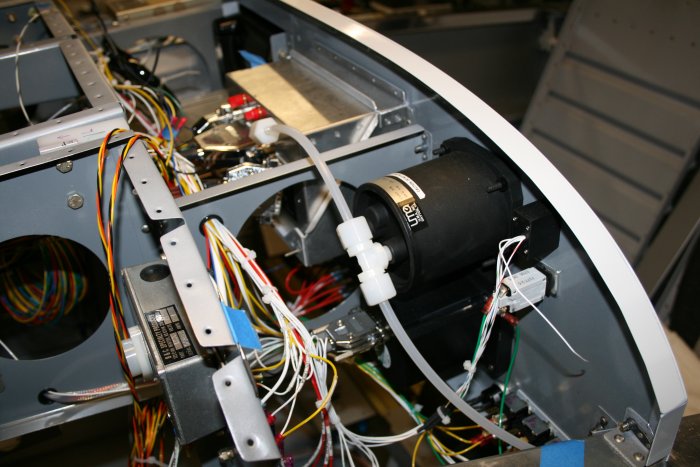
The tubing finally connects into the T-fitting which goes to both static ports.
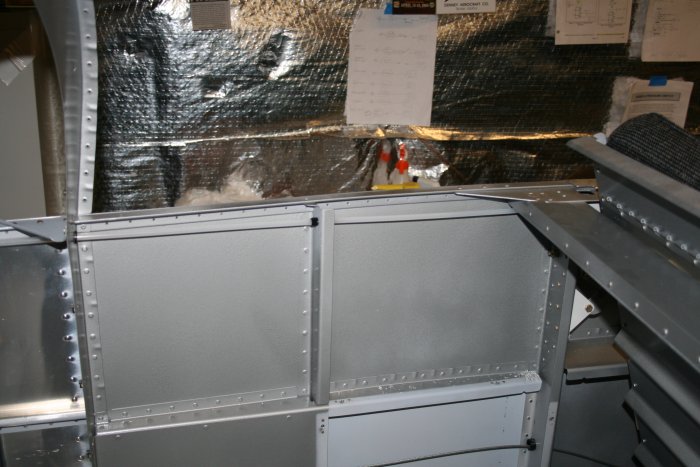
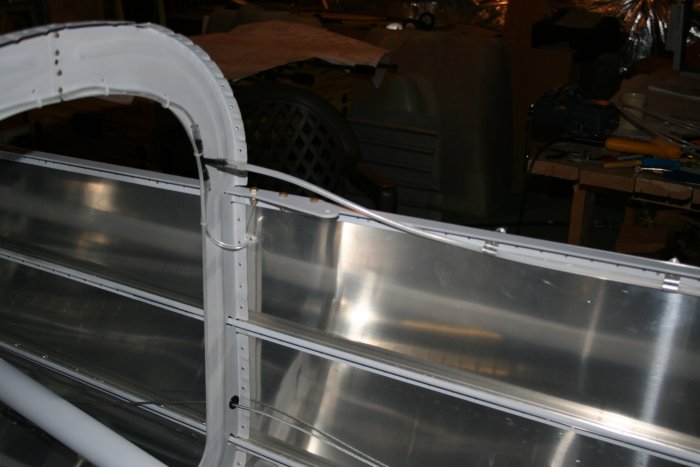
After getting the static line tubing hooked up, I took it all apart. It would have interfered with the top skin riveting. It'll go back up during the skin riveting.
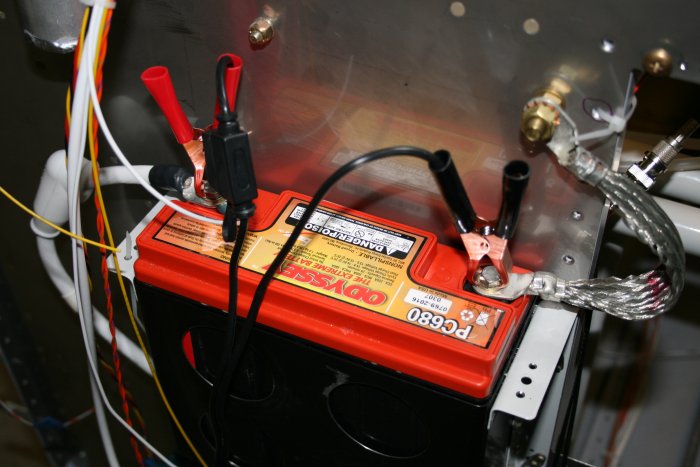
I havn't been able to test the Panel
because I left my Master on and drained the
battery.
So I ordered this Battery Tender Jr.
to recharge the battery.
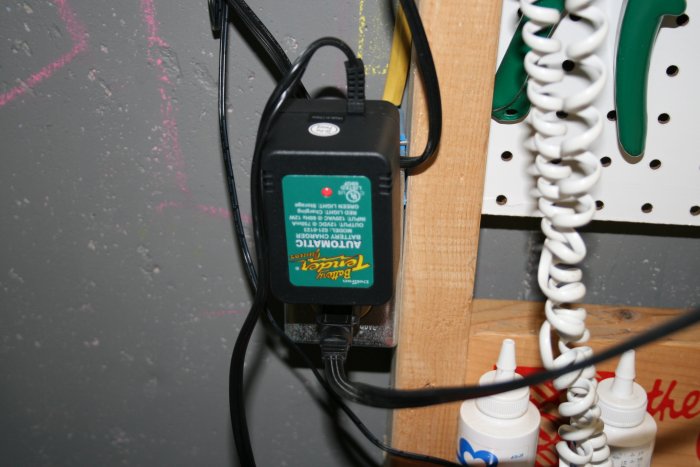
Charging the battery. Although the charger instructions said it would do the job -- it would not. I finally had to use a car battery charger to get the Odyssey up to full charge. The Tender Jr. is good for keeping a battery at full charge, but can't handle a totally run-down battery.
The good news was that everything on the panel came to life, including the SL-60 and Intercom.