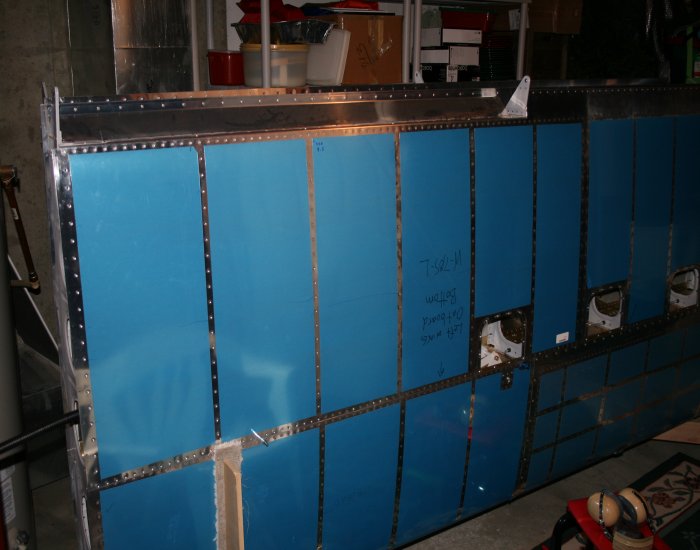
February 4, 2007 - Aft Canopy |
||||||
Super Bowl Sunday! It's pretty cold outside so I'm going to build
instead of fly.
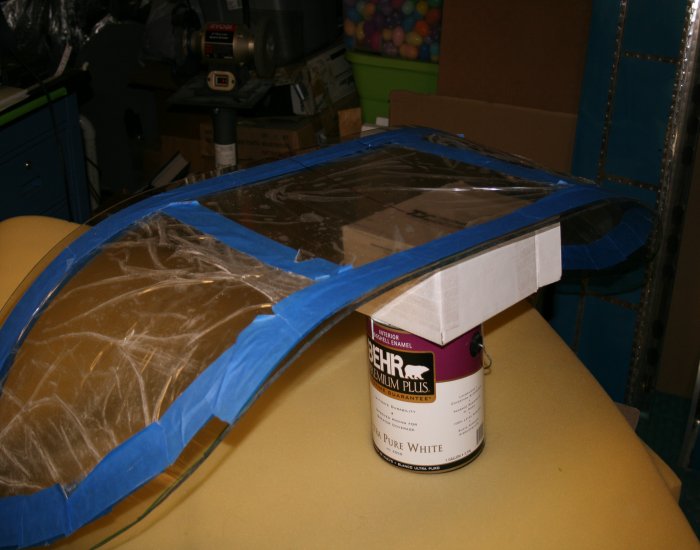
I needed to trim some more off the center trailing edge so it wouldn't bump into the bulkhead flange on the fuse. |
||||||
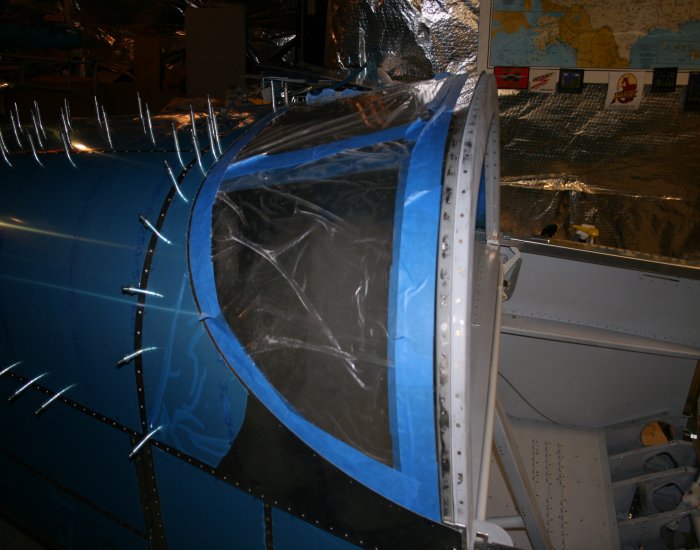
Now I'm able to slide the aft canopy under the aft top skin.
|
||||||
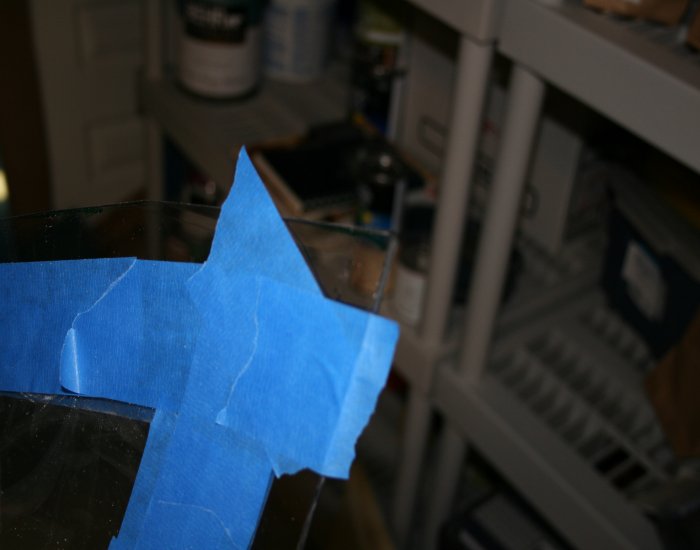
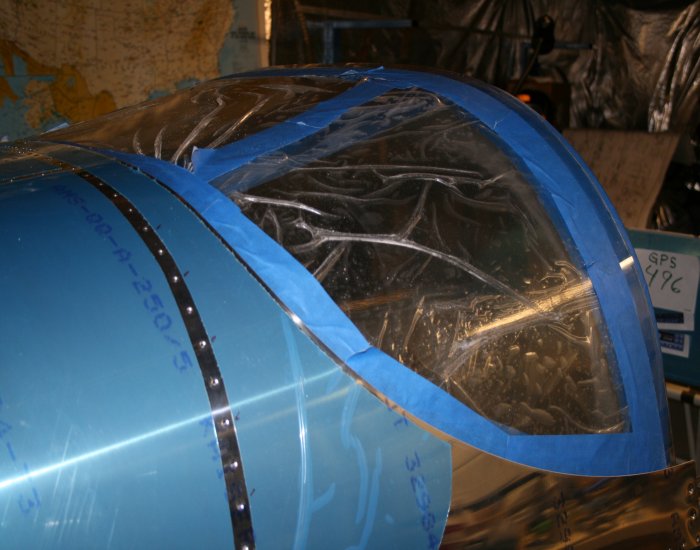
But then I realized the front lower corners needed trimming so they would lay flat against the roll bar. I marked the cutoff line with tape. First I drilled 1/8" hole at the vertex of that angle with the plastic bit. Then I used the Dremel tool and little cutting disk to make the line cuts. The wheel started to bind at the end so I finished the cut off with my Exacto saw. I smoothed the edges with the Dremel sanding cylinder which does an awesome job. | ||||||
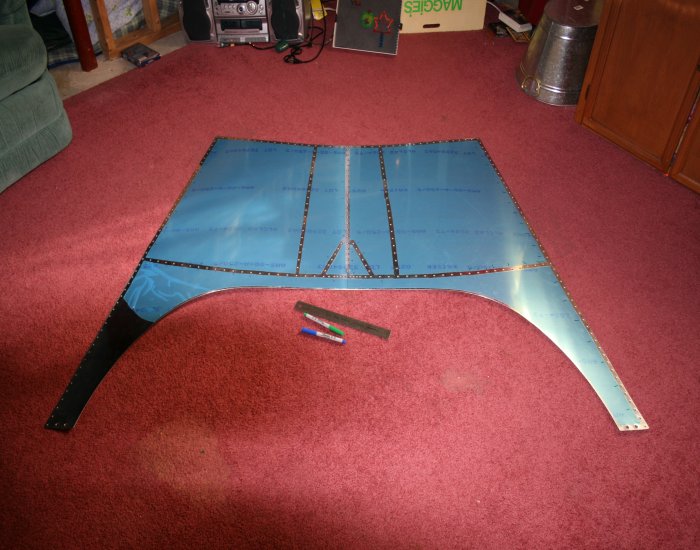
Next I needed to mark where the aft canopy holes would be on the aft top
skin. I spaced the holes 2 1/2" apart per the drawings and about
5/32" inch from the edge. I drilled #53 pilot holes (close to
1/16") like Dan Checkoway did.
|
||||||
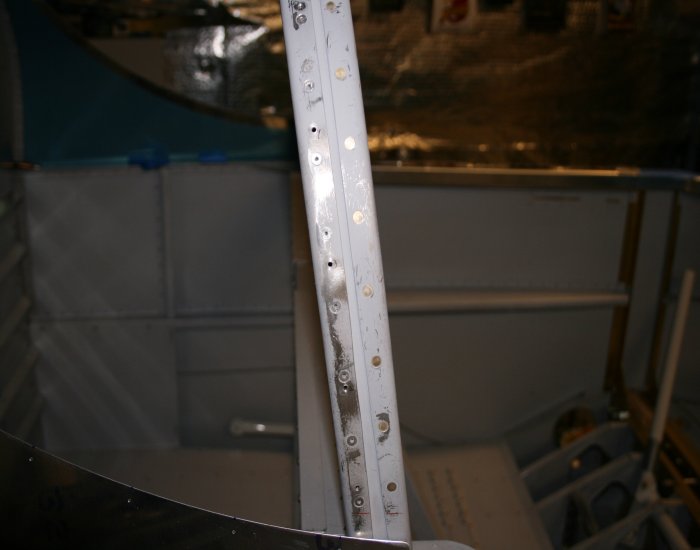
Next I drilled #40 holes in the roll bar. I tried to use 2 1/2" per the drawings but in a few places I couldn't because of the pop-rivets. I made it relatively evenly spaced and symmetrical on both sides. | ||||||
I put the aft canopy back on. I don't have enough suitable clamps so I postponed drilling. | ||||||
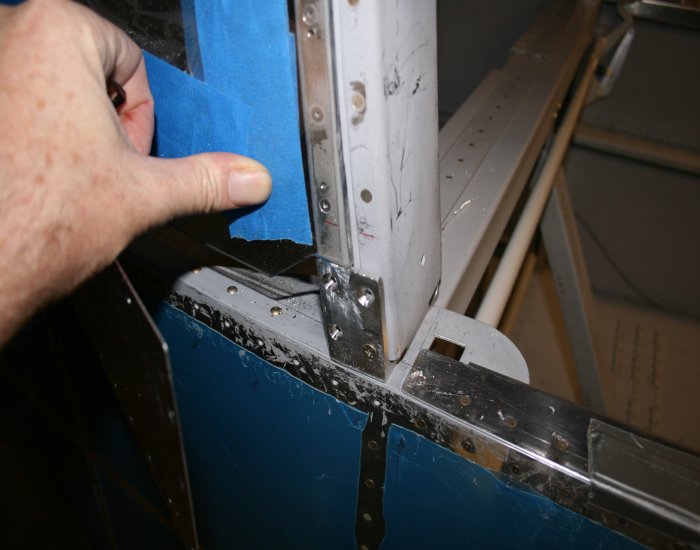
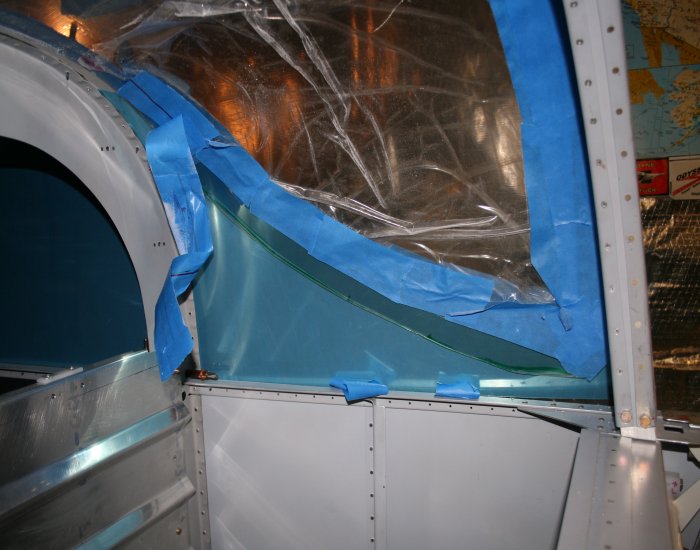
It's hard to see because the glass is so clear, but the notch I cut out of the front bottom corners worked nicely. | ||||||
There is plenty of canopy "overhang" on the inside.
|
||||||
Lynnette came down and we riveted for about 45 minutes. The main spar riveting is easier now because there are no nutplates to cause trouble anymore. I think our next session might be the last one. The most difficult riveting is behind us now. | ||||||