April 1, 2007 - Rivet Canopy Frame

The goal for today was to rivet the canopy frame together.   I had missed deburring and countersinking a couple of holes so I took care of that. 
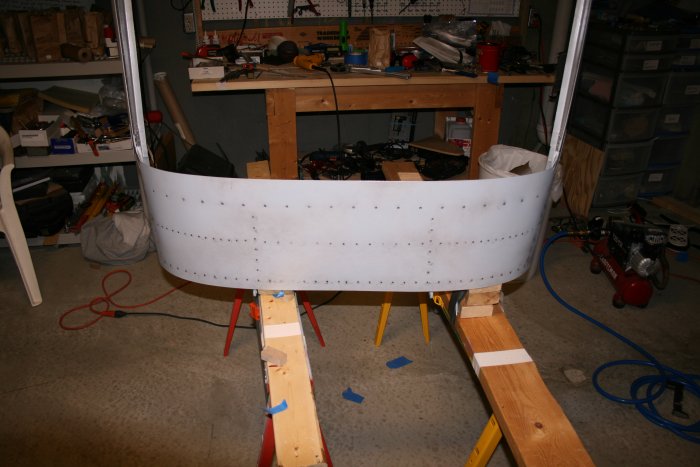
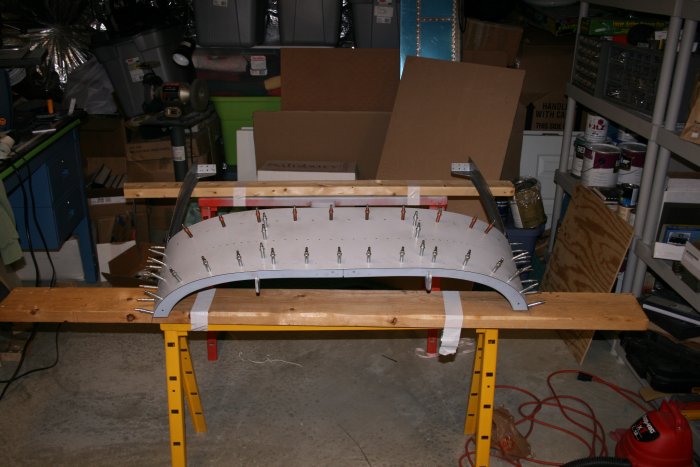
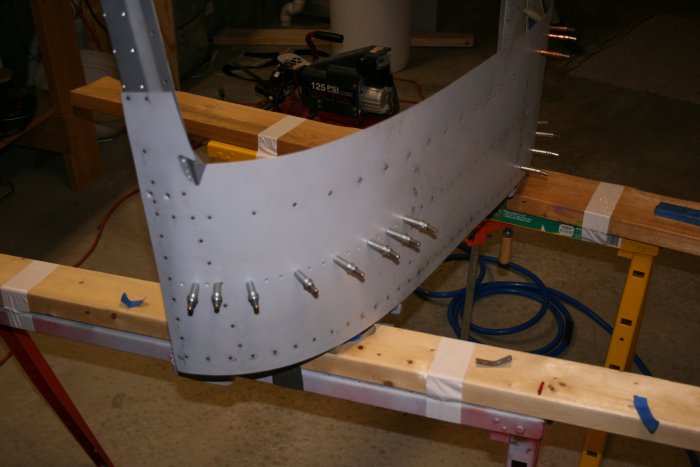
I clecoed on the canopy skin for the hundredth and hopefully last time. 
It was a challenge to figure how to secure the assembly for riveting.  This is what I came up with.  It worked reasonably well. 

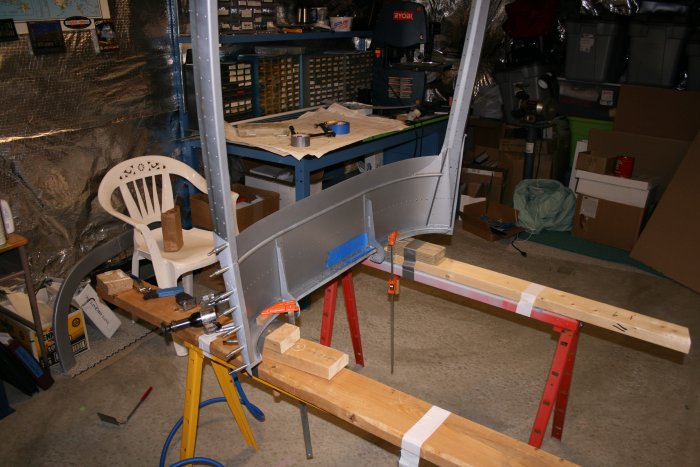
Once nice thing about moving the fuse to the "pink" wing is that I now have a lot of space in which to move around where the workbenches are.  I was surprised at how much I enjoyed having more space, and not being cramped. 

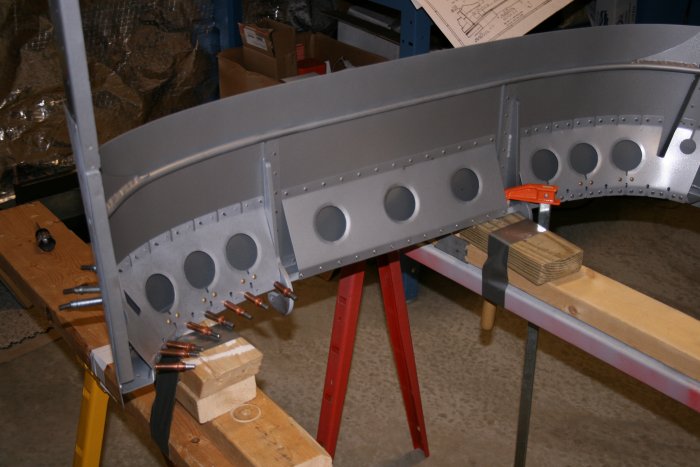
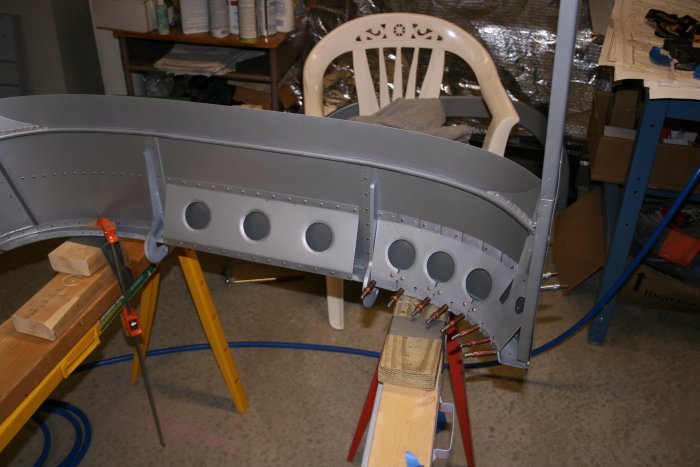
I started with the center section.  First I riveted the leading edge of rivets.  Then I did the two center ribs.  Finally I pop-riveted the trailing edge. 
With the skin center section riveted to the frame, I clecoed on the center reinforcer, then riveted its trailing flange to the skin.  Then I pop-riveted the reinforcer forward flange to the frame.  The center section was pretty straightforward.  The side sections would be much more challenging and time-consuming.
I started riveting the right skin side to the frame.  I used the blue tape to try and protect the paint finish from the bucking bar.  I had to be creative in using the correct bucking bar for the job. 
I finished the right side skin rivets.  Now I'm working on the right side reinforcer.
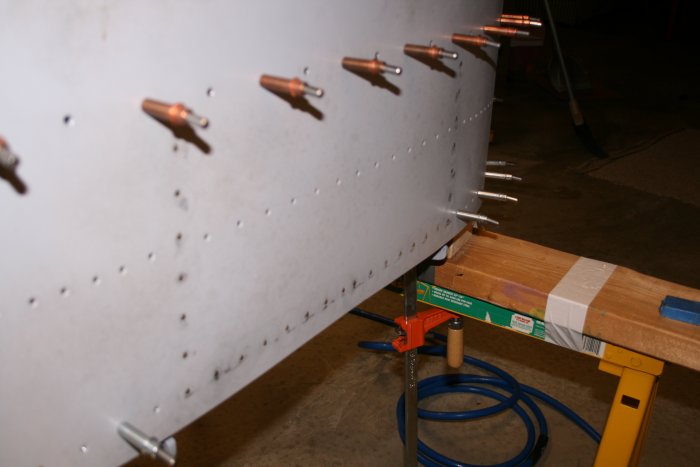
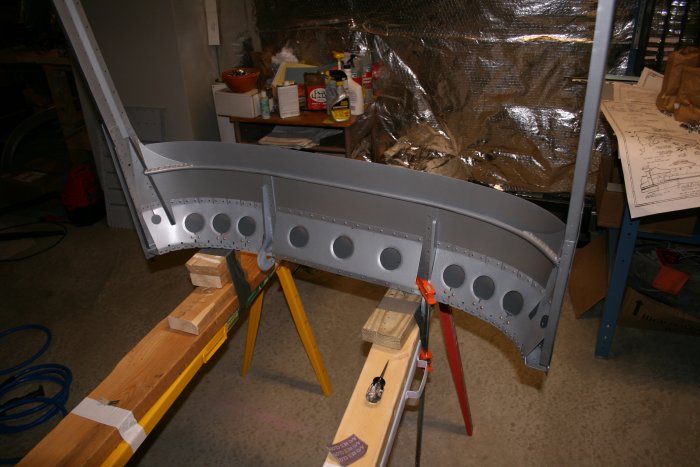
Pop-riveting the leading edge of the right reinforcer.
On the right side, I had used the rivet gun exclusively.  But I had trouble with the gun on the left.  I found I was able to use the Main Squeeze on the side rivets so that's what I used.
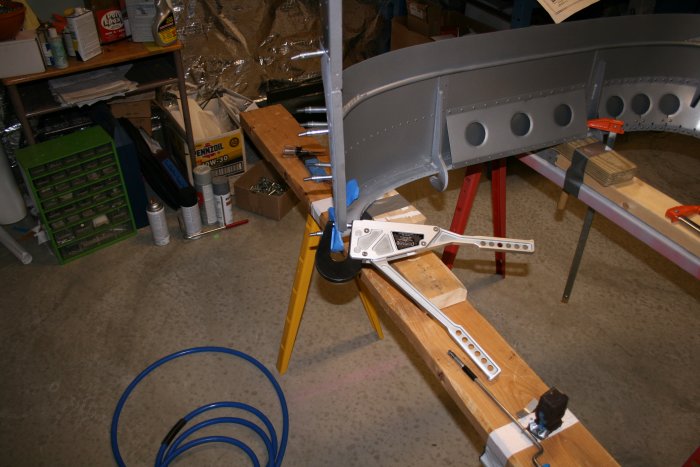
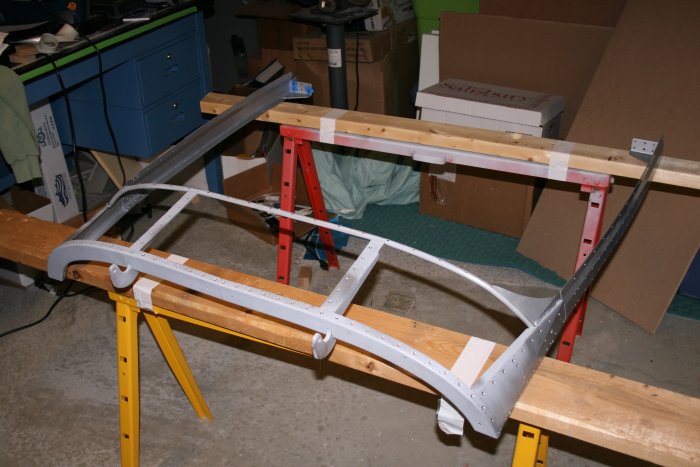
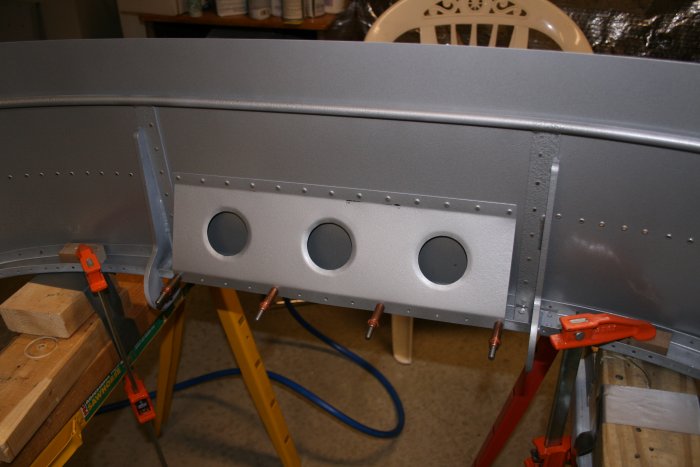
The left reinforcer. 
Voila!  All done.  Riveting this guy together took up most of my Sunday.
But it's all worth it in the end, right?  Right? 
 
Previous
Home
Next