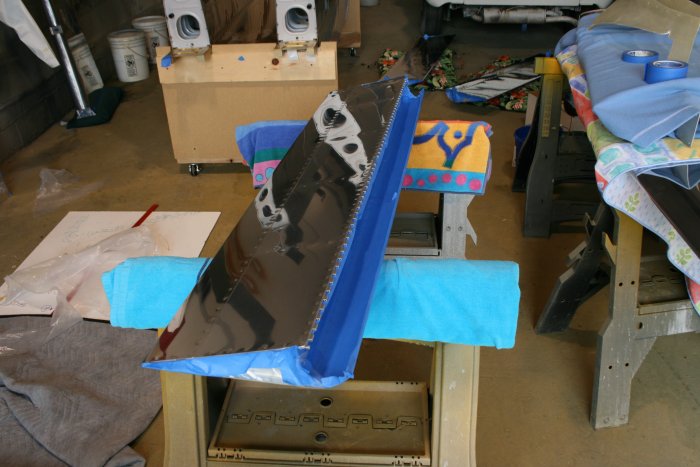
August 30, 2008 - Prep the Feathers
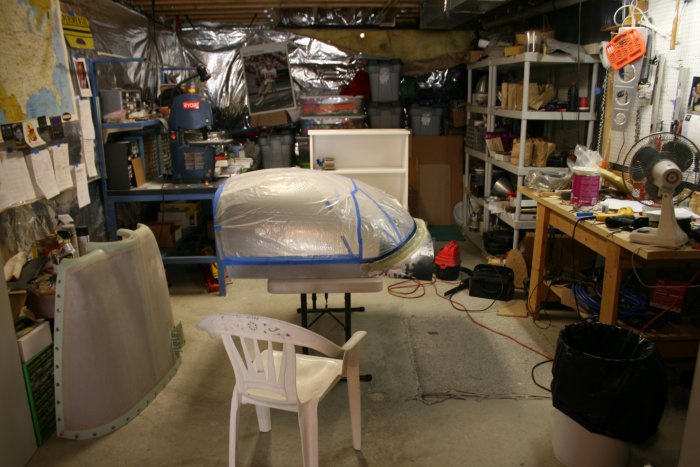
With the wings, ailerons, flaps and empennage components gone, I re-arranged and cleaned up the basement.
I did a round of sanding on the canopy fairing.
Then I headed out to paint
booth.
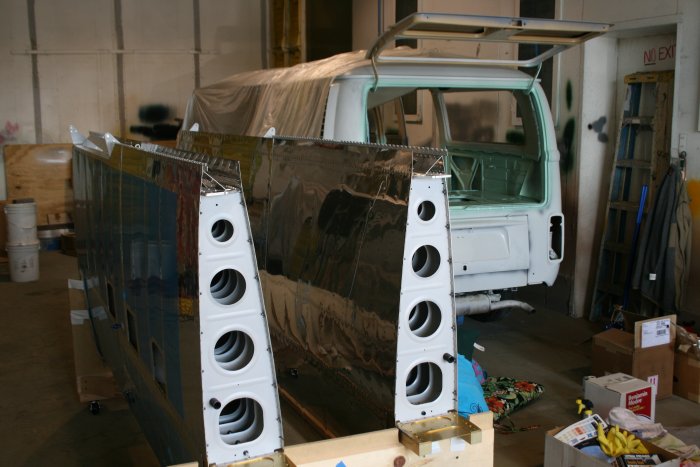
This is the paint booth. As you
can see, it's pretty big. That's an old VW bus Bruce is restoring in
the right hand corner. The paint booth has filters at both
ends. It has a fan system which sucks air from the front and
exhausts it out the rear (by the
van).
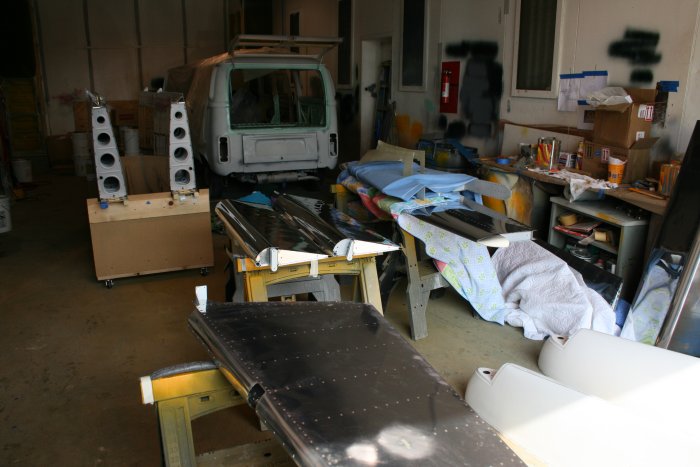
The plan is to prep, prime and paint
the ailerons, flaps and empennage components first. After they are
done, I'll do the wings.
I started with the rudder. Since
the entire rudder gets painted, all I had to do was wipe it down with
acetone and do a little masking at the bottom.
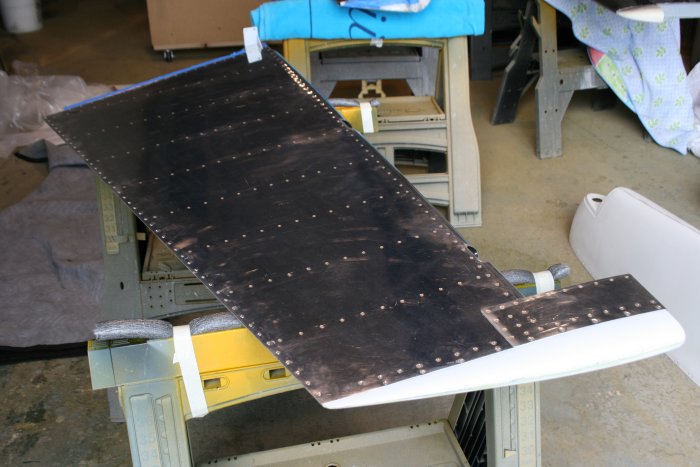
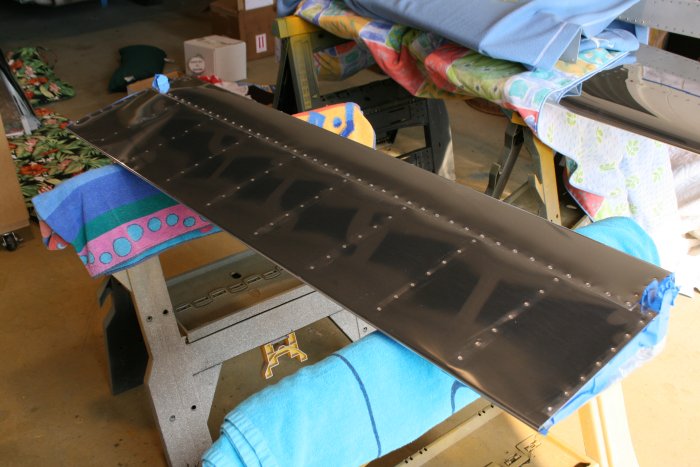
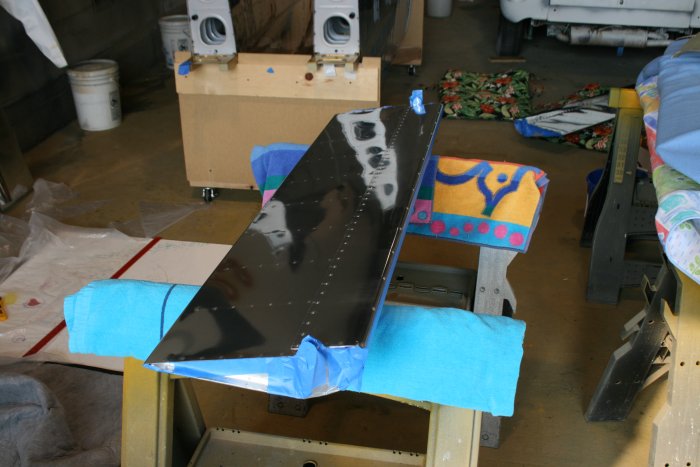
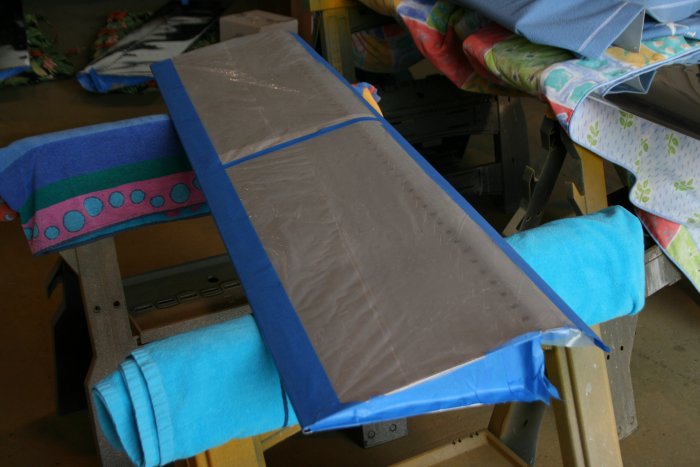
Here is the bottom portion of the same
flap.
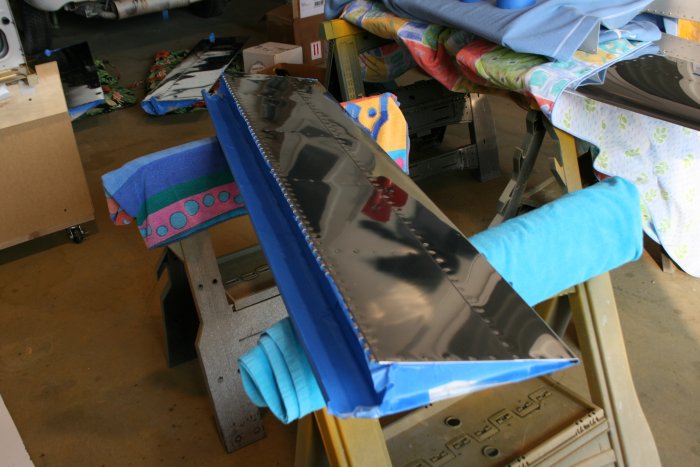
And the second flap is
done.
Next session I'll clean and mask the
vertical and horizontal stabs and elevators. Next step after that is
to acid etch and alumdyne the surfaces to be painted. Then Bruce is
going to spray the primer/filler for
me.
