November 29, 2004 - Aileron |
||||||
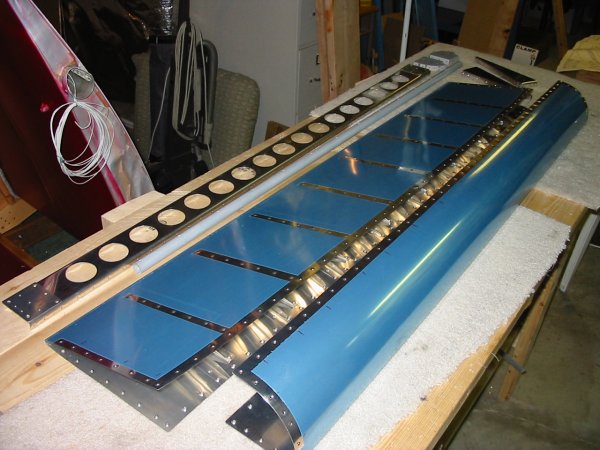
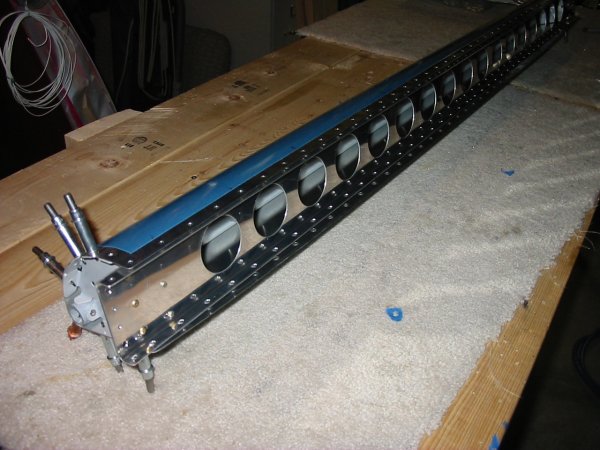
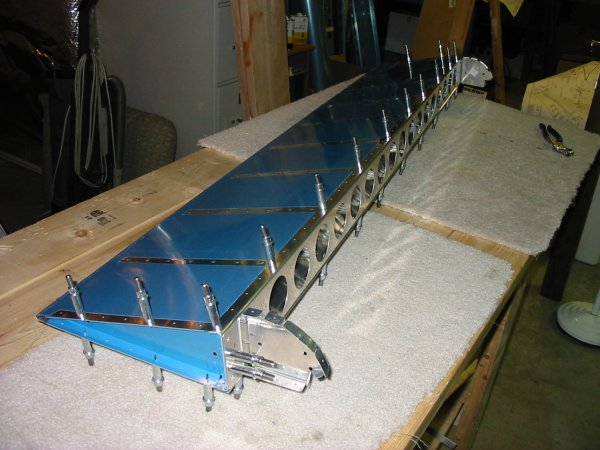
The spar and rib assembly with the trailing edge skin clecoed on. | ||||||
The aileron with the leading edge skin clecoed on. Notice the pipe
in the leading edge. That's a steel pipe which weighs a ton and
acts as a counterbalance for the aileron. Ready for match
drilling.
|
||||||
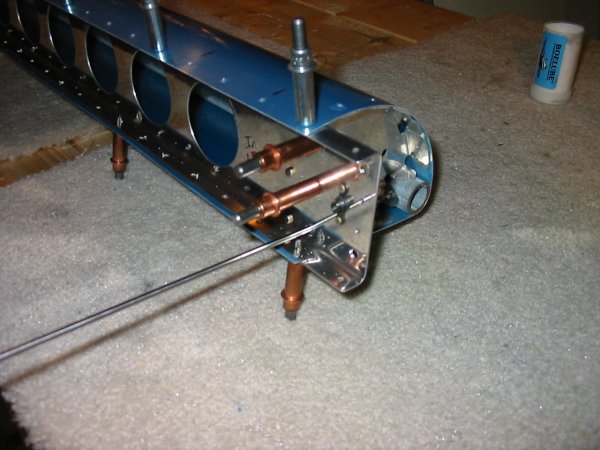
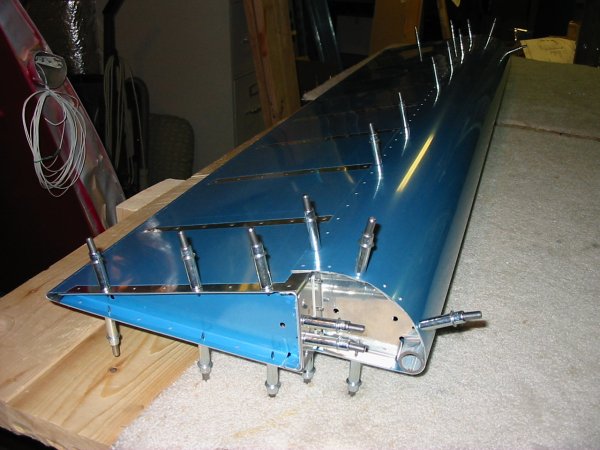
In this picture, I'm using my 12" long drill bit to drill a hole through the nose rib flange and the counterbalance weight pipe. To get to the pipe, the drill bit goes through a hole in the spar. | ||||||
After match drilling everything, I disassembled the aileron and started deburring and dimpling. | ||||||
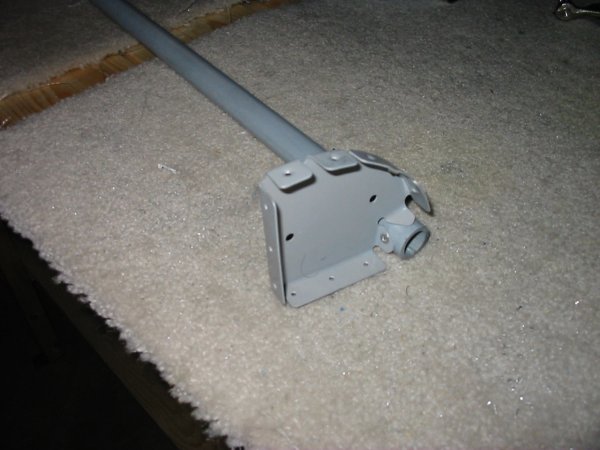
I primed the counterbalance weight pipe and the nose rib. Then I pop-riveted the nose rib to the counterbalance weight pipe. I gave the pipe two coats of Mar-Hyde primer since it's dissimilar metal to the aluminum. For the inside of the pipe, I just sprayed into the pipe from both sides. | ||||||