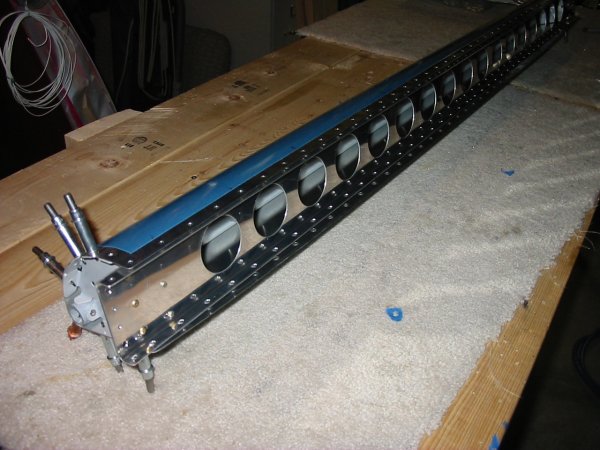
| The next step is to rivet the
leading edge and trailing edge skins to the top of the spar. This was
easier said than done. To get the bucking bar on the rivet, you have
to stick your arm between the un-riveted leading edge and trailing edge
skins. We did it by putting the aileron upside down on the workbench,
with the leading edge half hanging over the edge of the workbench. I
did the riveting sitting on the floor and riveting upwards. I used
rivet tape to keep the rivet in the hole, like you do when back-riveting.
Lynnette positioned the bucking bar from above. It was the toughest
riveting we've had to do so far. But we got through it.
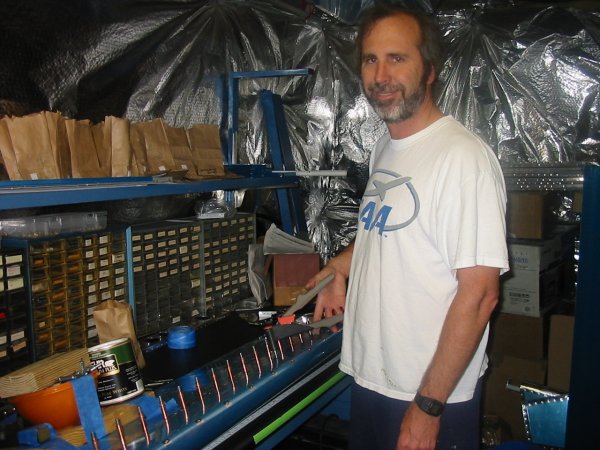
I'm smiling in this picture because I'm pop-riveting the leading edge and
trailing edge skins to the bottom of the spar. Piece of cake. I
get the impression some builders look down on pop-rivets but I love em!
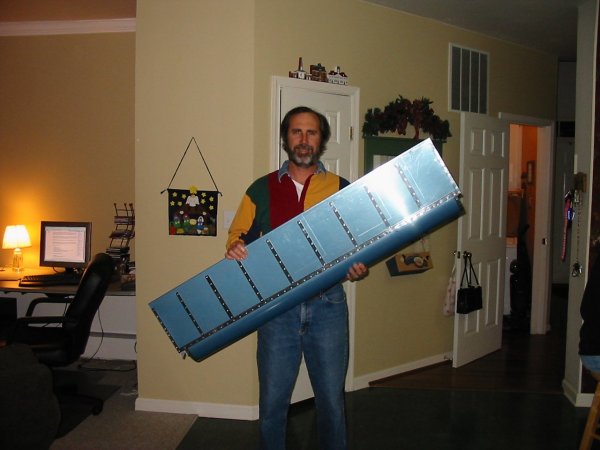
The worktable is flat and I have weight on the opposing corners to make sure
there is no twist in the aileron. |