October 20, 2007 - Molex Connectors
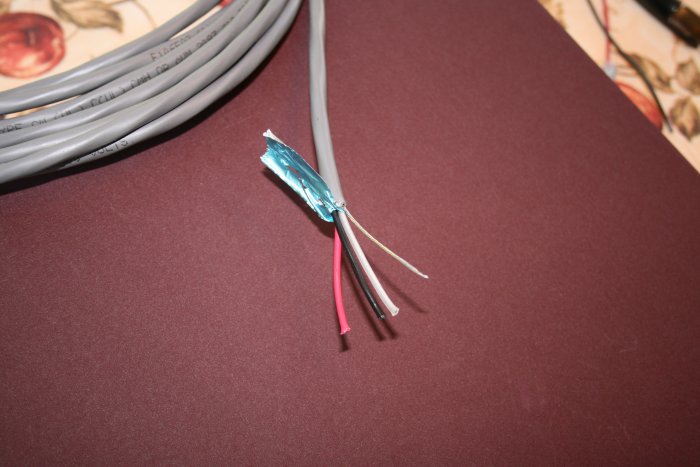
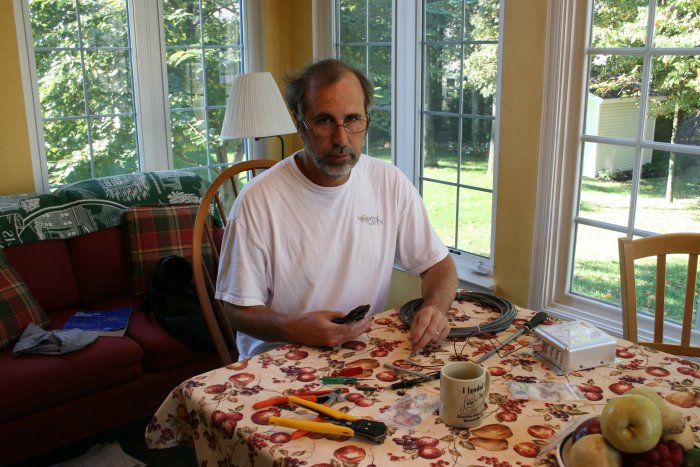
I bought the Whelen System 6 Kit from Vans years ago. It included this shielded 3-wire bundle for the strobe power supply. The lucky builder gets to attach Molex connectors to each end. I didn't know anything about Molex connectors so I had to get smart on that. Turns out the Molex connectors need their own special crimping tool. I was able to borrow one from Bruce in my local EAA Chapter.
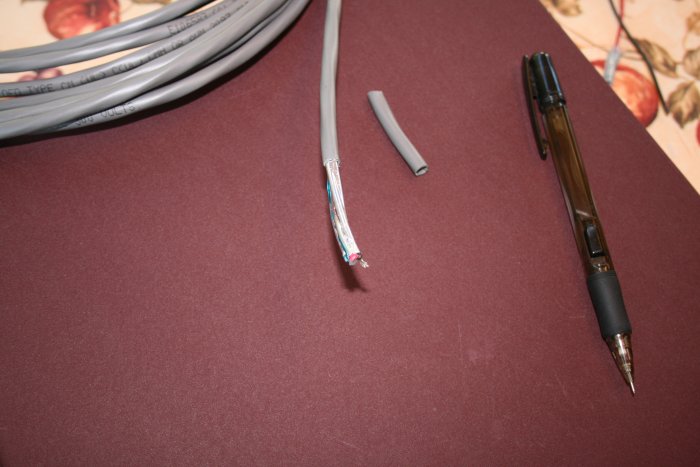
First step was to remove a couple of inches of the grey covering with an X-acto knife.
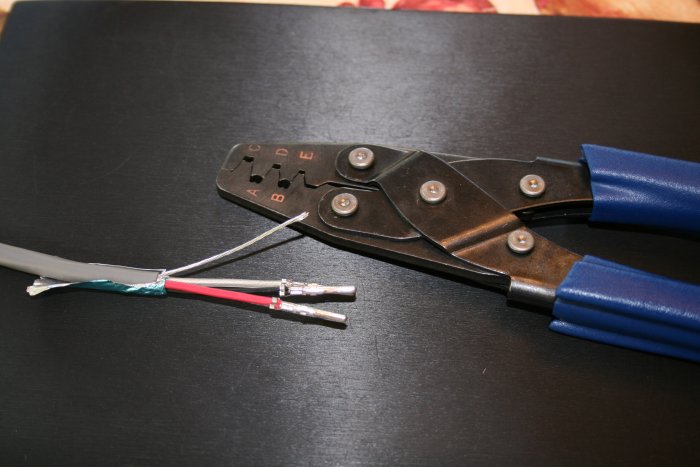
First I crimped the wings that go around, and into, the uninsulated part of the wire, with "D".
Then I used "C" to crimp the wings that go around the insulated parts of the wire.
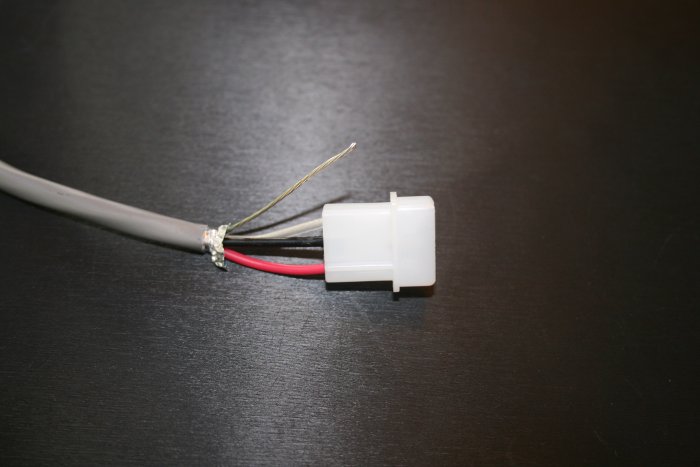
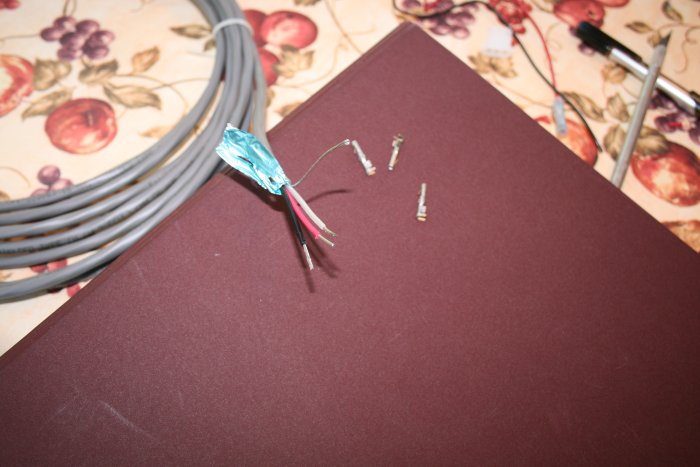
Now for the fun part. I slide the three prongs into the Molex plastic thing. The unshielded wire will eventually be tied to a ground wire going back to the ground bus.
I put Molex connectors on the ends of the three wire bundles that insert into the strobe power supply.