February 19, 2005 - Right Wing
|
|
I was out at the airport this Saturday morning for a pilot's association
meeting. It was good flying weather -- blue skies and light winds --
but it was just too cold, so I came home and worked on the RV instead.
For most of my building, I listened to music CDs while I worked, but
the last month or so I've turned on the basement TV. . Usually
I just tune it to the History channel. Today was "battlefield
archeology" day, so I learned all about the battles of Agincourt, the
Somme, Monmouth, Little BigHorn, and a couple of battles between the U.S.
Cavalry and the Apaches. During the week before the Superbowl, I
tuned in to ESPN2 and watched between 10-20 Superbowl highlight shows - 30
minutes for each one! It helps pass the time and I actually learn
something.
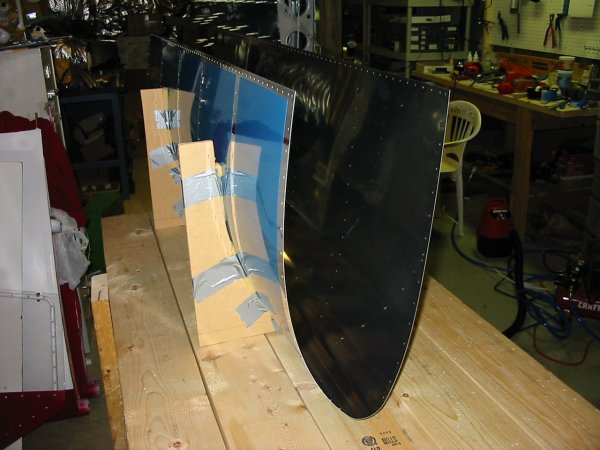
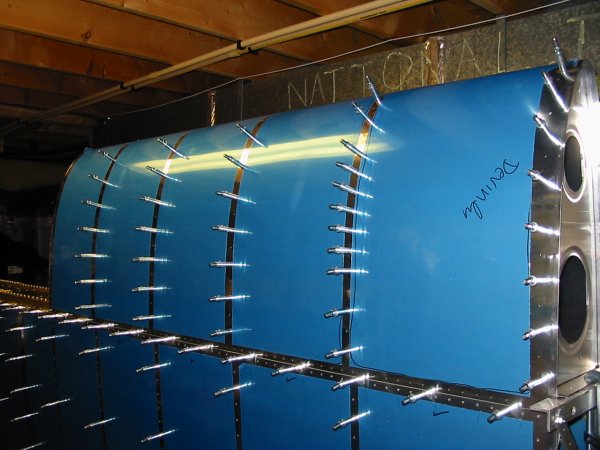
The next step was the wing leading edge. The leading edge jig was
already built from the left wing, so I just plopped the right leading edge
in. Then I edge-smoothed it. |
|
 |
|
|
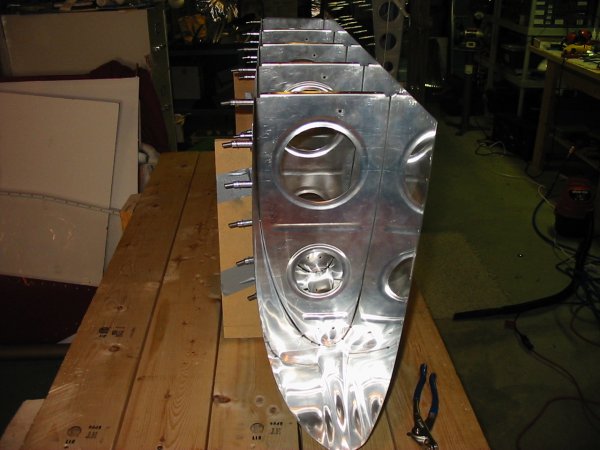
I was happy to find that the leading edge ribs were already prepped, for
the most part. I had to do a little work on them but it only took
a few minutes.
Then I clecoed the ribs to the leading edge.
|
|
 |
|
|
Next step was to bolt the tie-down bracket to the main spar. |
|
 |
|
|
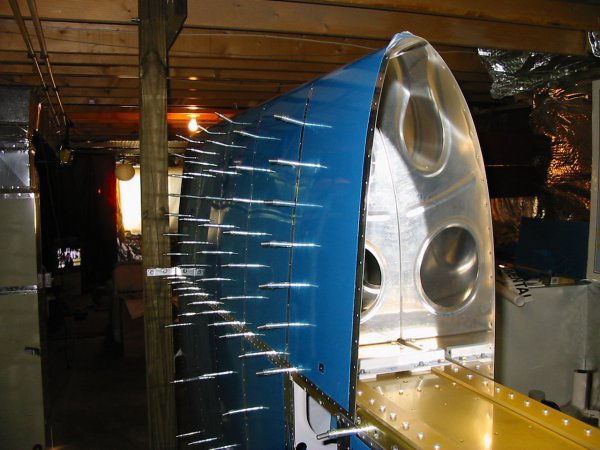
Then I was able to mount the leading edge onto the spar.
|
|
 |
|
| First I clecoed the leading edge
ribs to the spar, then the leading edge skin to the spar flange. |
|
 |
|
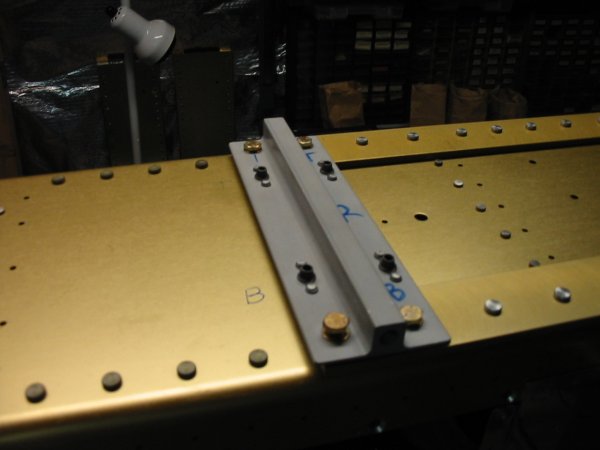
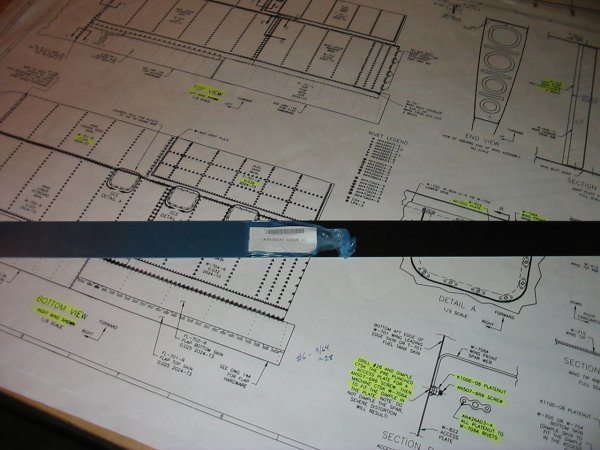
| The next step was to fashion the
joiner plate that secures the fuel tank and the leading edge together.
Vans supplies the material which is already cut to the correct size.
First I edge-smoothed it, then drew a line on it 1/2" from the edge.
This is so I could match-drill it, using the leading edge as the template. |
|
 |
|
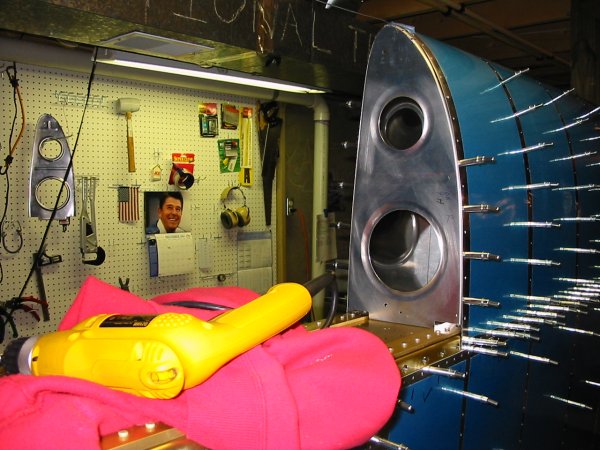
| It's a little bit of a bear,
getting the join plate between the innermost rib and the leading edge skin.
But I got it done, and started match-drilling. I made a mistake at his
point when I was doing the left wing, and had to order a replacement rib, so
I was very careful this time around. |
|
 |
|
|
|
|
|
|
|
|