January 16, 2005 - Left Wing
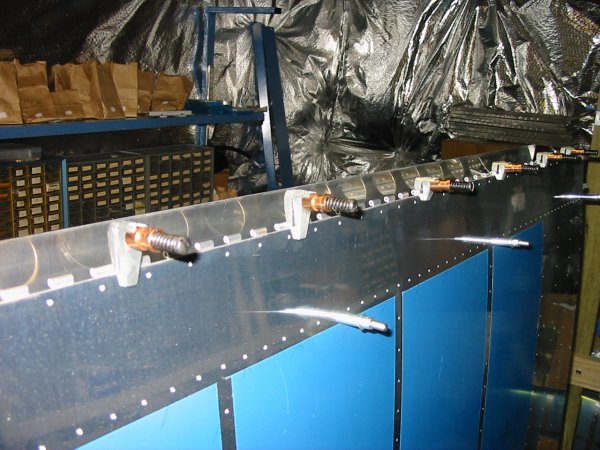
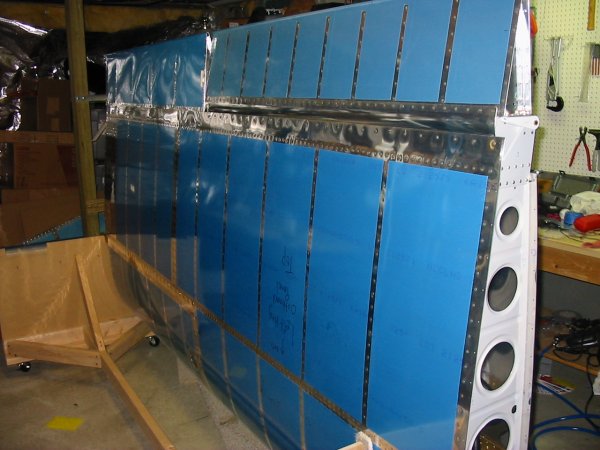
It's time to mount the flap. First I had to cleco the bottom skins
on the wing, then cleco the wing side of the flap hinge for
match-drilling. There are three layers: the bottom skin,
then the flap brace, then the hinge. The instructions are sparse
at this point. I looked on line and the concensus seemed to be to
dimple the bottom skin, counter sink the flap brace and don't do
anything to the hinge except drill the hole.
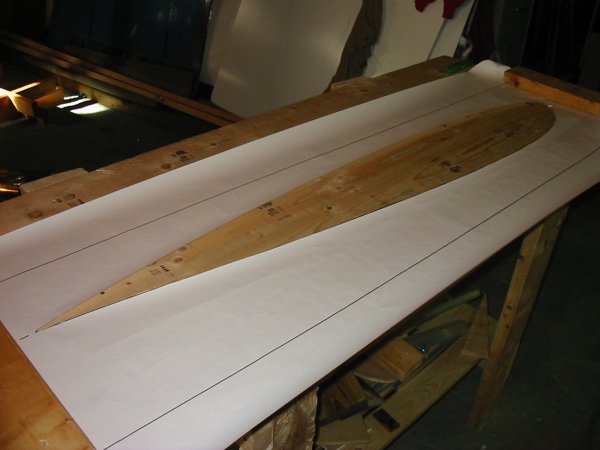
The key thing is to drill the hinge holes so that the flap trailing edge
is aligned with the aileron trailing edge.
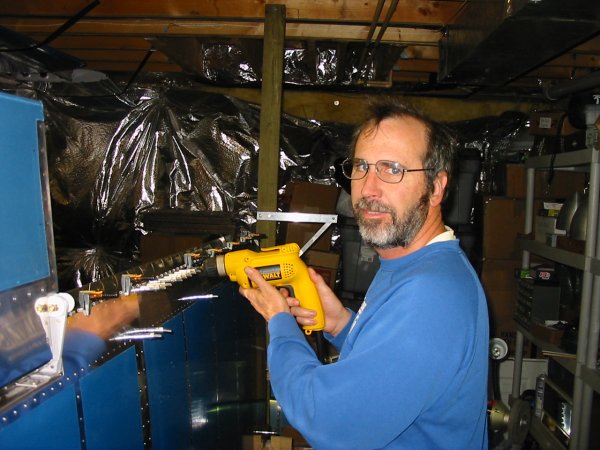
Match-drilling the holes. Lots of holes to drill.
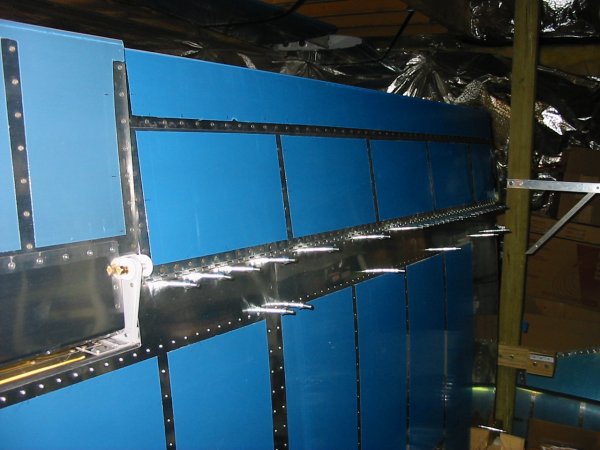
Well, they're not permanently attached yet. I won't do that until the wing is out of the basement. I can't rivet the flap wing-side hinge until the bottom skins are riveted and I'm saving that for later.
Next