January 12, 2005 - Wing
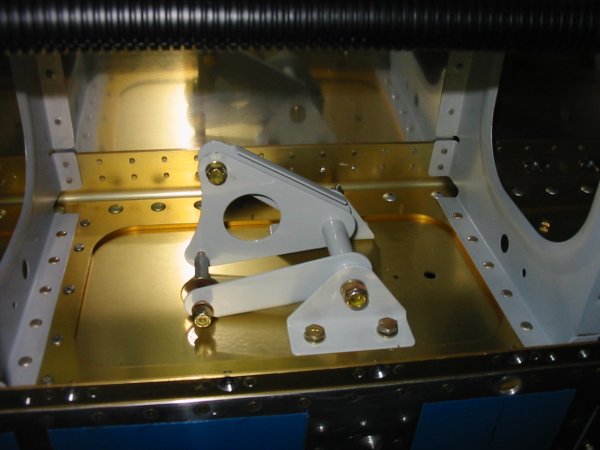
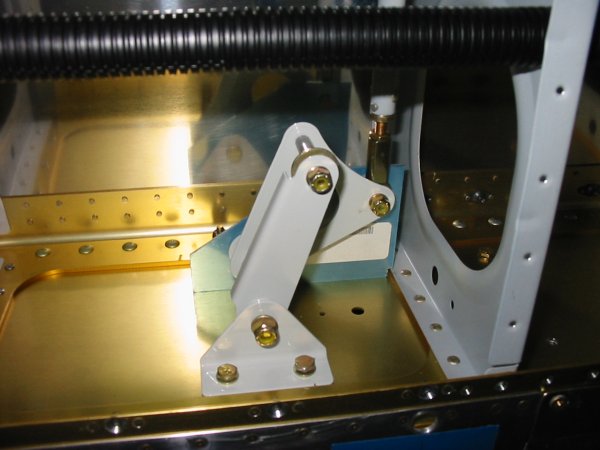
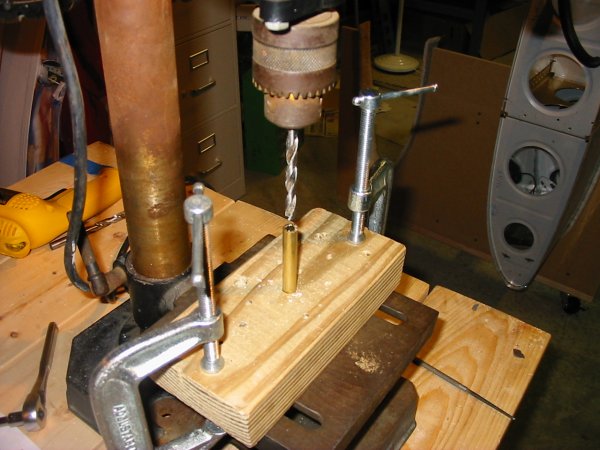
My goal for the evening was to bolt the bellcrank in place. First I had to bolt down the bellcrank brackets. To do that I had to find the correct bolts. After I did that I quickly discovered the bolts would not fit through the bracket hole so I had to drill them out. Then I wondered if all the bracket and bellcrank holes needed to be drilled out. They did, of course. So I drilled everything out, including the hinge brackets on the aileron.
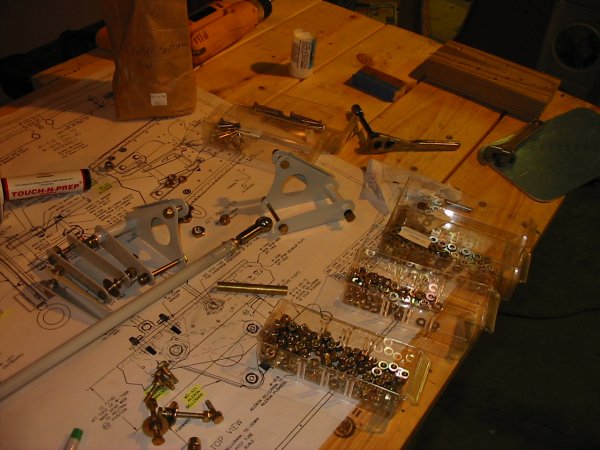
Then I collected all the correct bolts, washers and nuts. This was time-consuming as Vans has the bolts scattered in three different bags. When I bought the Kitfox, it came with all this aviation hardware neatly arranged in organizers. This was very useful to me in identifying the right size bolts.
I really want to put in a TruTrak single-axis autopilot and this is where the servo goes. But I don't want to buy it this early because the things improve every year. But there's no rush. I'll just leave the bottom skins off until the last possible moment.