December 22, 2011 - Triplane Rib Jig
I havn't made too much progress on the Triplane but I have got a little done. I've spent a lot of time pouring over the drawings, trying to figure them out. It took me a while but I have a good understanding of how the ribs go together. I'm almost there with the wing box spars as well.
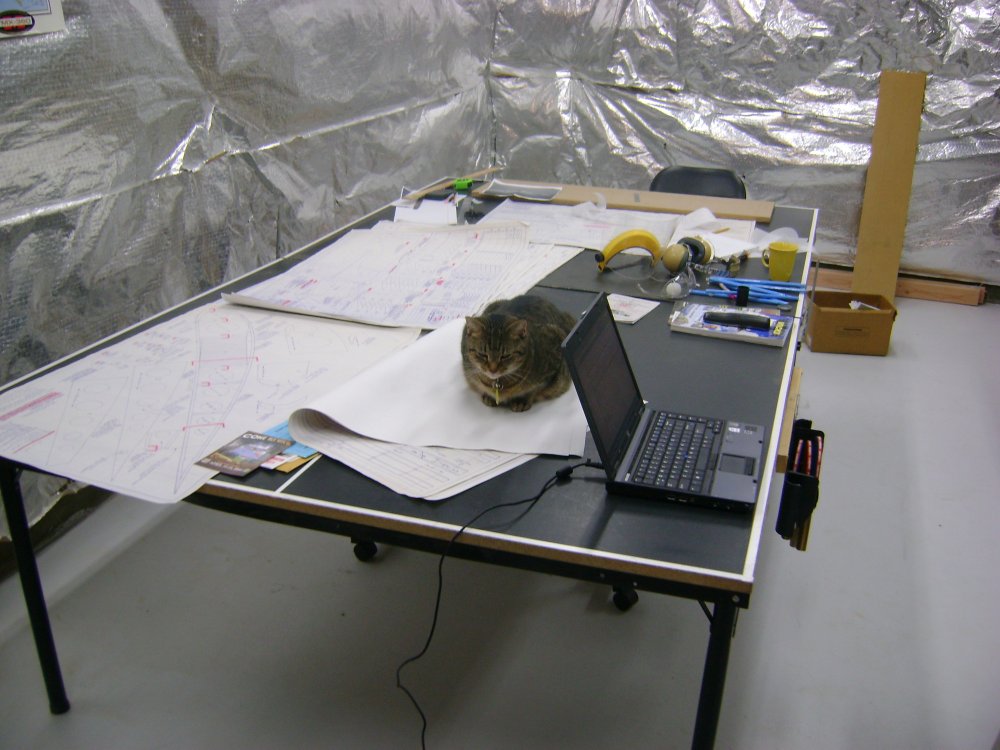
Bella the Cat keeps me company on the Triplane project.
There is quite a big difference
between the RV plans, Xenos plans and Triplane plans. The RV plans
came with instructions which told you step by step what to do. The
plans were more for reference. As you progressed in the project, the
RV instructions became progressively less detailed. By the end the
instructions didn't exist at all, but you didn't need them. You knew
what had to be done and you had the plans to refer to.
The Xenos plans had some step-by-step
instructions on the plans themselves, but not much. But the plans
were very good as far as showing to make the components and how they went
together. Like the RV, the Xenos kit design lends it to
understanding how it goes together.
The Triplane is a whole different
story. All you have is the drawings. The drawings
show you what to make. It's up to you to figure out how to make
it.
I just wasn't getting what the rib jig
should be. Finally Paul D. -- who recently completed the Golden Age
Air Museum triplane -- sent me a picture of his rib jig and I finally
understood it. I understand what I had
to make.
But I still had to figure out how to
make it. There is virtually no guidance in the plans, and I could
find none in the "The Aerodrome" DR-1 (Sands) Builder's Group forum.
I suppose I could have asked for help on the forum but I felt like just
figuring it out myself.
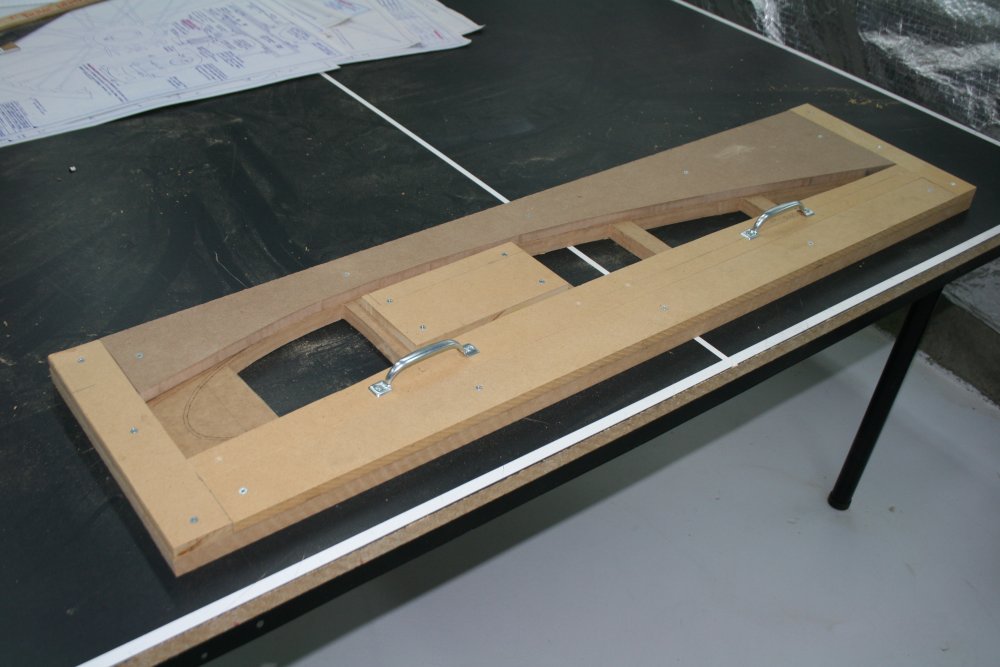
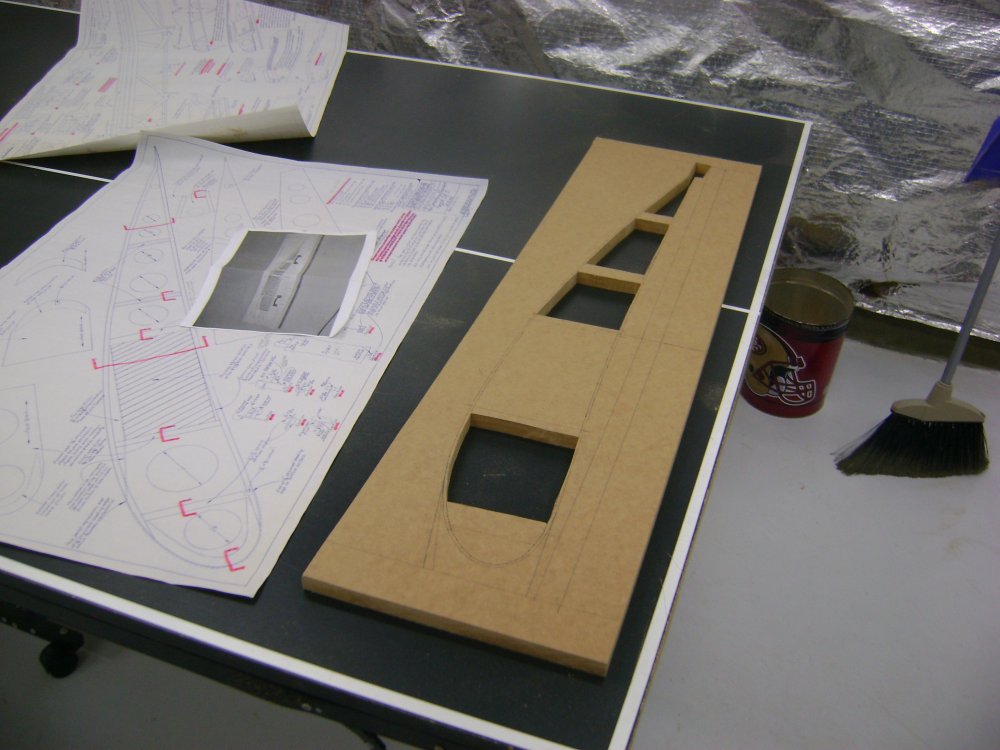
Basically the jig has a 3/4" baseboard
with rectangular holes cut in it to let glue drip down. Then there
are 1/2" pieces on top that hold the rib in place. The bottom
baseboard supplies a 1/8" lip all round to support the rib.
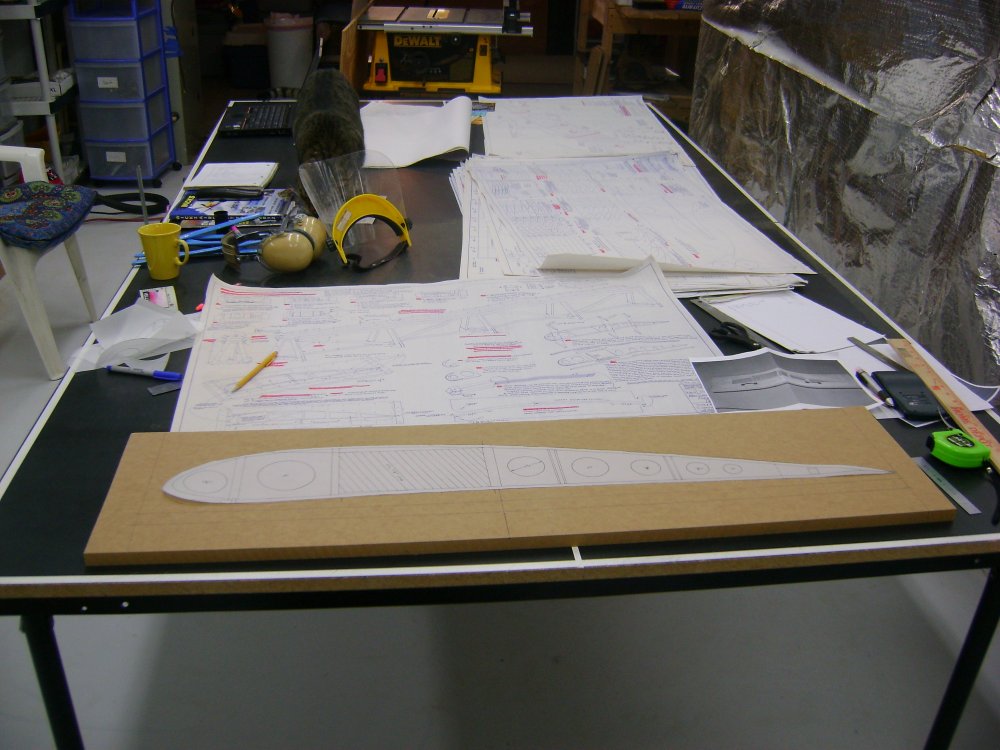
The plans supplied little in the way
of dimensions for the rib jig. There was a full-scale drawingt of
the rib itself. So I figured I would have to use that to make the
jig. I ordered a roll of good quality tracing paper from Amazon --
they have everything! -- and traced the rib outline on it, and then cut it
out. I used my paper template to draw lines on the baseboard.
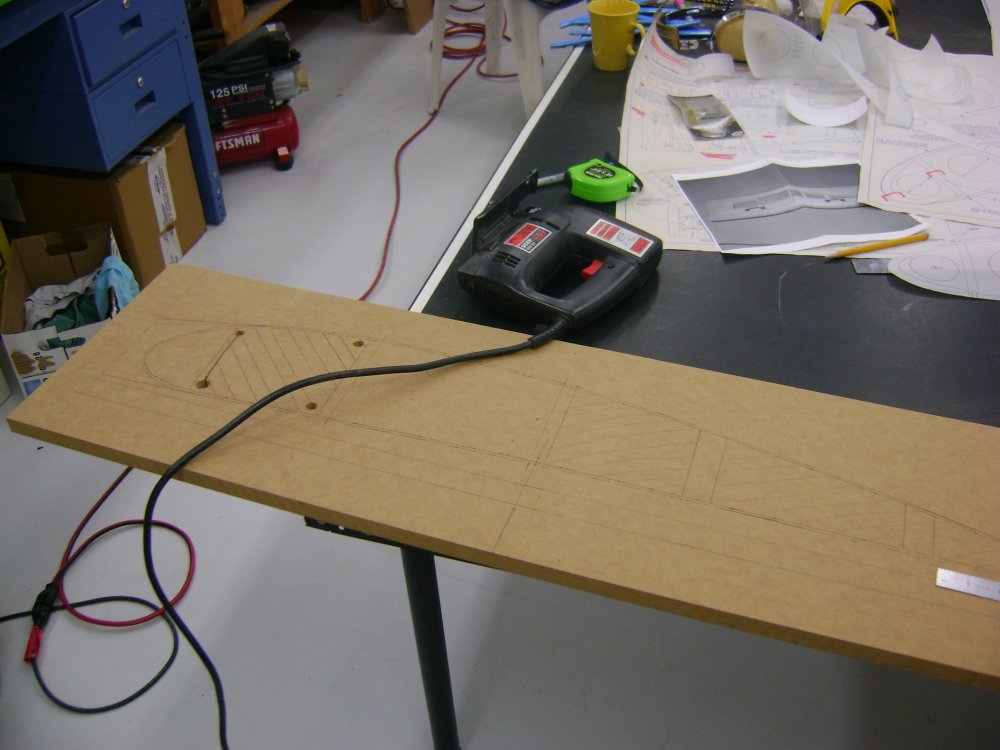
Baseboard complete. Next to the
baseboard is the rib drawing, and the all important photo of the GAAM rig
jib.
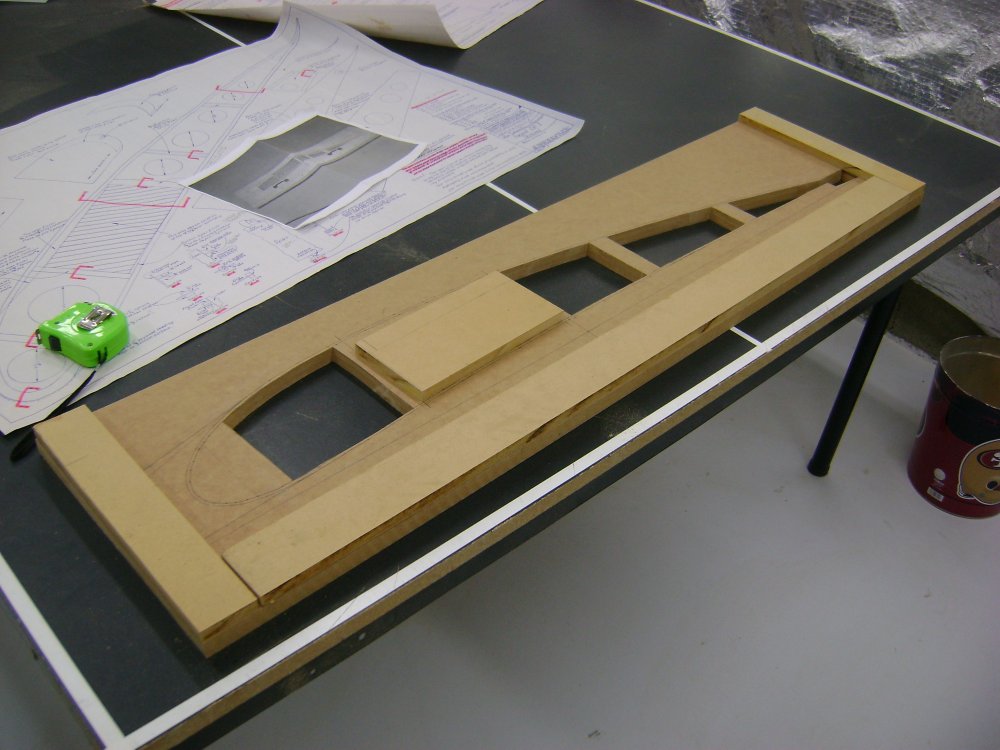
I screwed the top pieces on. Two pieces have handles so that they are easily removable.
So the rib jig is essentially complete. I ordered my wood -- Spruce and aviation grade plywood -- from Wicks Aircraft Supply a few weeks ago. When the wood arrives, I can start making my ribs: all 58 of them!