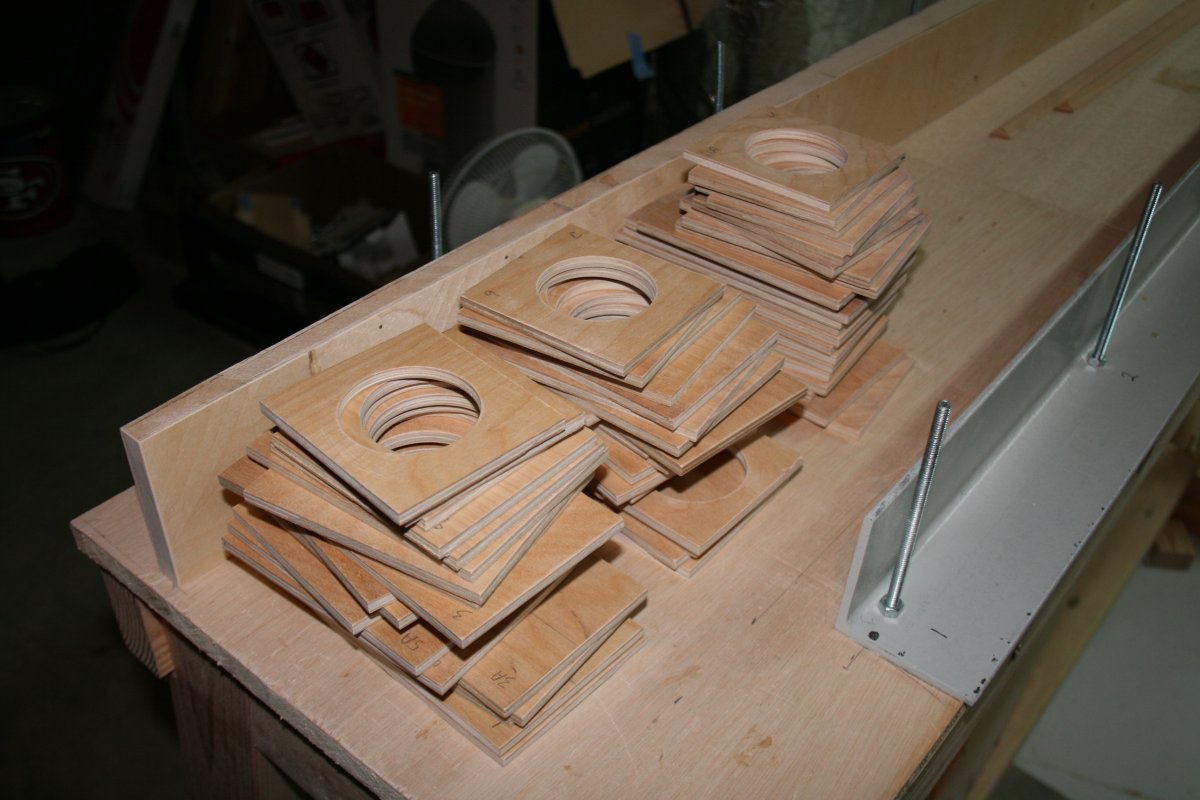
January 14, 2015 - Make Spar Spacers
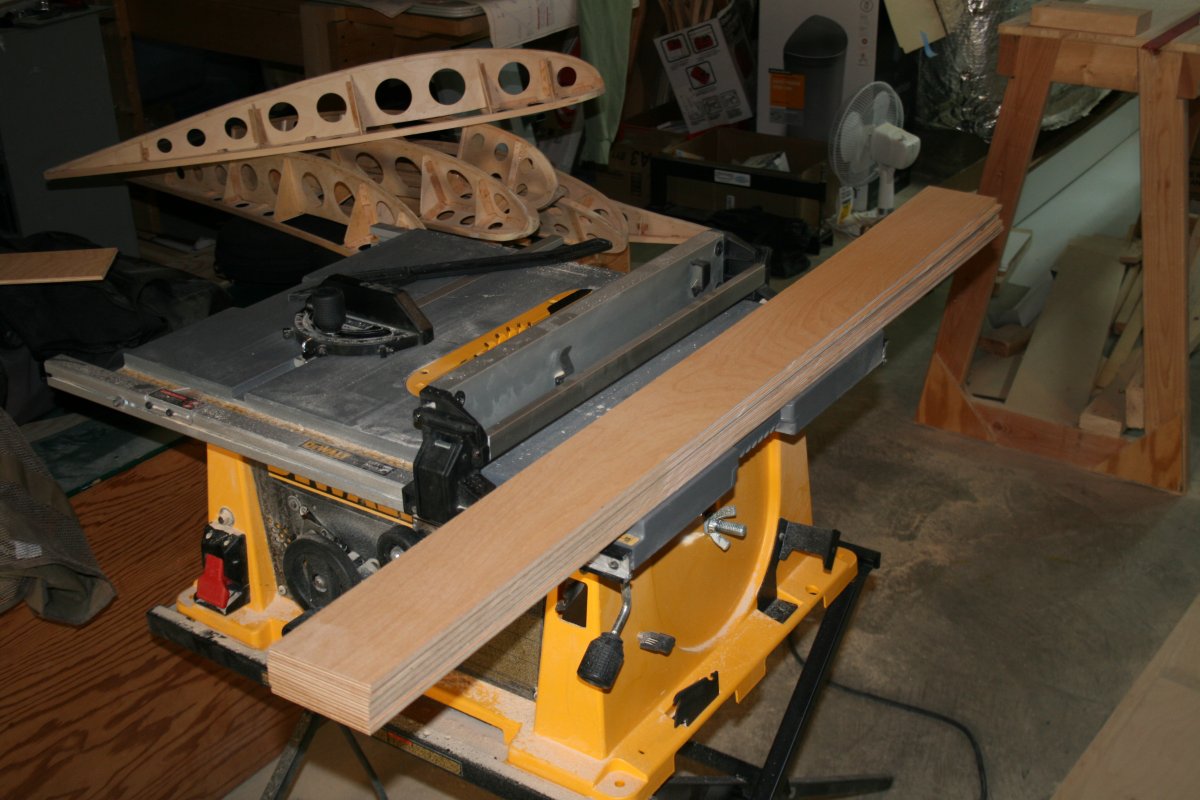
I started with the Lower Wing as always. You get better as you go along, so I figure I'll start with the shortest wing, so my best work is on Upper Wing which is the longest. It probably doesn't make any difference.
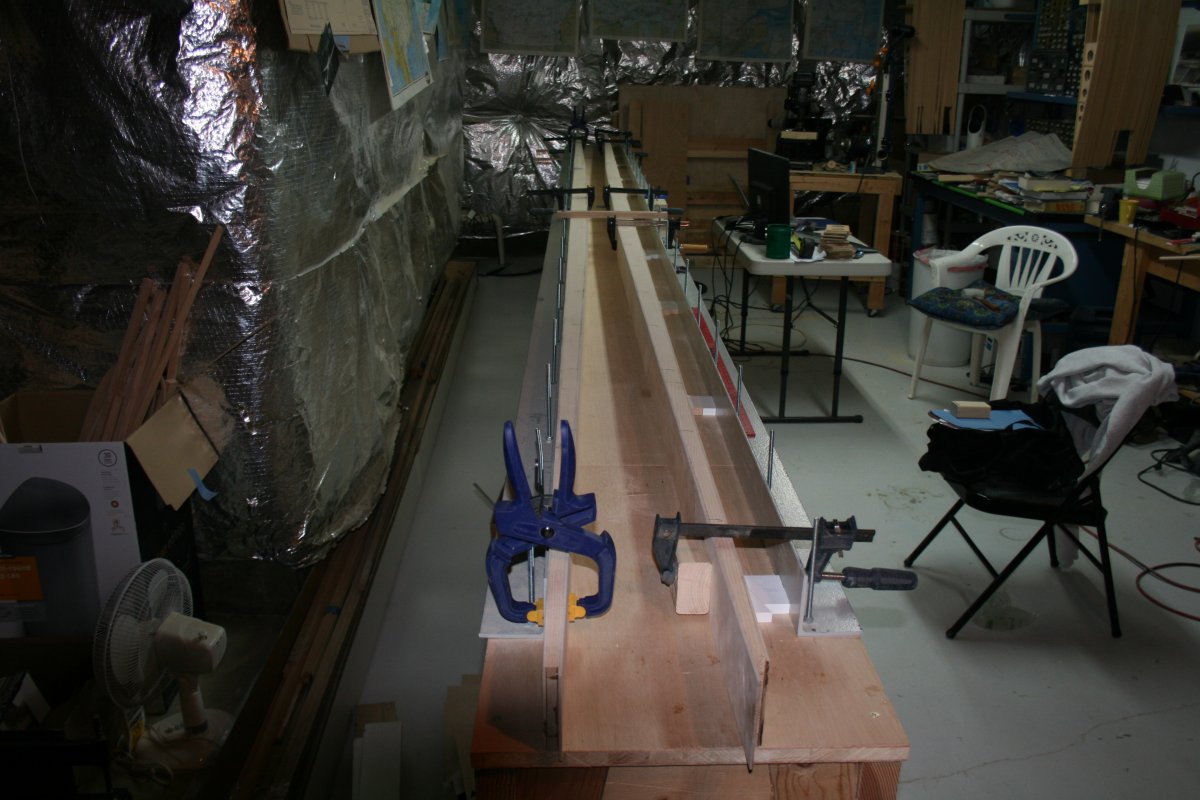
Anyways, the wing spar has to be exactly 8" across, the entire length. The outer edge of the spar ladders is straight, so the 8" equidistance is certainly doable. However, as you can see, the inside edge of the spar ladder is tapered. What this means is that each cross spacer has a differnet length; i.e., I would have to measure, cut and fit each spacer individually. No mass-production. Initially, I wasn't too happy about having to custom make each one but it turned out not to be too bad.
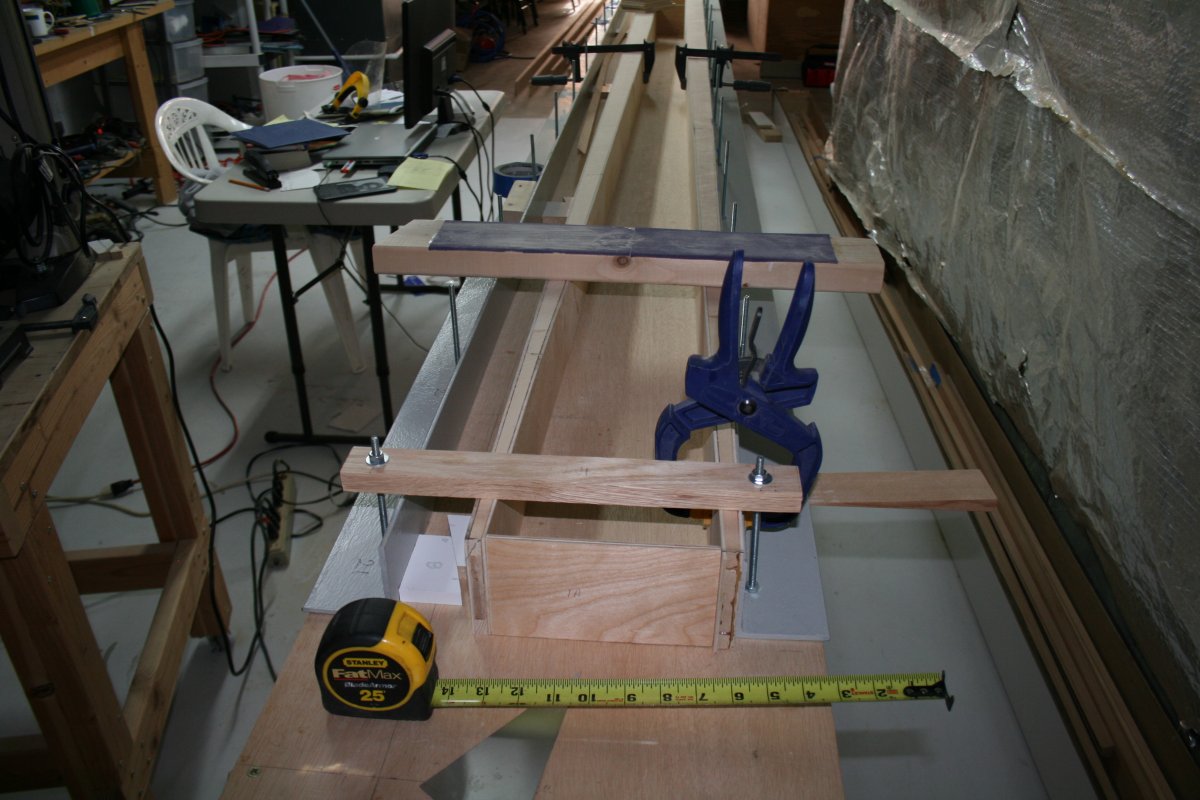
I ensured the 8 inch distance through a combination of clamps and homemade shims.
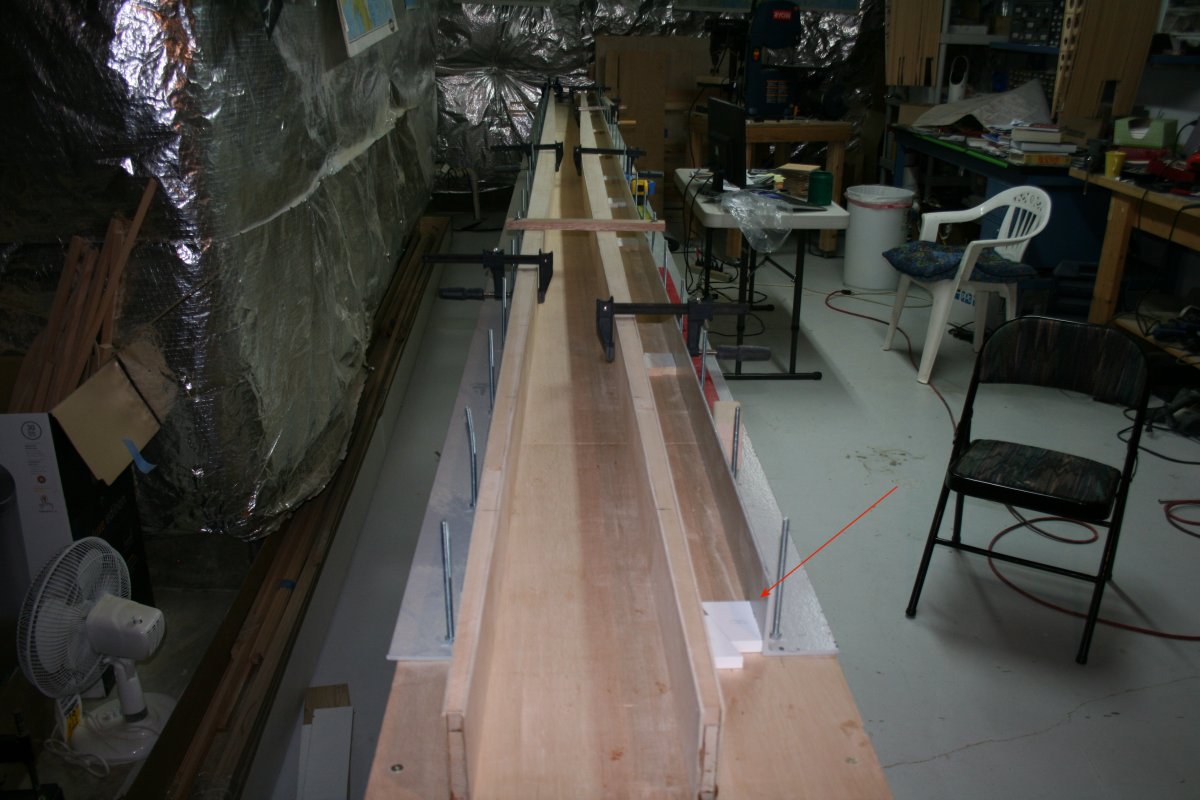
A close-up of one of my homemade shims. Not very fancy, but they worked well.
You can also see the marks on the spar ladder where a spacer is supposed to be. Per the plans.
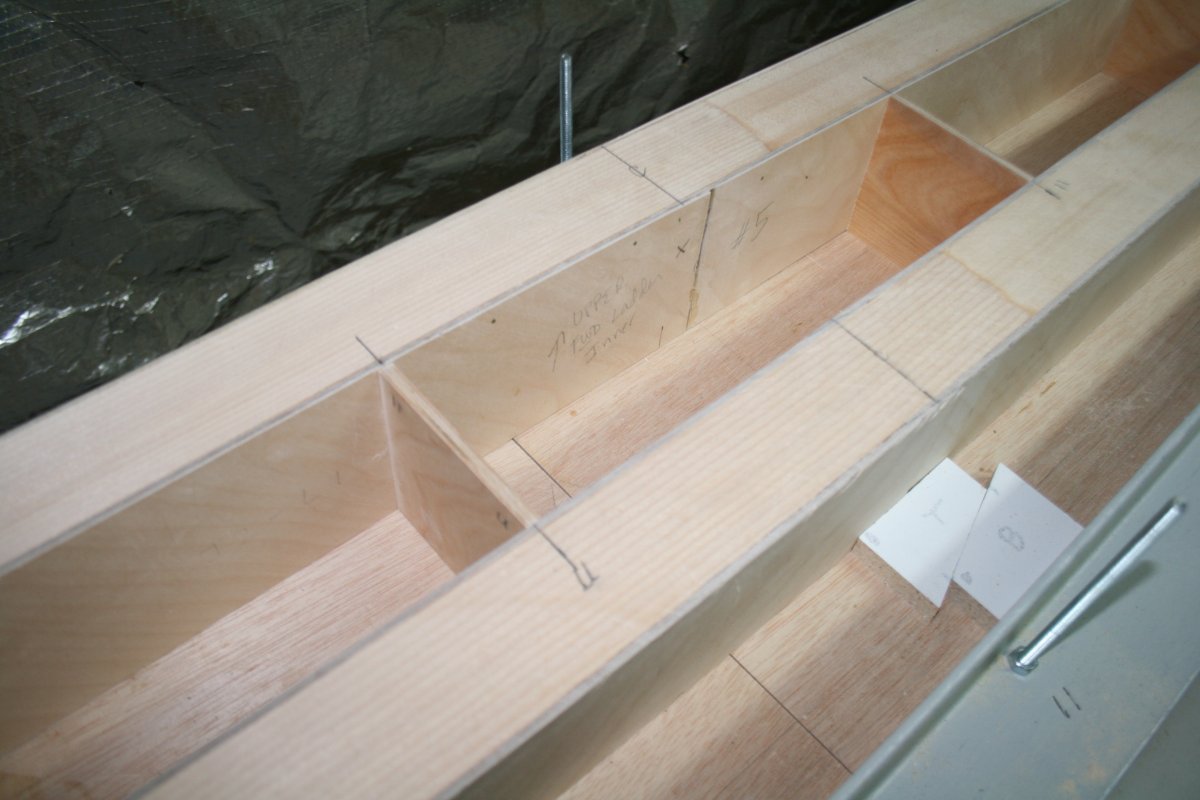
OK, the spar ladders are in place, exactly eight inches from outer edge to outer edge. Time to start cutting spacers. There will be 20 or so for each wing.
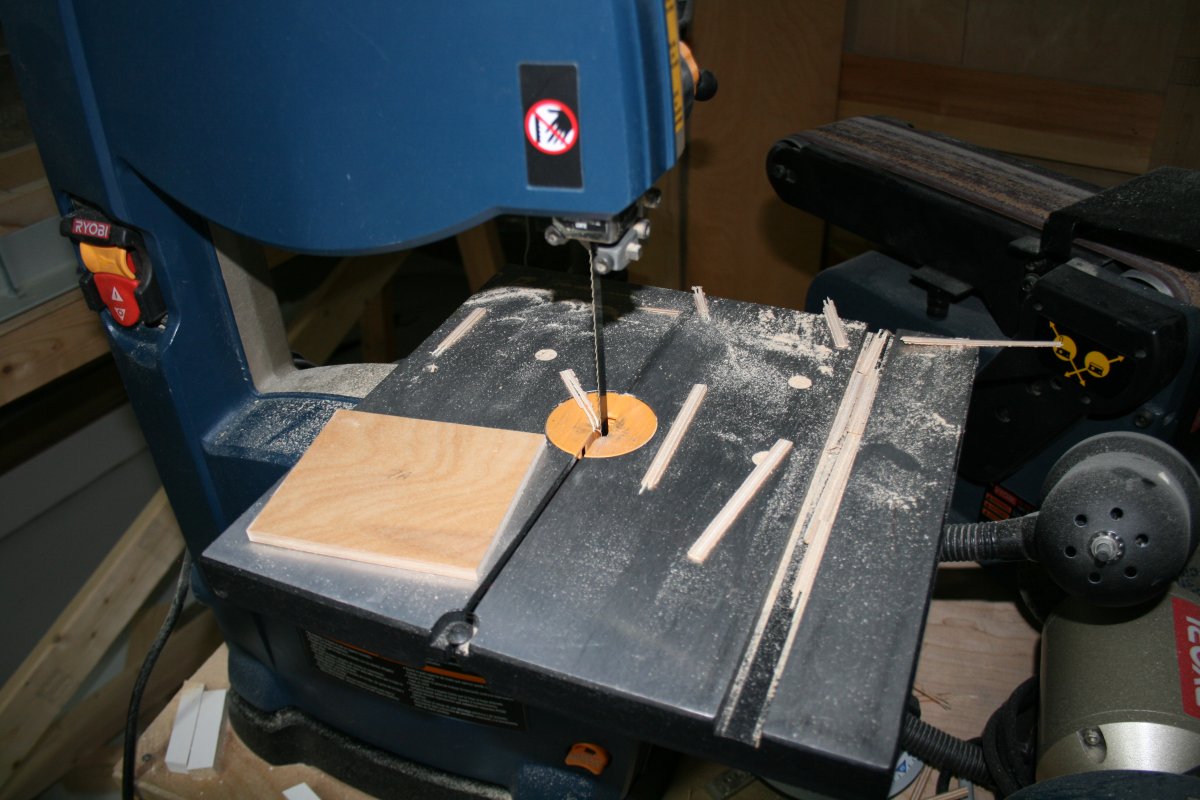
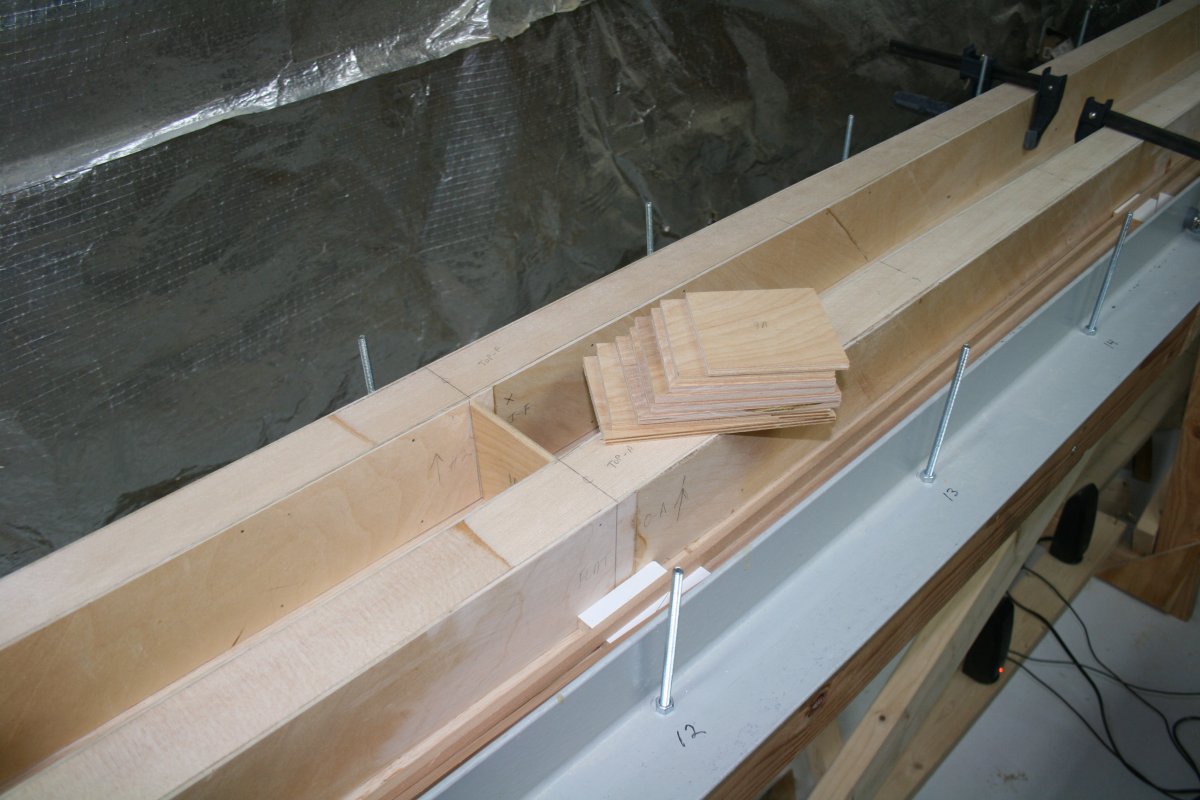
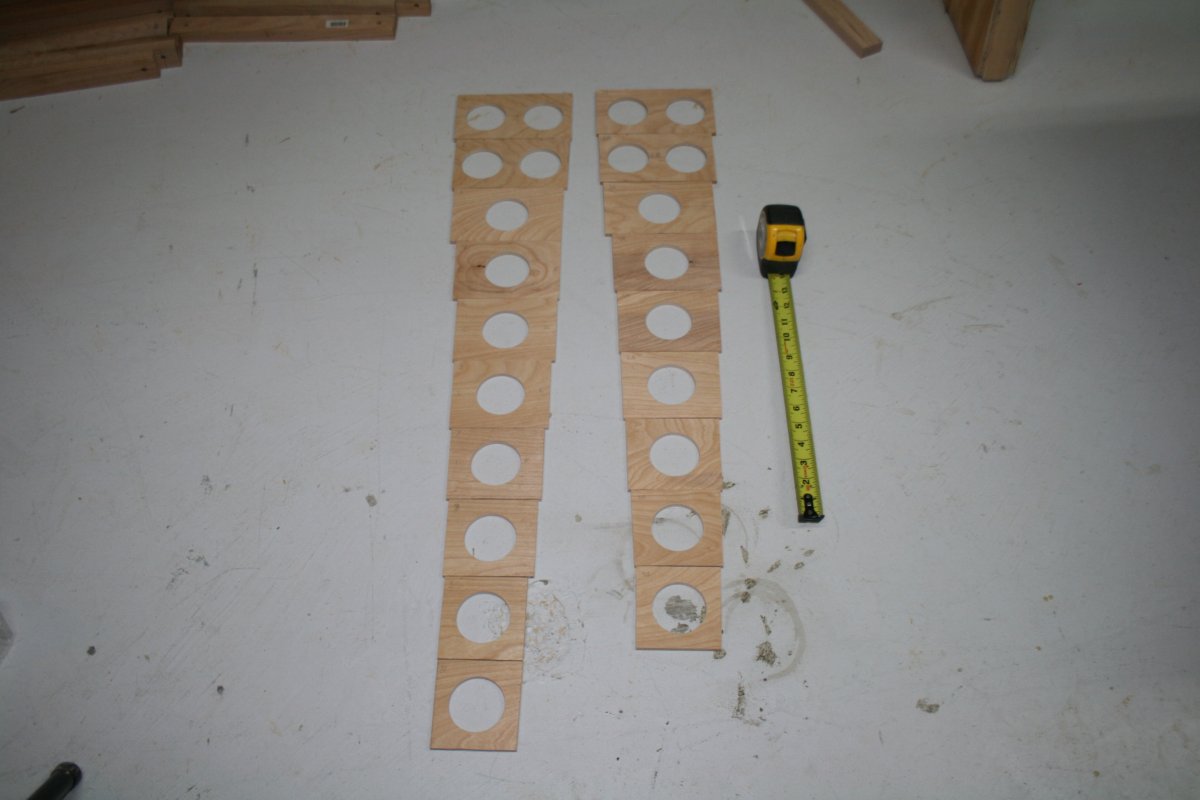
About halfway through making the spacers for one of the wings.
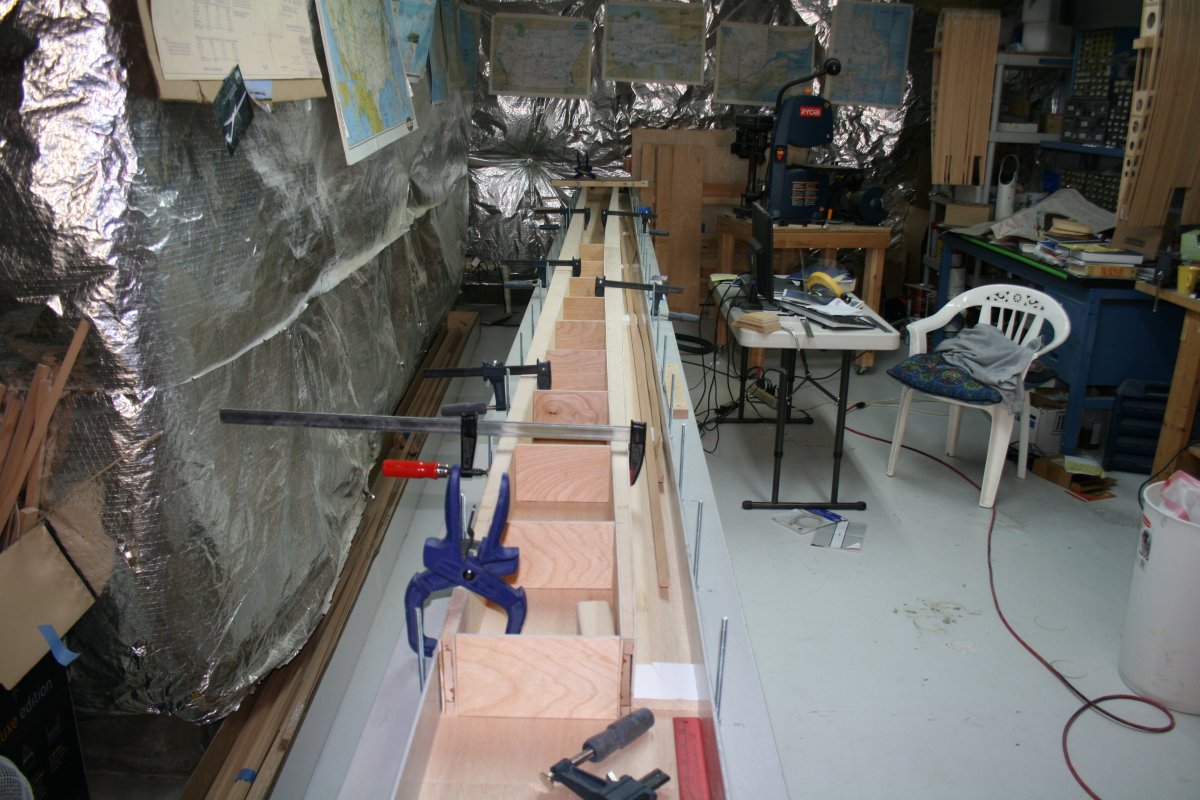
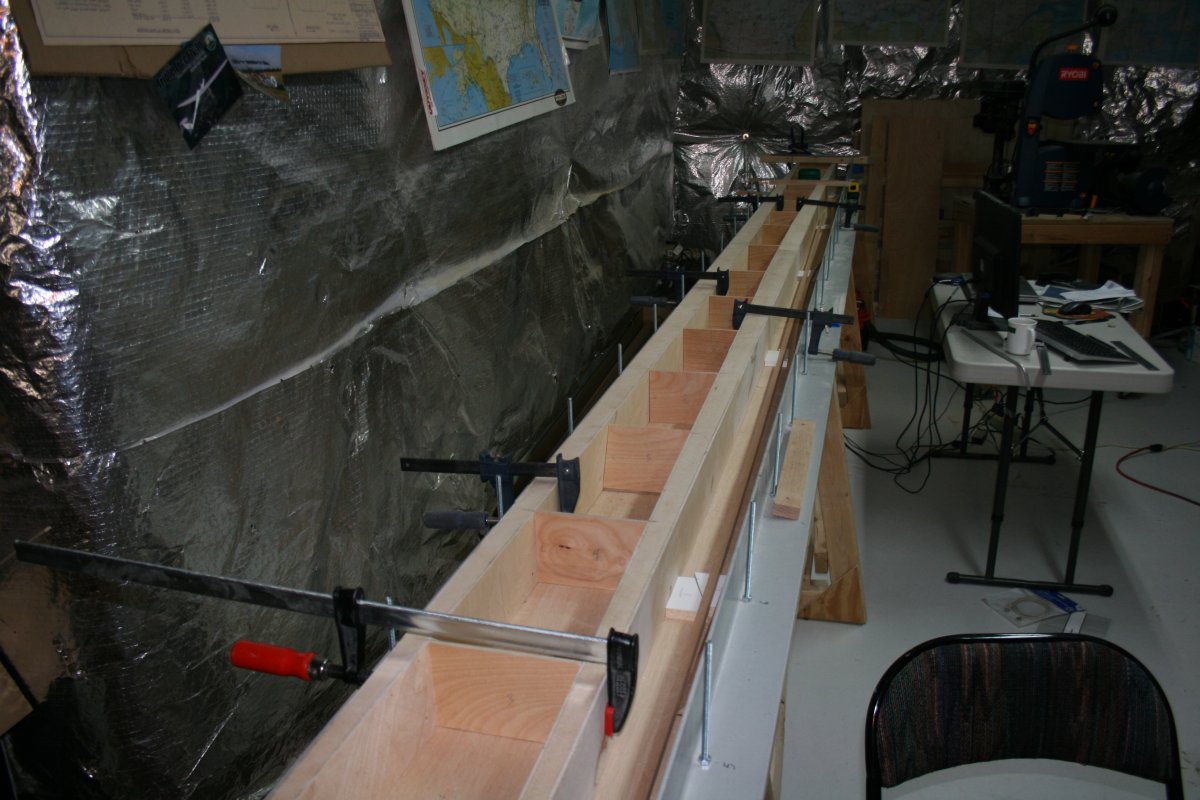
And done.
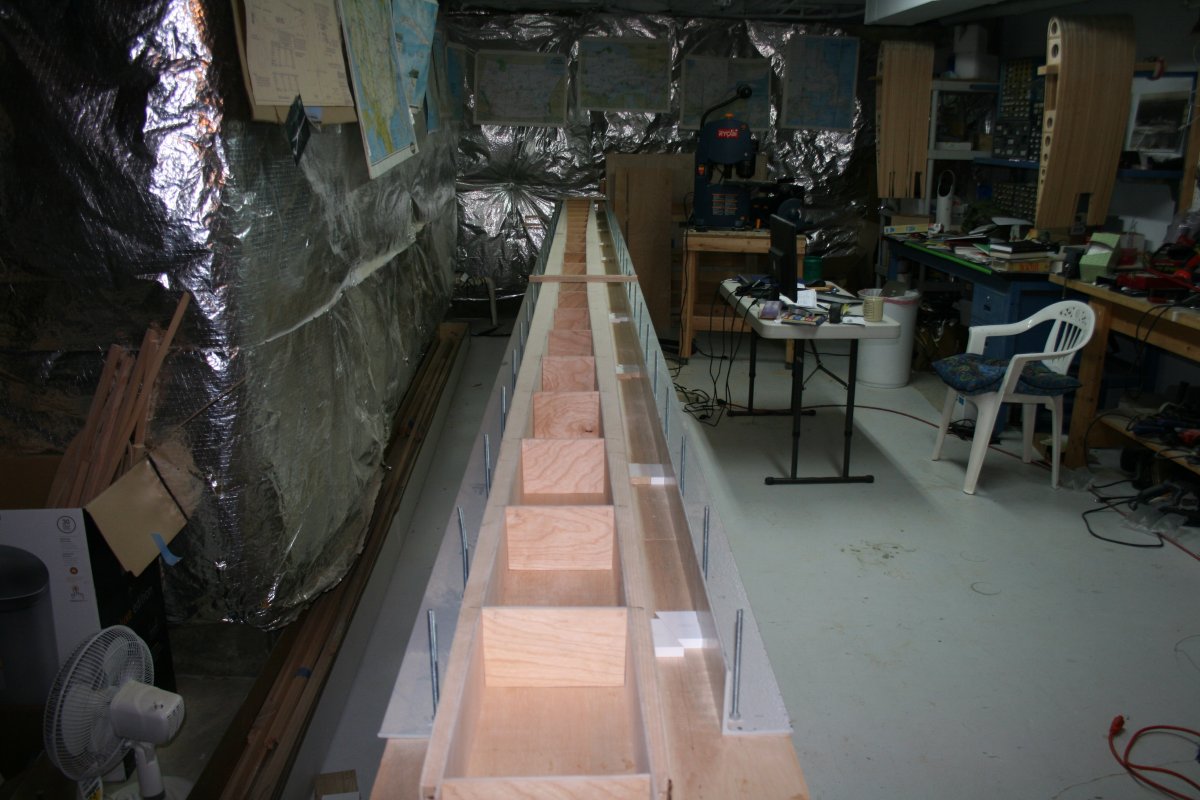
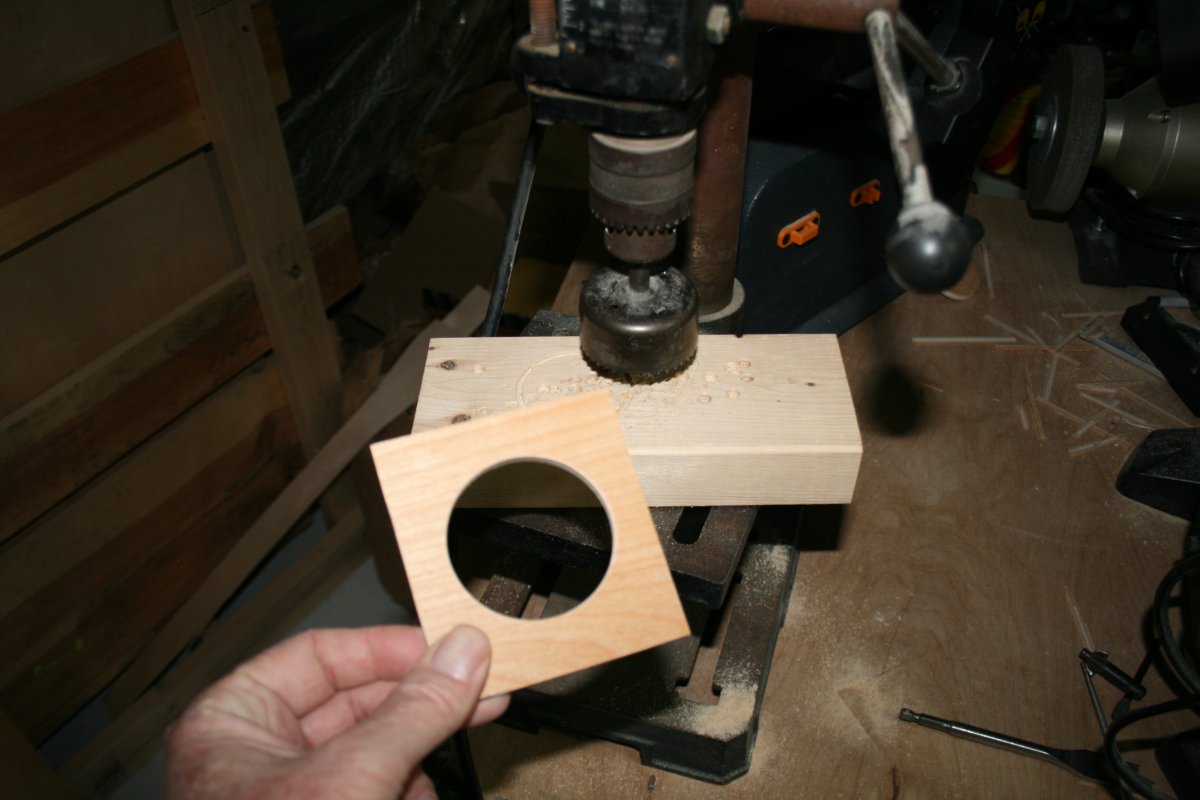
With the spacers done, the next step was to drill a lightening hole in each. So I had to sit down with a ruler and pencil and mark the center of the ladder.
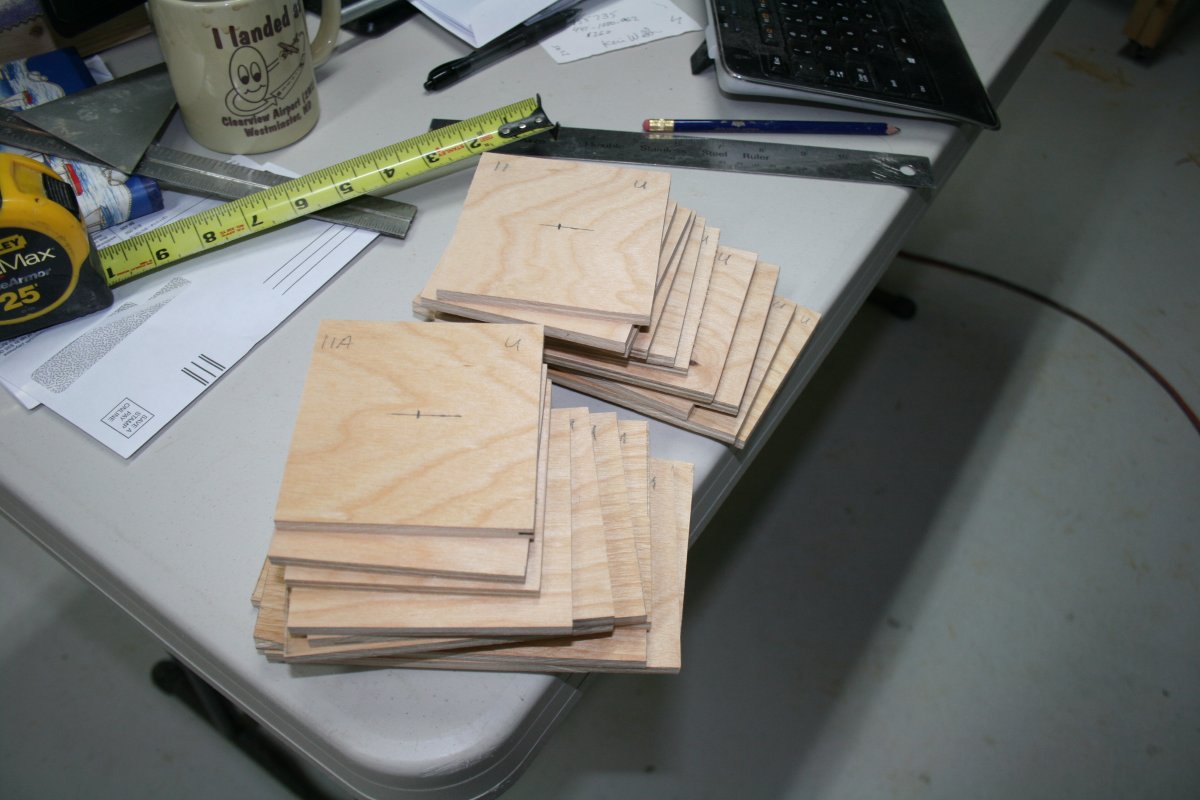
Notice how each spacer is labeled. In the upper right hand cornerm, the "U" stands for Upper Wing. One through eleven means starting from the left end. 1A through 11A means starting from the right end.
