February 7, 2013 - Triplane: Scarfing Spar Flanges
The next step in building the spar boxes was building the spar flanges which are the main components in the spar boxes. And since the wing spar is the main component in any airplane -- it literally supports the weight of the airplane in flight -- you could say the spar flanges are the key components of the Triplane.
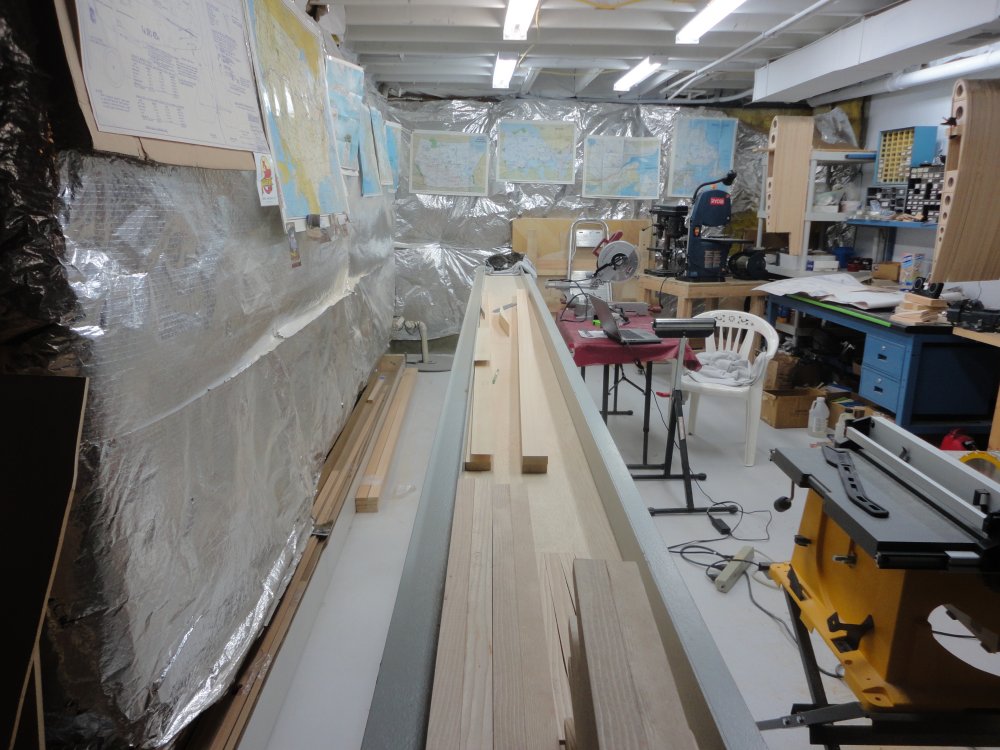
In the Fokker Triplane, the spar box runs the entire length of the wing: all 21 1/2 feet for the top wing, which is the longest of the three wings. But you can't get a piece of Spruce wood that long, so you have to splice shorter pieces together to get the 21 1/2 feet.
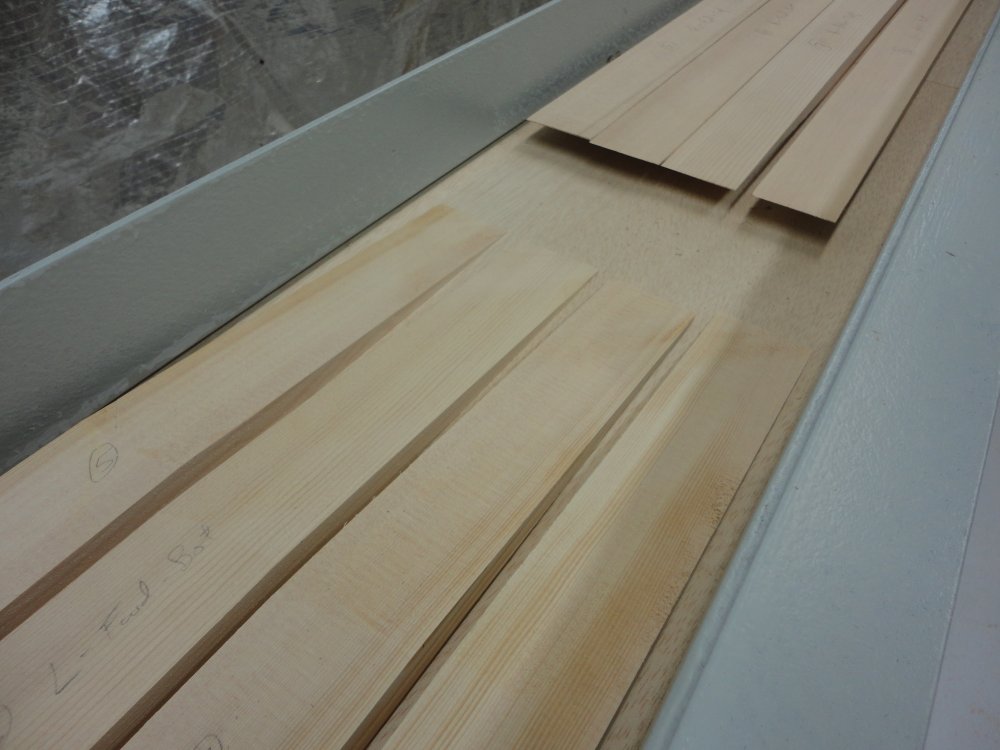
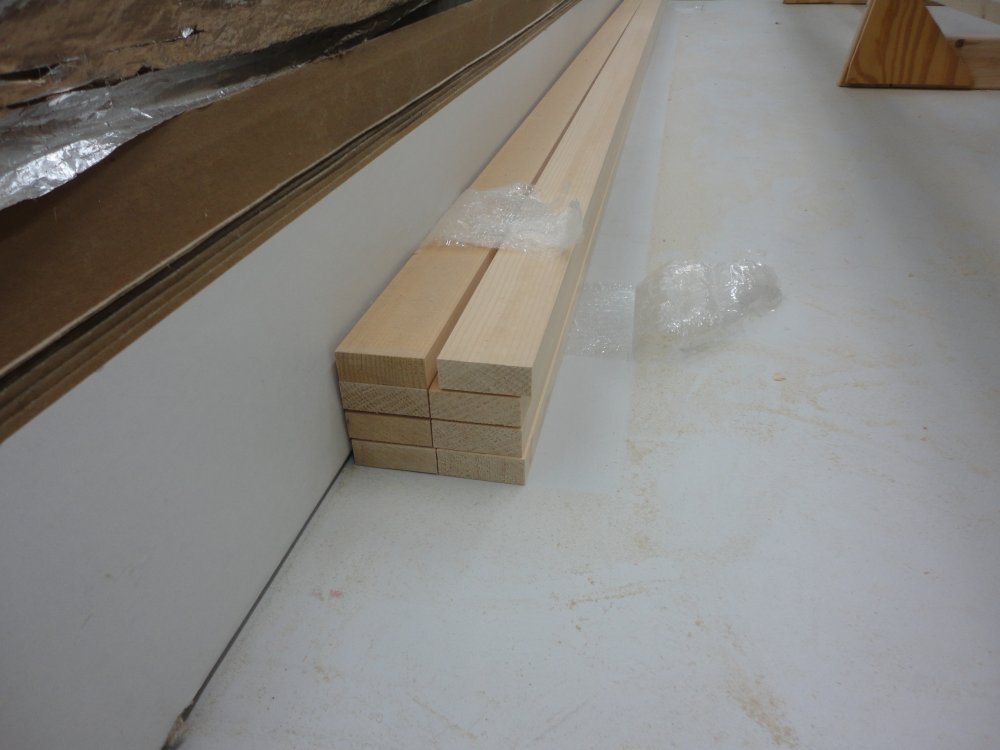
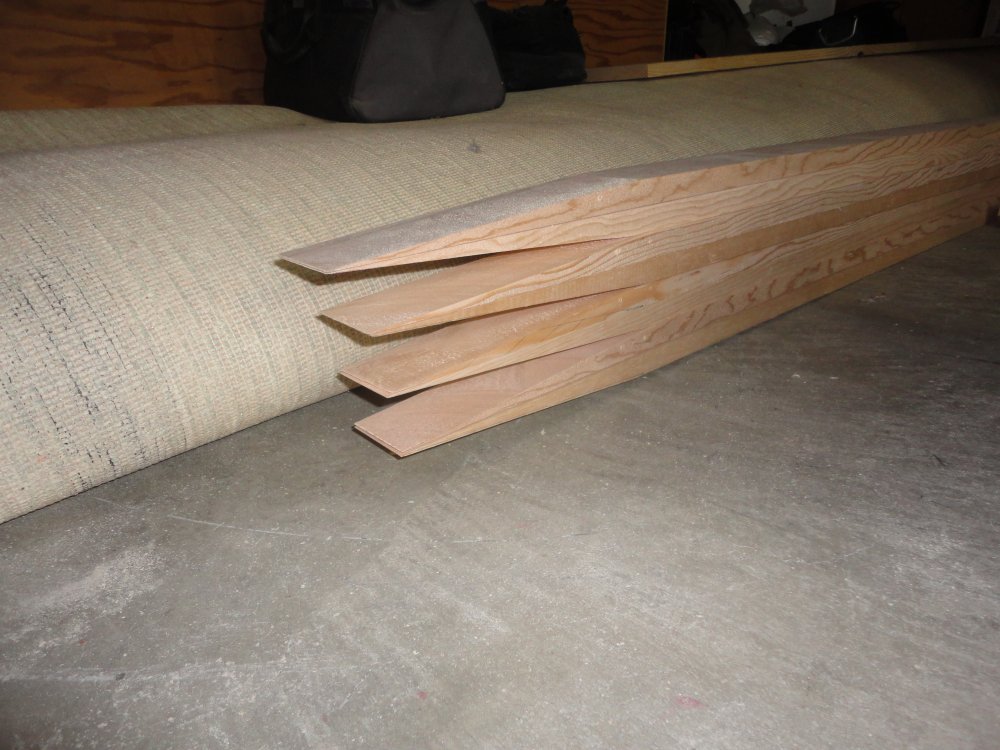
I started with 24 pieces of 3/4" x 2" x 9' stock. Eight pieces of stock are shown below. The wood is Spruce and is of awesome quality: straight, no knots. You don't get wood of this quality at the Home Depot. I got mine from Wicks Aircraft Supply.
OK, so how does one splice pieces of 3/4" x 2" spruce together length-wise? Well, you make a diagonal cut nine inches long on each piece. Then the two pieces overlap and you glue them together. Very strong.
I practiced on some cheap pine and quickly realized that the diagonal "scarf" cut has to be perfect in order to get a good glue joint. I tried the bandsaw but it was impossible to get a perfectly straight cut with it while feeding the material freehand.
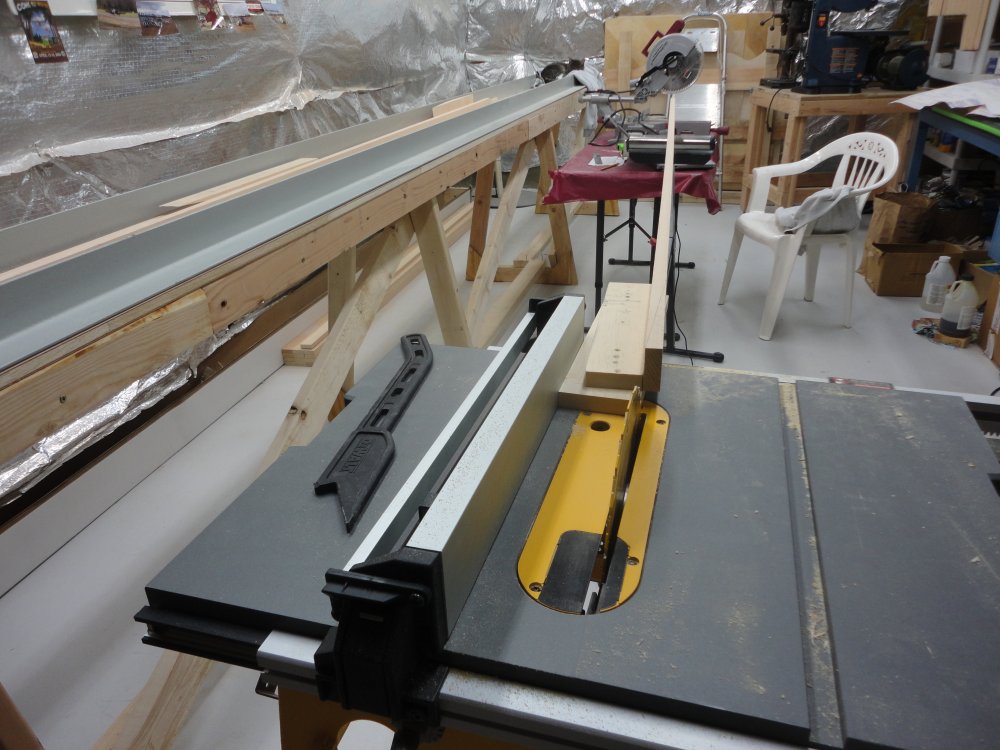
The Sands instructions said to use the tablesaw but I wasn't sure how to do it. The DR-1 (Sands) Builder's Group on the Aerodrome Forum advised using a jig and had pictures so I tried that. The tablesaw made a perfect cut but I wasn't able to consistently do it. After much practice -- I spent an entire Saturday experimenting -- I finally built a good jig and developed a technique to make perfect "scarf" cuts every time. I had to get it right
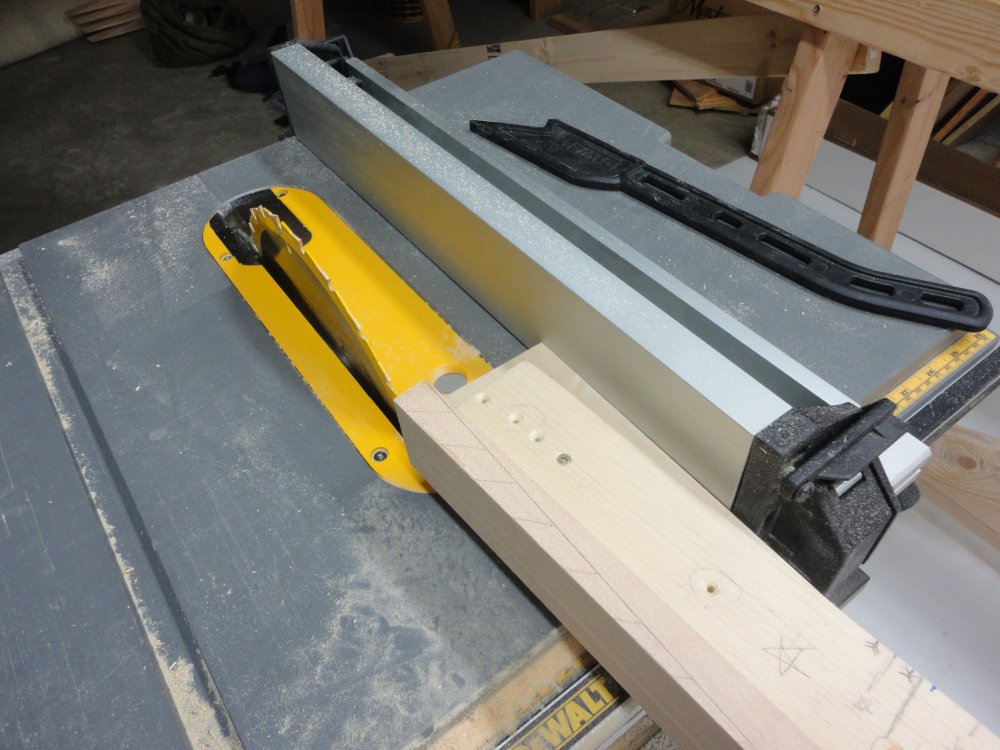
For me, the key breakthrough was realizing the "keeper" material should be between the blade and the fence, and the "discard" material on the outside of the blade. Another breakthrough was figuring a way to secure the "keeper" material to the jig. I solved that by screwing the keeper material to the jig. The screw comes from below the jig. The screw hole is countersunk so the jib slides smoothly over the tablesaw surface. Another breakthrough was using good quality wood -- poplar as opposed to cheap pine -- for the base of the jig. Initially I used cheap pine for the jig base but it was warped and that negatively affected the cut. I screwed another piece of wood -- with a straight edge- to the top of the jig base to get the desired angle.
A good look at the spar flange stock secured to the scarf jig, about to meet Mr. Tablesaw blade.
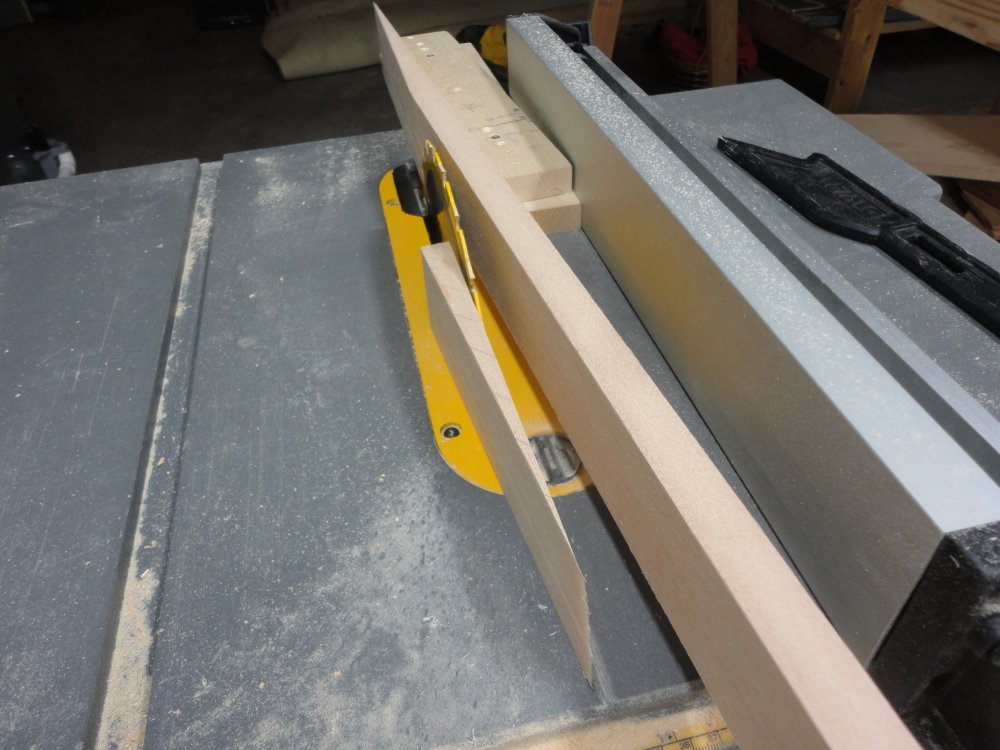
This picture shows the left and right spar flange pieces. The right spar flange piece overlaps the left spar flange piece. Looking good!
The actual cutting of all the scarf joints was straightforward once I perfected my jig and technique.